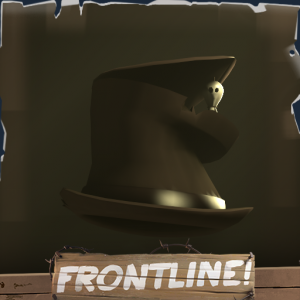
So I went back into the archives and found this tutorial on how to apply the overlay in GIMP2.8 by my great-great-grandfather Cave Joshen who worked at Aperture Sience.
So this might be helpful if you don’t understand how the heck GIMP works.
--------
Hello soldier, war-hero or Olympian.
I am Cave Joshen giving you a tutorial on how to apply the frontline thumbnail overlay onto a picture of your creations for the frontline update in GIMP2.8
--------
Step 1: The picture
First of all you’re gonna need a picture to put it on.
The recommended resolution for this is 512x512 because you won’t have to rescale anything.
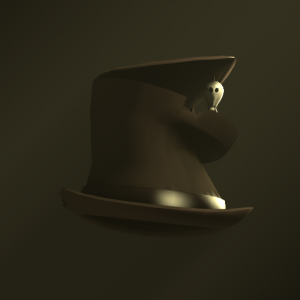
I myself created this lovely picture of this hat I created all on my own here in Aperture Laboratories™.
 Step 2: Opening the overlay
Now you gotta download the overlay by clicking
here, if that’s done you have to open that overlay using GIMP2.8
Now I certain circumstances you can’t do this because GIMP2.8 isn’t installed on your PC.
If this is the case you can download it by clicking
here.
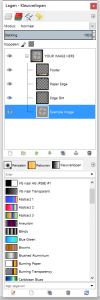
Now if you successfully opened the overlay in GIMP2.8 it should look somewhat like this:
Step 3: pressing the eyecon
at the right of the screen, or the left if you live in a different universe, you’ll see a box with all of the layers.

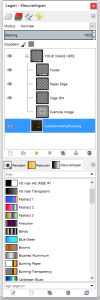
Now select the layer which says “Example Image” and press the little eye next to it.
After this GIMP should look somewhat like this:
Step 4: the actually image you want to aply the overlay to
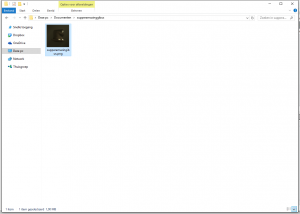
Now select the image you want to aply the overlay to in windows explorer and drag it over to the box with the layers so it ends up under all of the other layers.

 Step 5: be done
Now GIMP should look kinda like this:
That means that you’re done, you can export the picture as an .png and use it on the steam™ workshop.
 This tutorial was brought to you by Aperture Sience™

