Usually it's actually much easier. I blame the second forward spawn combined with some respawn timers that I forgot to change a bit. In fact, judging from tests of the map without that second forward, I'm almost certain I could solve it just with spawn timers.Taking B isn't impossible but the constant uphill battle is a pain in the arse as BLU, especially when the exits through the A-B connecter are so far away and leaves BLU open to being counter-flanked if the tele exits take them to a forward position on one route only. I lost my tele' entrances more than i did my exits. The fact that BLU have to double back on themselves to climb up to B also doesn't help.
Yeah, product of thinking about that for about 30 seconds max.If you didn't notice you need to stop BLU spawn camping RED at B. It's much easier to just skip past B which is a pain in the arse to access and go straight to the source of the problem; taking out tele exits, spawn camping a bit and then flanking the strong SG position behind B.
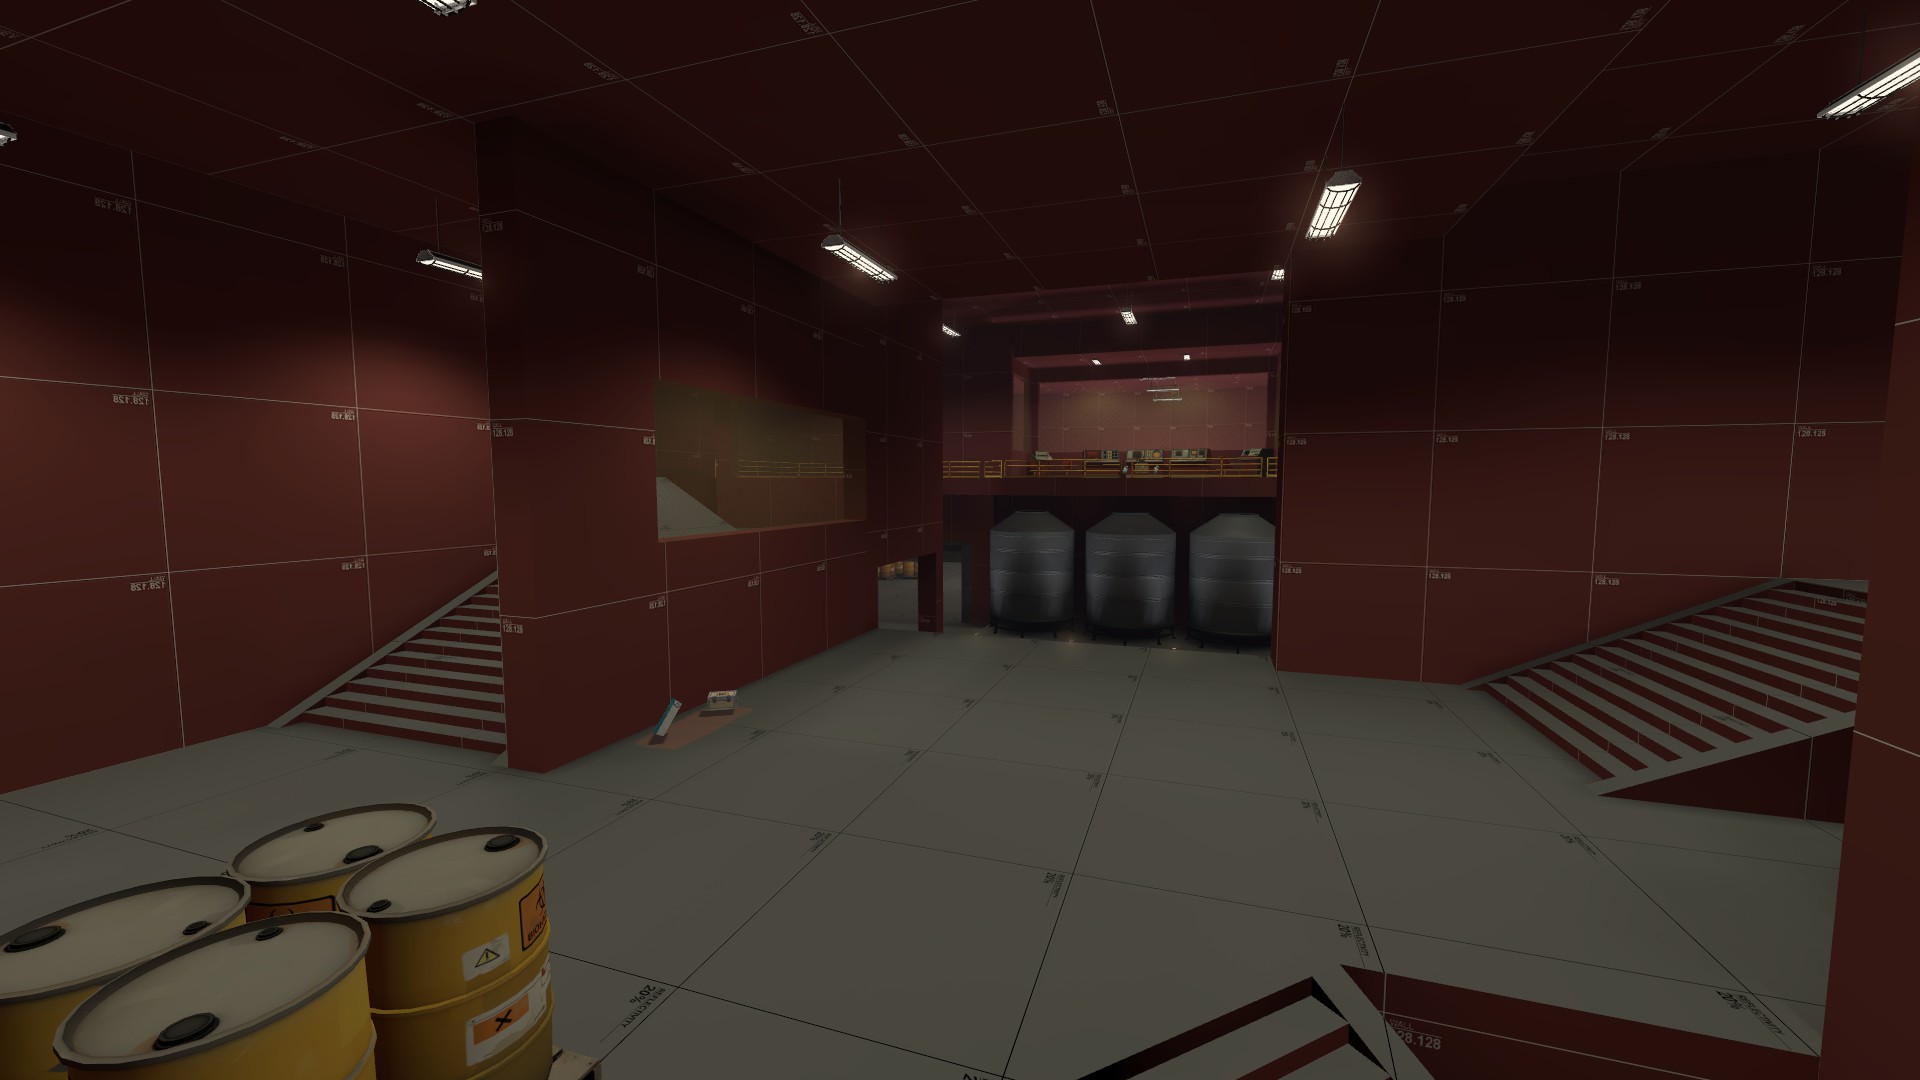
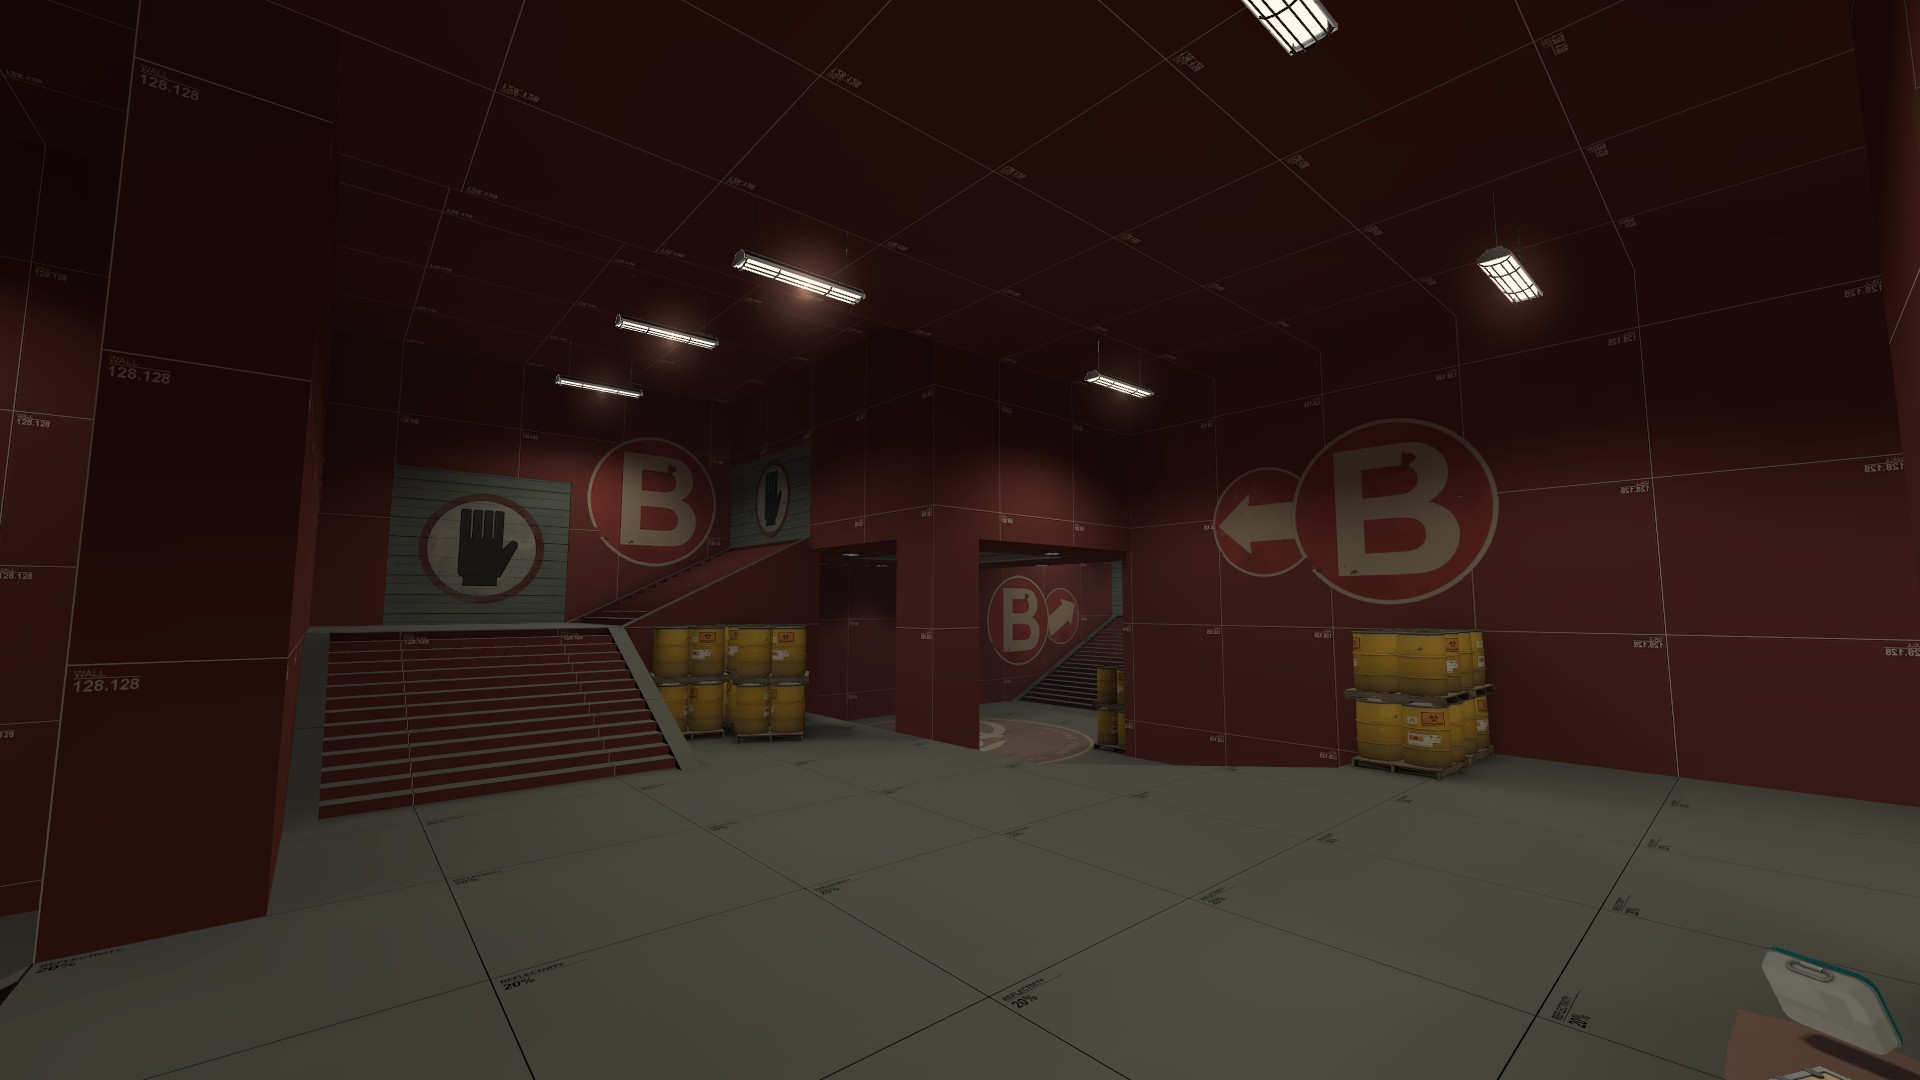
Yeah, I'm continuously trying to work on this. The area is only about the size of Well's last or Gorge's second, but it doesn't play remotely the same.C also has really excessive sightlines split only periodicly by yellow barrels. Much of the combat at last was rocket/flare spam at sentries and snipers. Medics couldn't even get close without using the uber as cover and hoping they weren't swamped when it wore off. I killed my fair share of medics even as engineer when they were trying to pop ubers late to swamp dispenser/sentry nests effectively.
In the shed and outside the center house? Without those, it's somehow incredibly easy for Red to push them back really, really far. I know it seems odd, but the attack on A plays the same but without Red's push back after it's capped.Giving BLU 2 large ammo packs 512 units apart at A also seems a bit much.
This map is a pain in the ass.