- May 31, 2013
- 1,021
- 852
INTRO
We've all seen the alpha builds with welcome screens that greet us with the underside of a map. Or the maps with no spectator cameras. These maps are suffering from a lack of info_observer_points. These entities control our view at the welcome screen and create fixed spectator cameras that dead players or those in spectate can cycle through. This guide will cover their setup, how to orient them, and how to choose an appropriate FOV for each.
You should try to include at least one camera for the welcome point in your alpha builds and add more cameras later as your layout is cemented.
IN GAME
The best way to decide where to set a spectator camera or welcome point is not in Hammer; it's in-game. You can fly around your map using noclip and scope out areas that will give a commanding view of the action, or at least an interesting vantage point to watch the game, and then dump the coordinates in the console to ensure exact placement. You can also experiment with different FOVs in-game without needing to recompile.
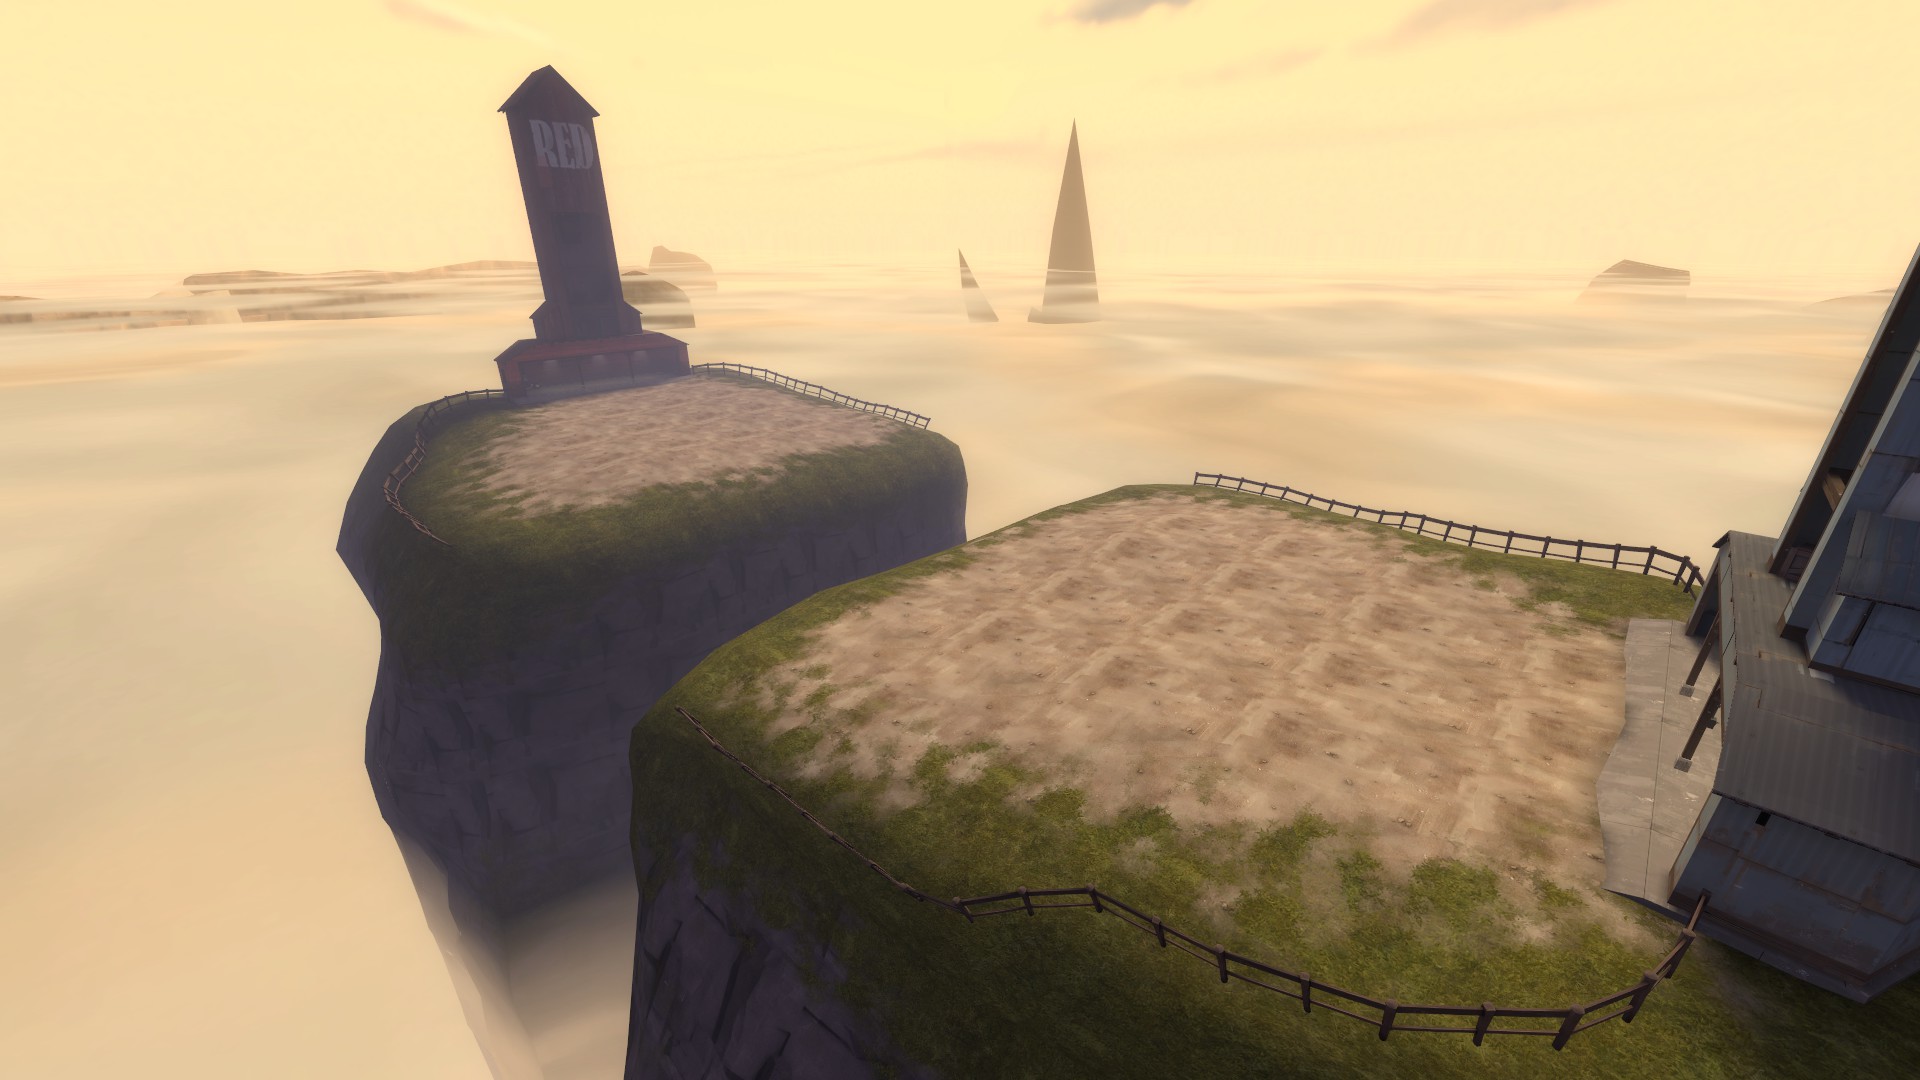
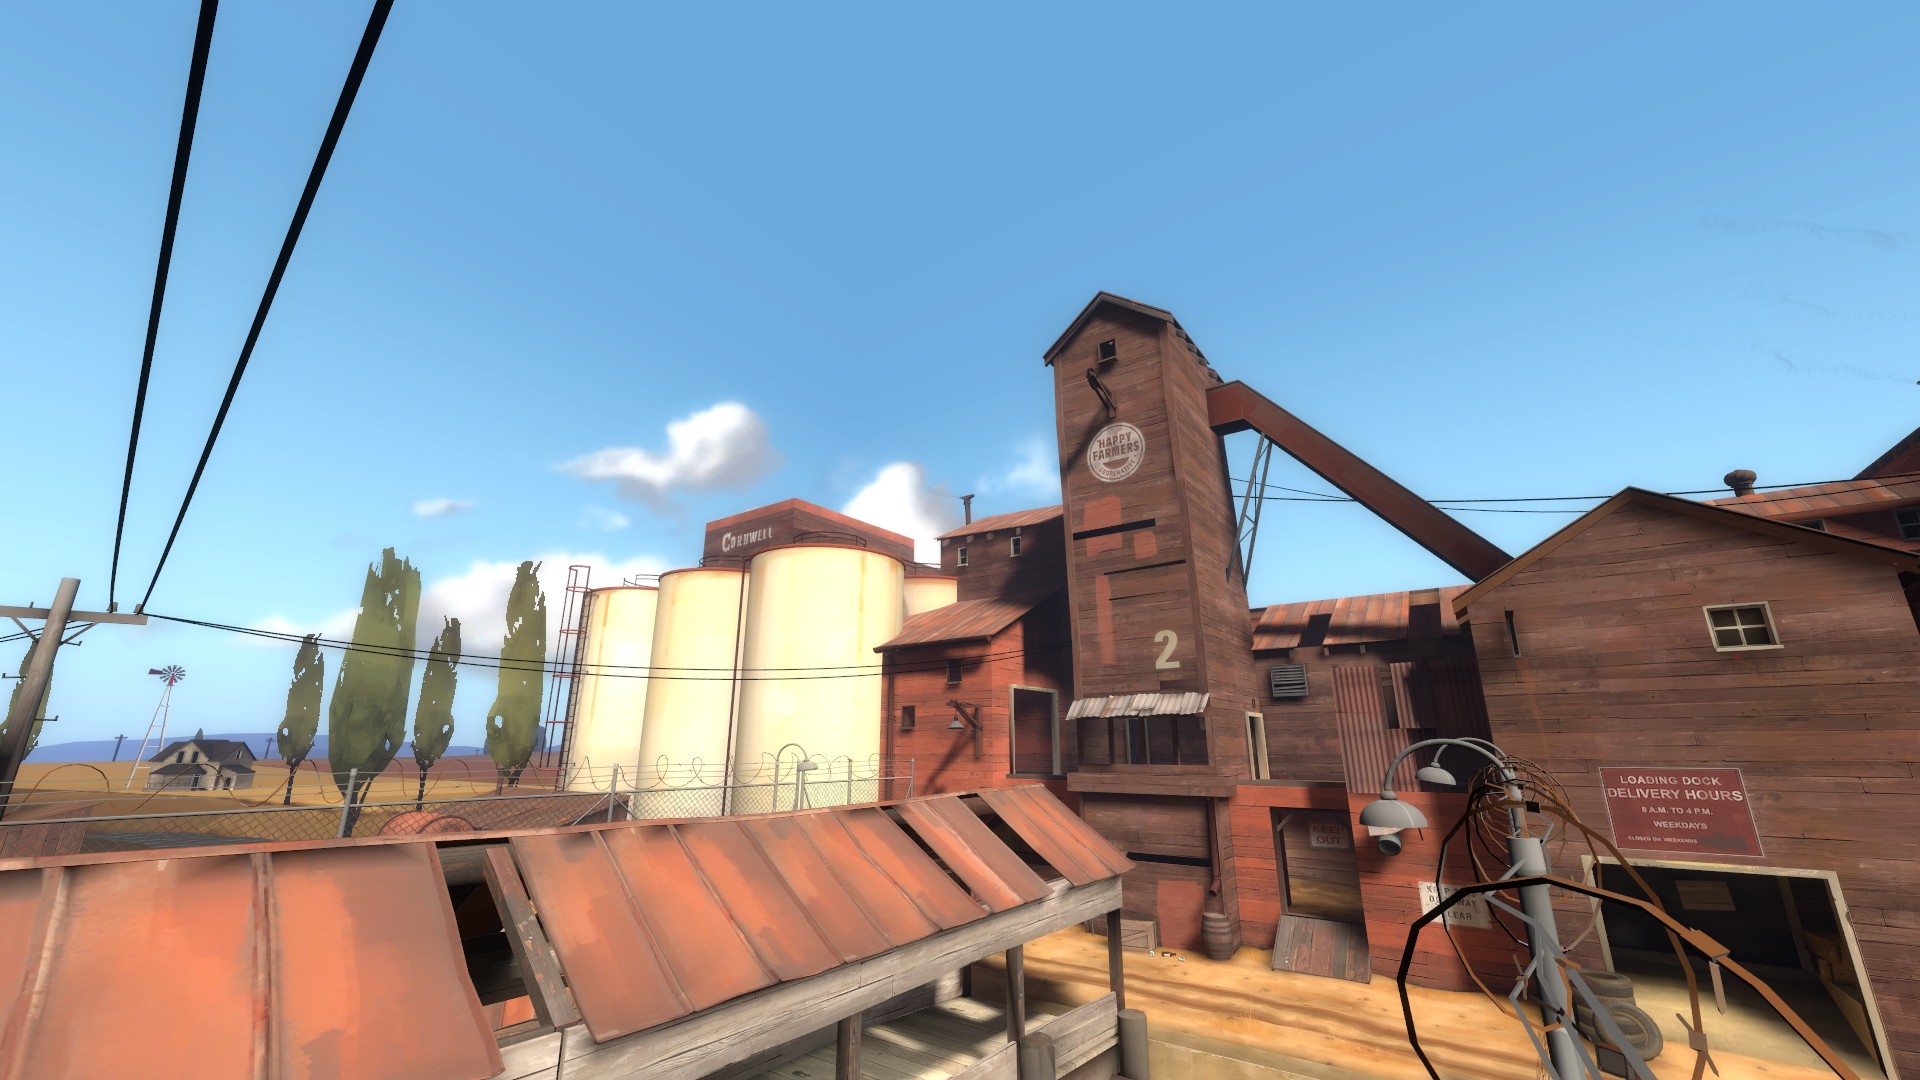
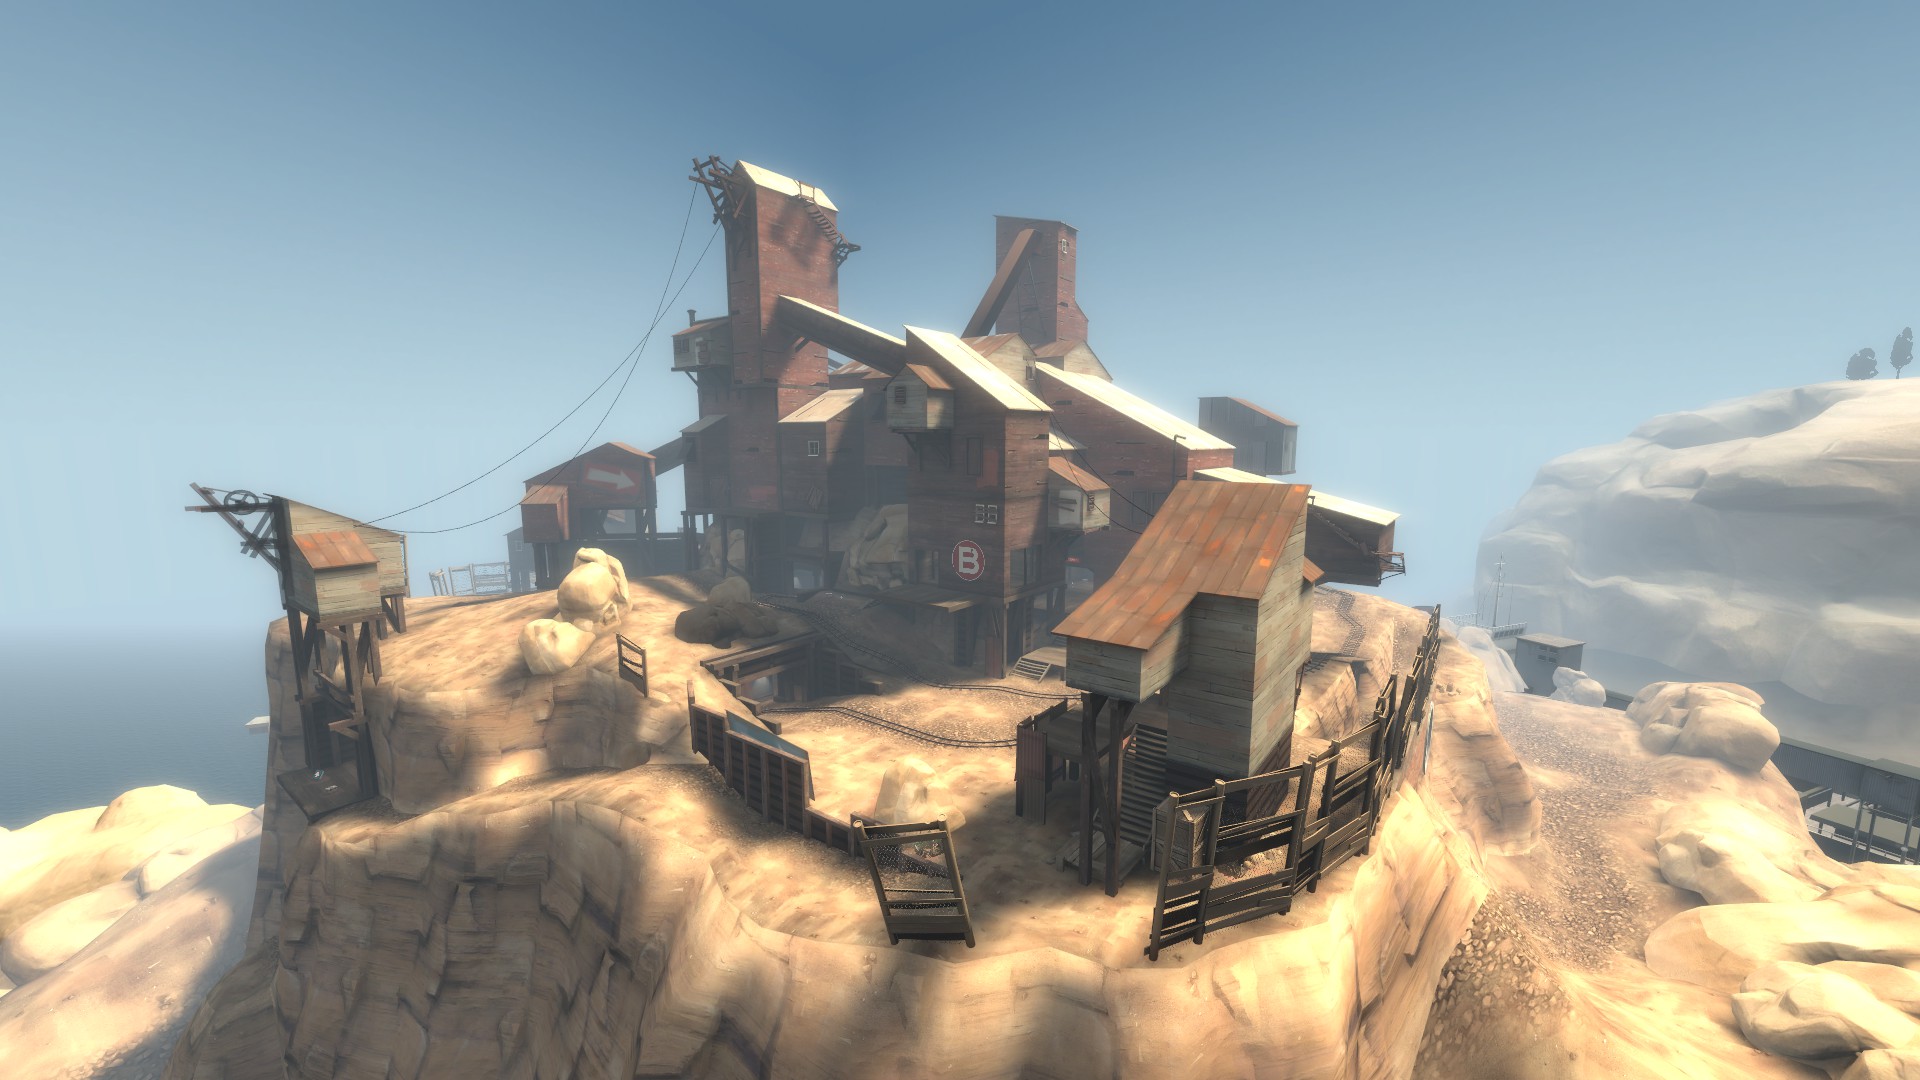
Here is a screenshot of a point that I think will give spectators a good view of the action in my dodgeball map:
Once you have decided on a location and angle, play around with your field of view to see which looks best for the area. You may change your field of view by using the console command _fov <value>, where <value> can be any number between 75 and 90. Most players use an FOV of 90 in TF2, which is the in-game maximum. info_observer_point's can go higher or lower; I use one with an FOV of 110 in my dodgeball map. Unfortunately, previewing FOVs higher than 90 is impossible, but you can set your fov lower than 75 using a second cvar: _fov. Besides _fov, you will just need to guess and do a fast compile to decide.
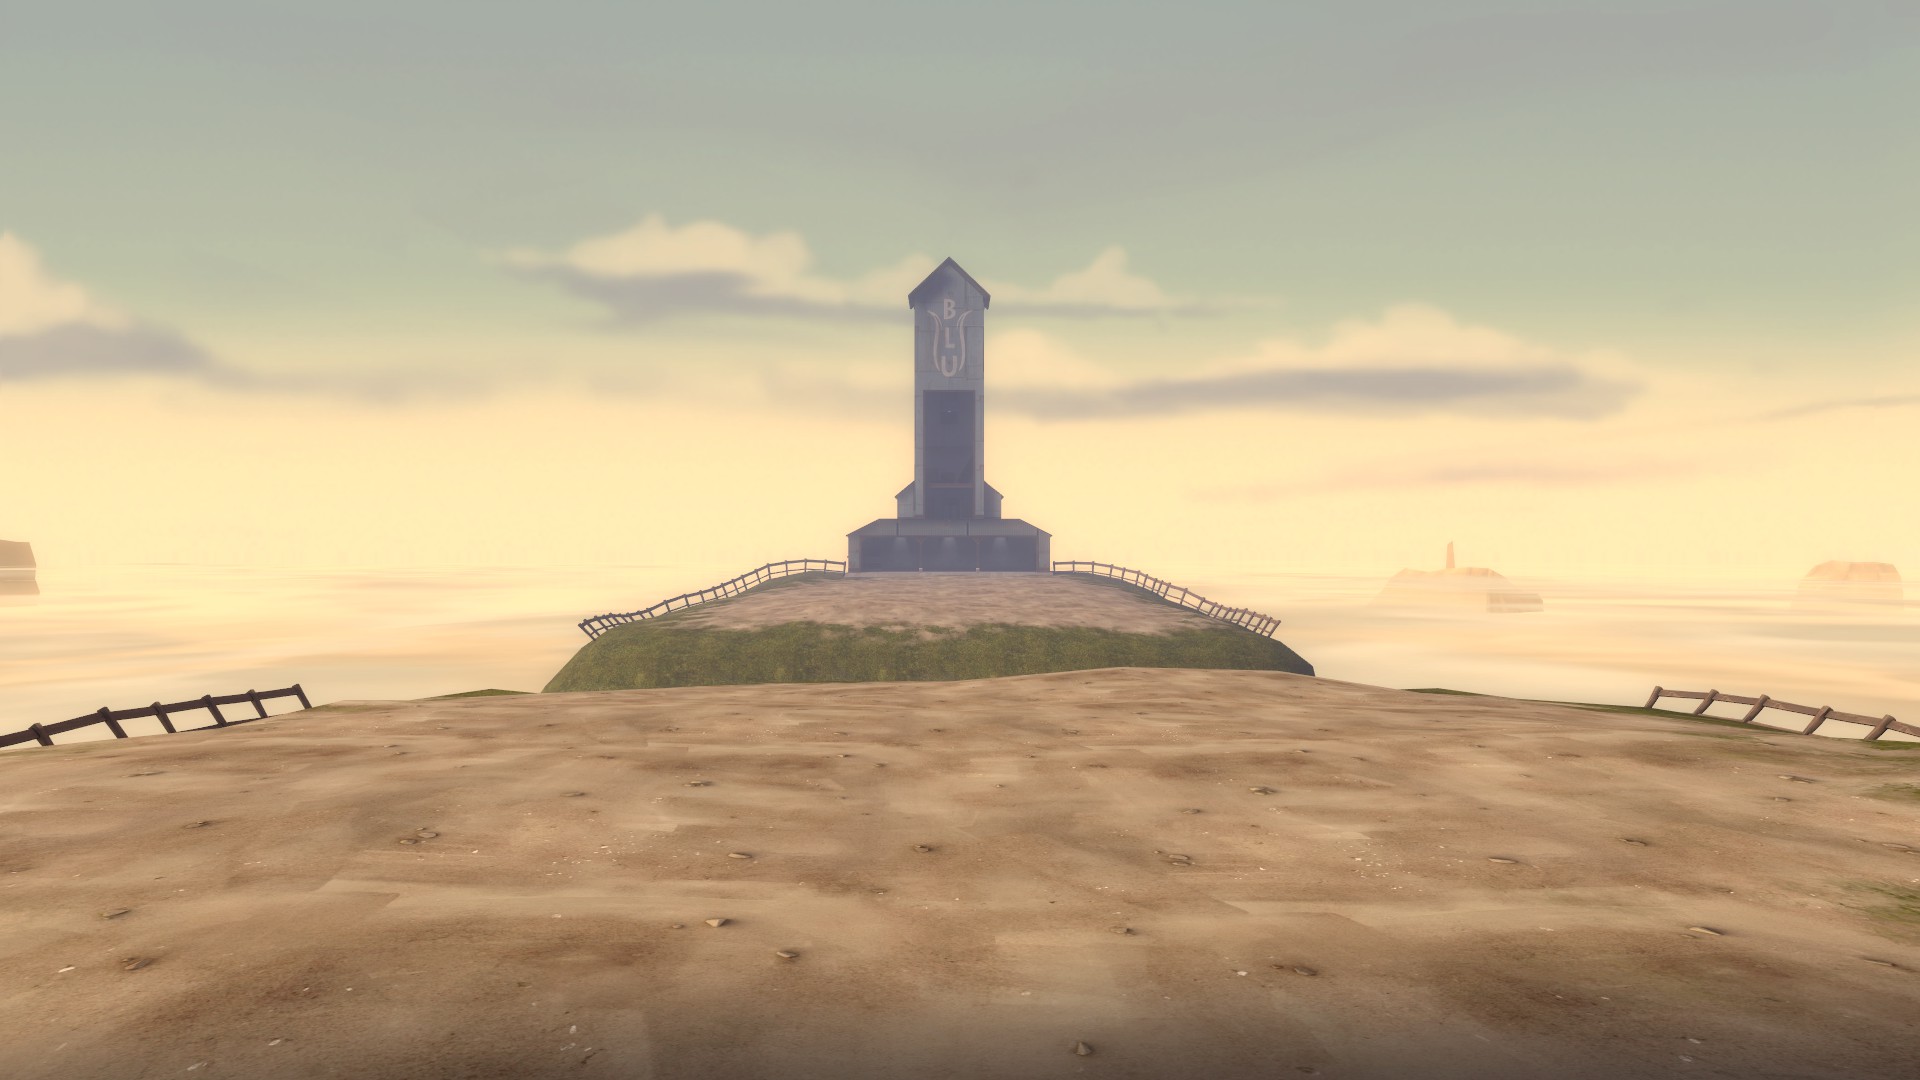
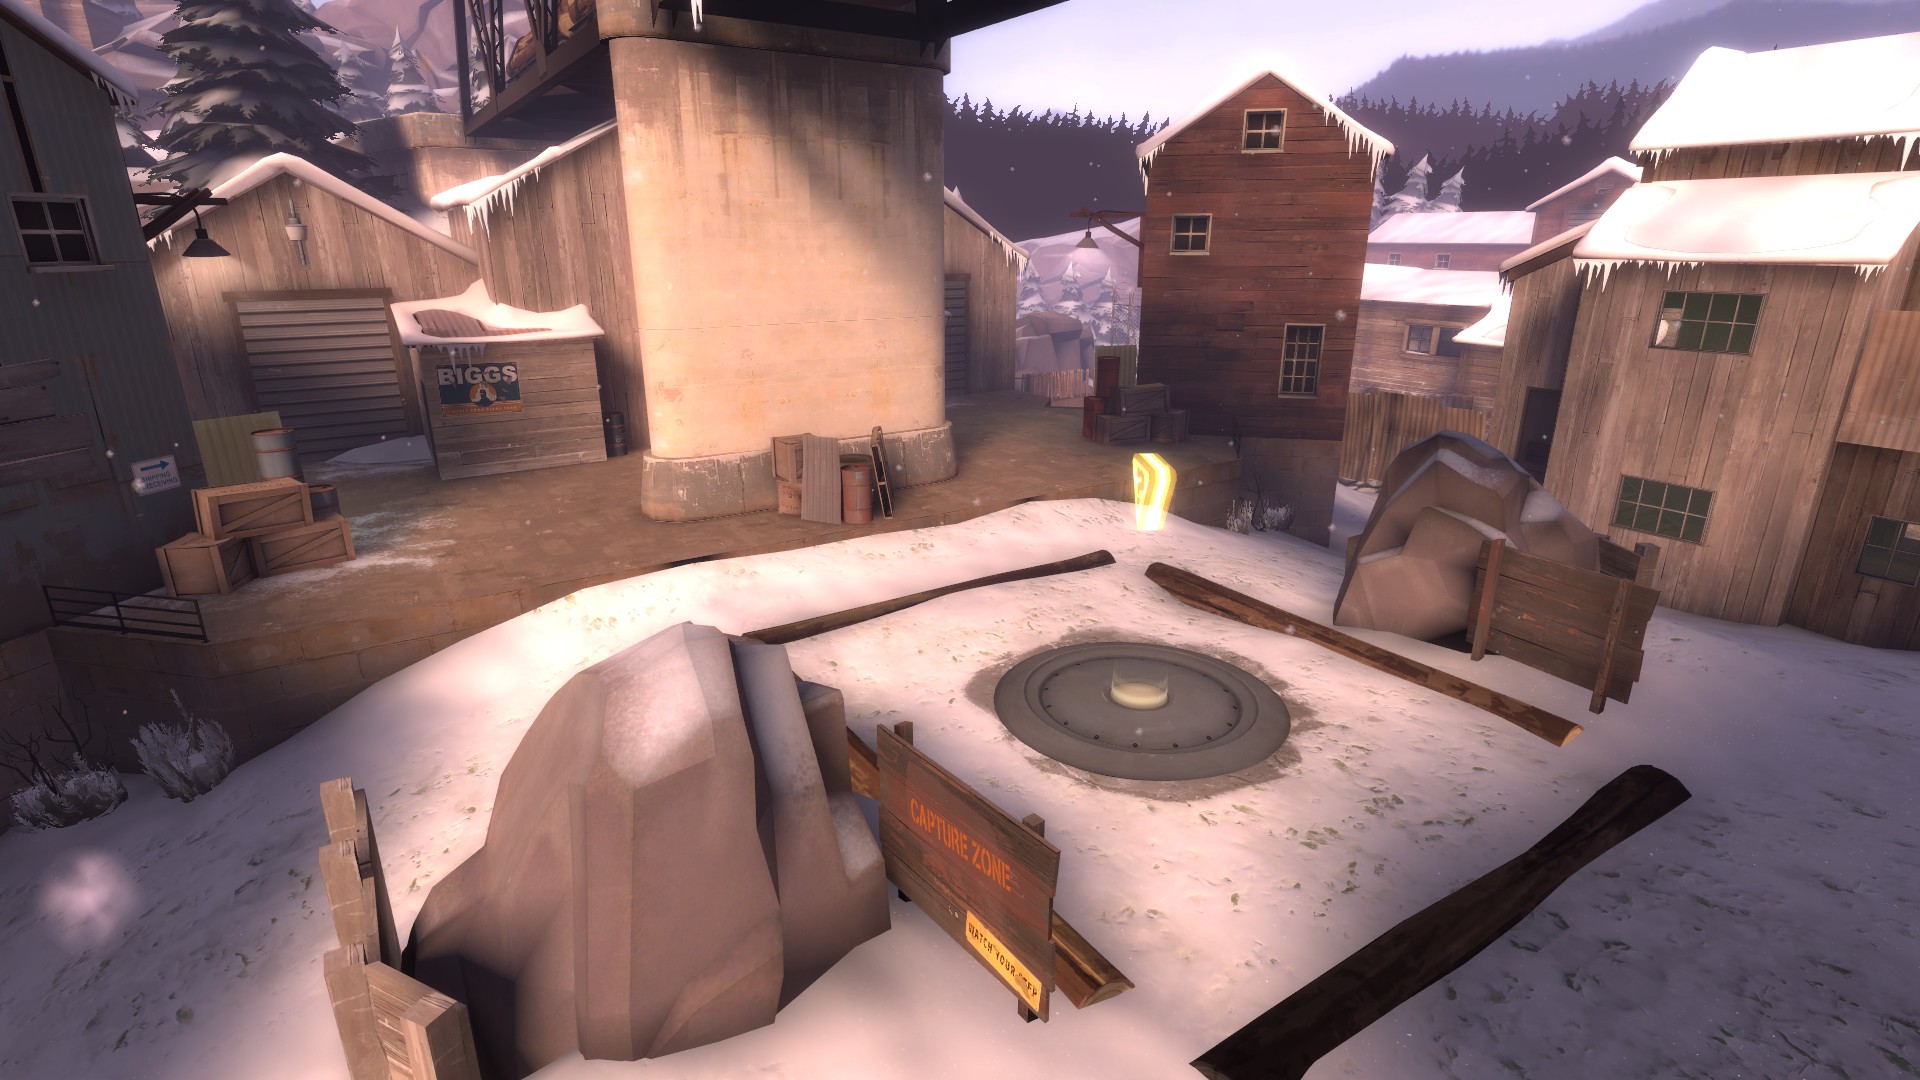
Here's a screenshot of another spectator camera location I want for viewing Blu players:
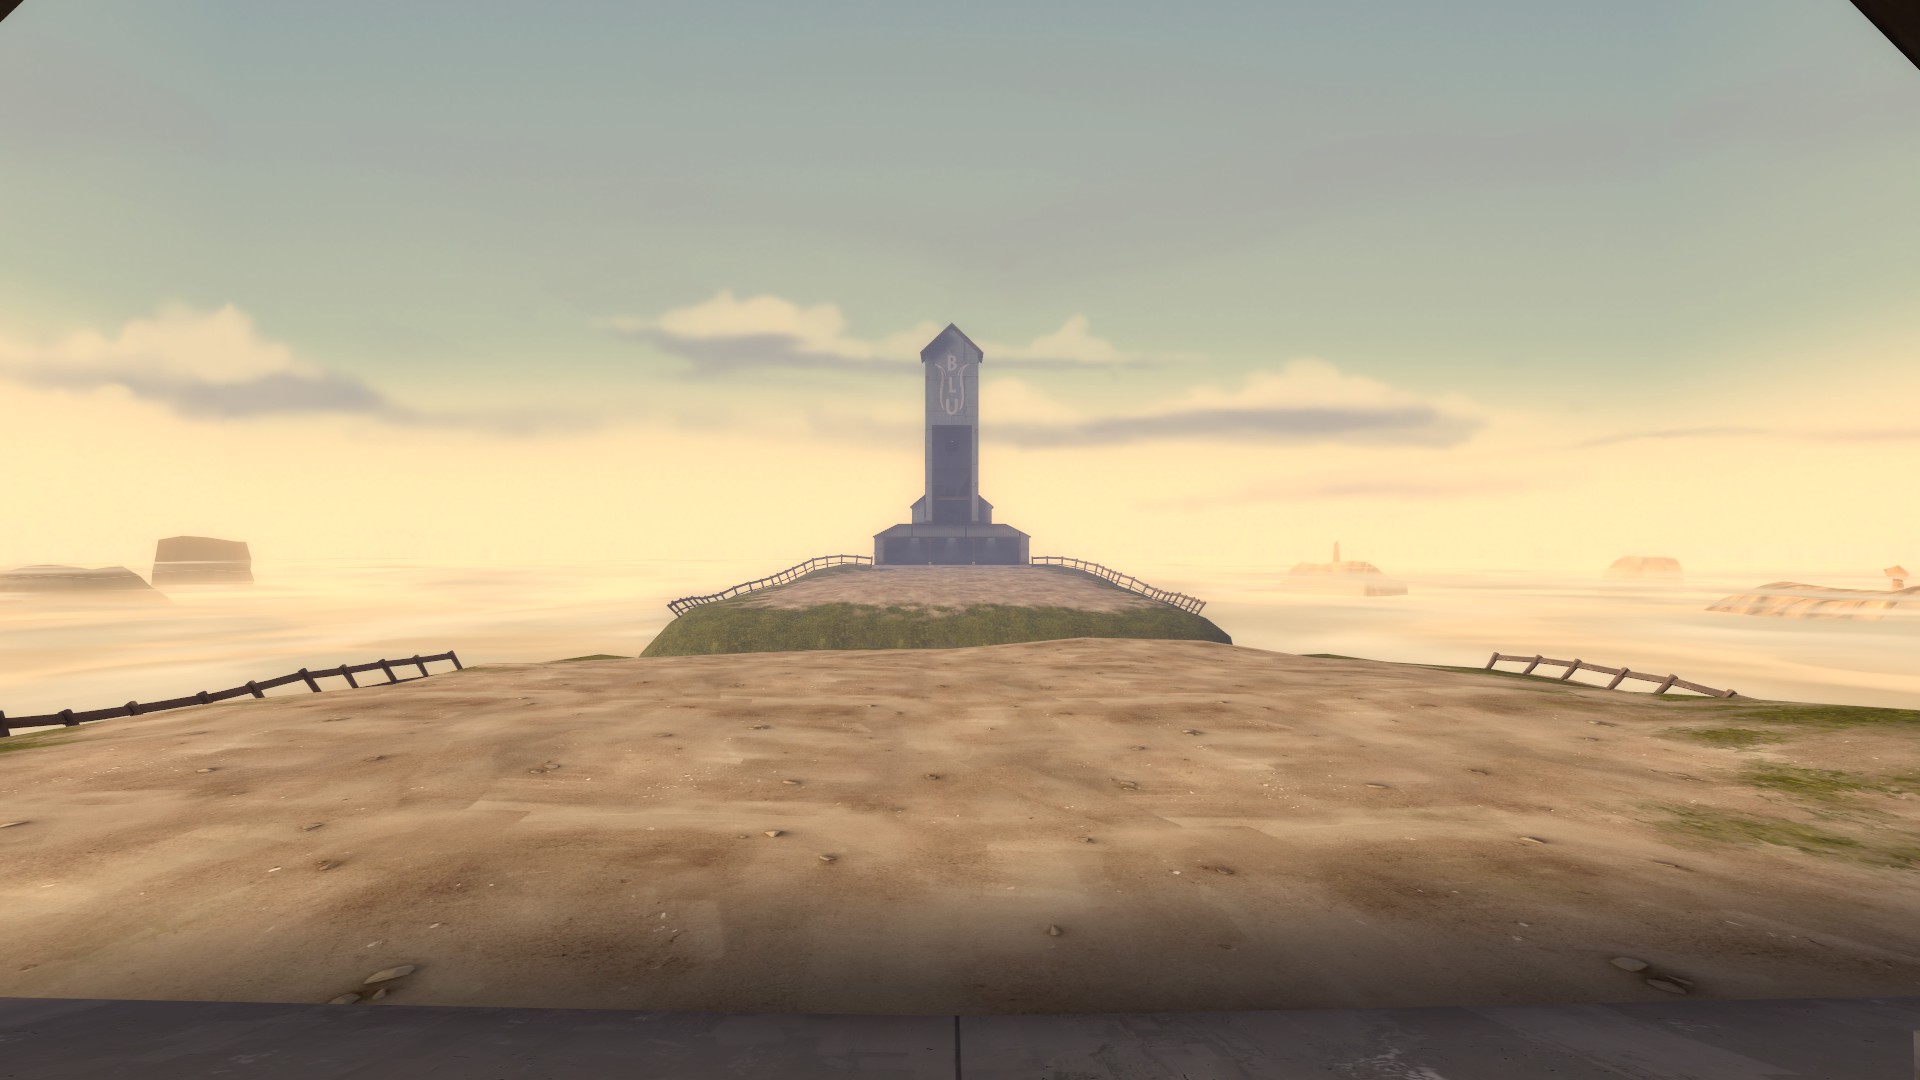
Notice that the building ahead looks rather distant and there is quite a lot of visible space that is not included in the playable area. In this case, I determined I would like a lower FOV and I decided on 70:
After you've chosen a location and FOV, open up the console and use the command getpos to dump your current position and angle in x y z format. Then, copy this information from the console to a text file for reference later. Remember to copy down your chosen FOV for each as well. Fly around and find as many cool spectator points as you want.
When deciding on a welcome point, you need only one camera that provides a nice backdrop of the level, not necessarily something that will best capture the action. 5CP maps tend to recycle mid's spectator camera as the welcome point.
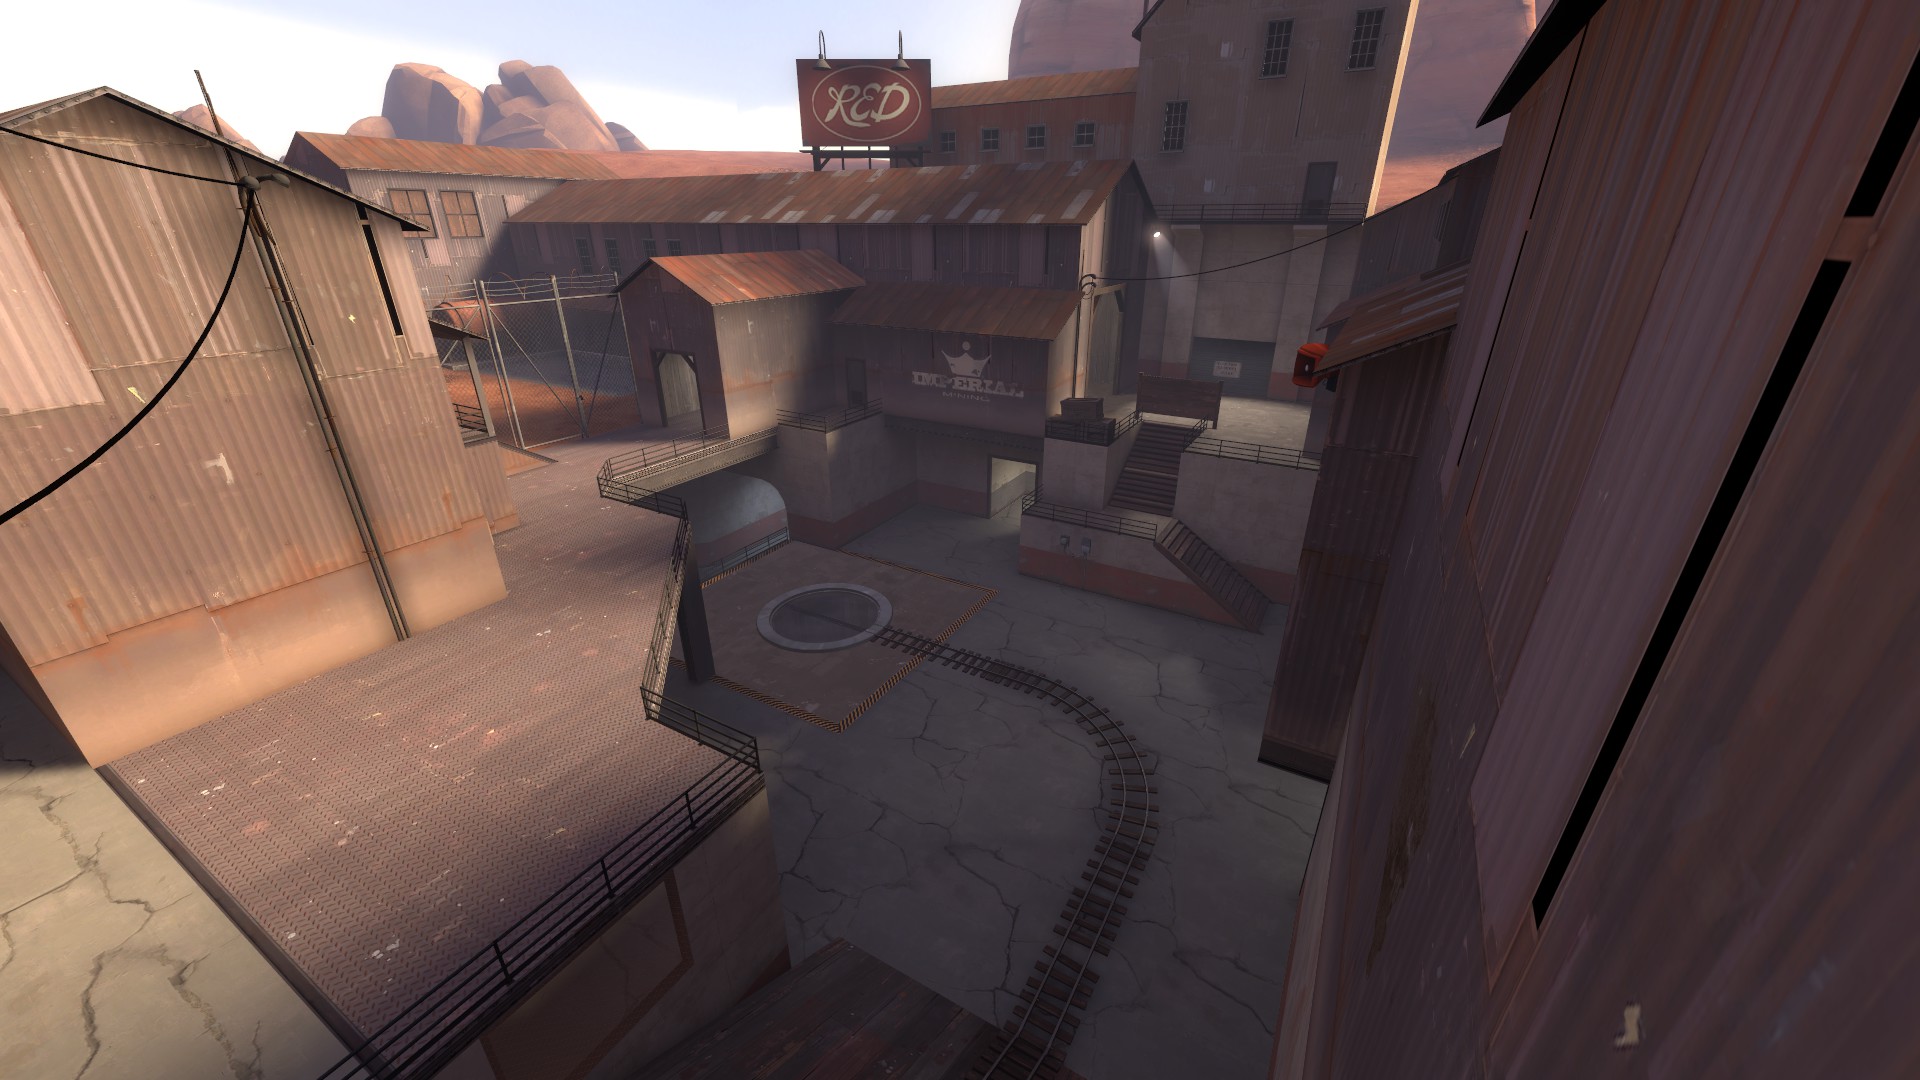
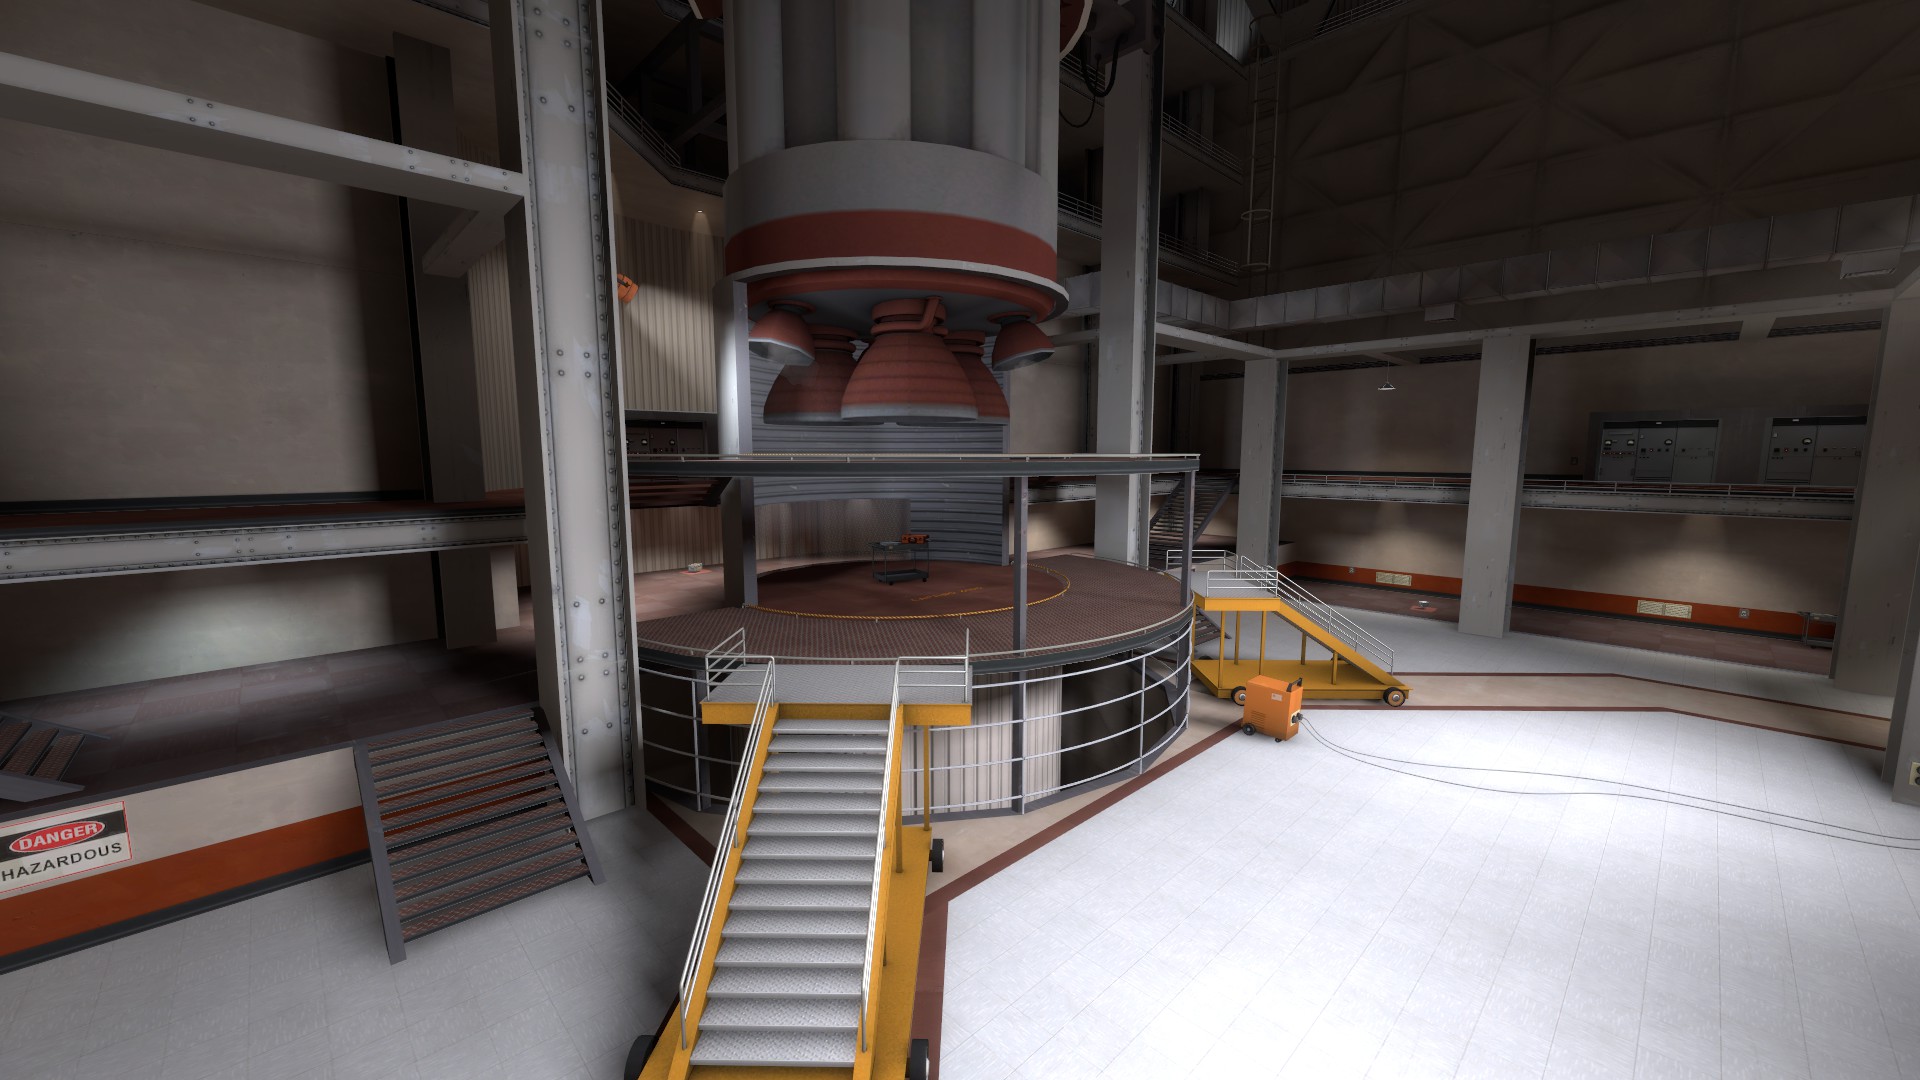
Here are some example welcome points from several Valve maps:

For regular spectator cameras, try to choose areas where much of the battle will take place. These areas usually focus on control points or other objectives.
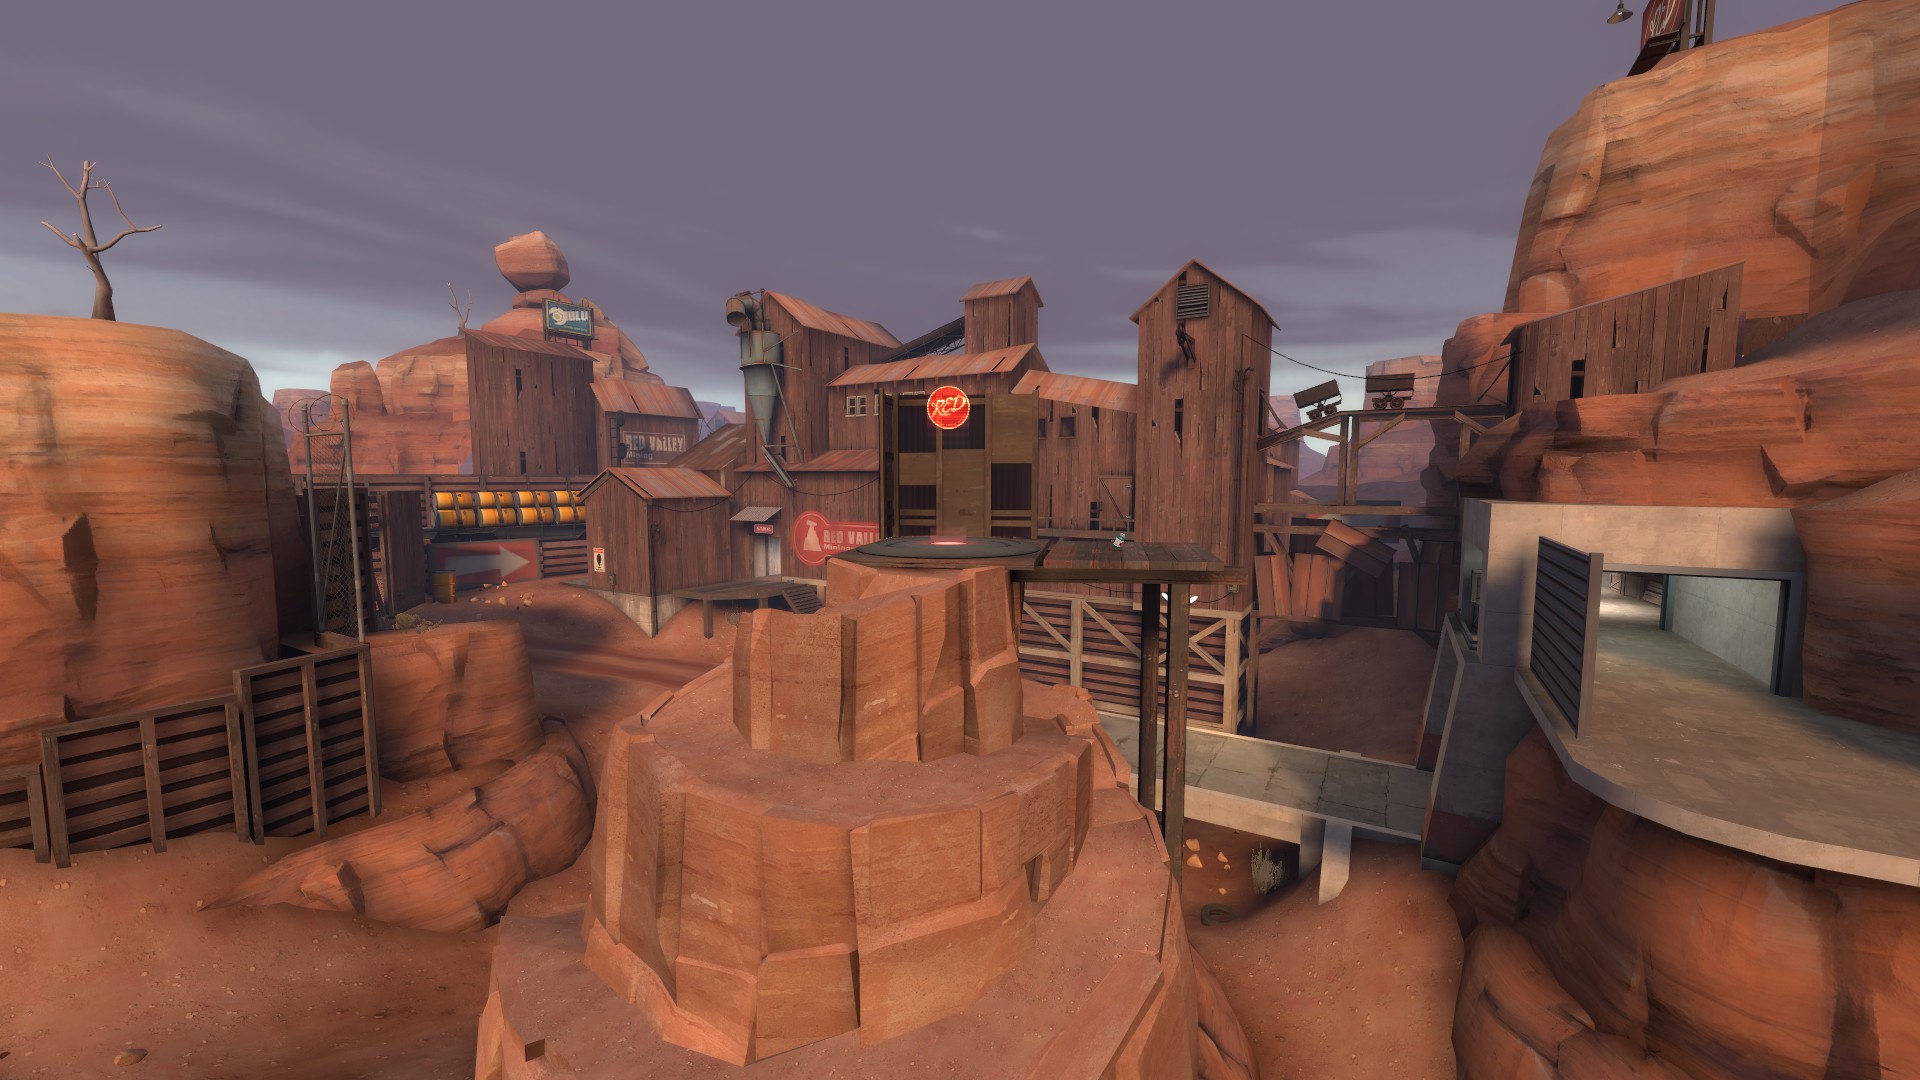
Here are some examples of spectator cameras in KotH, CTF, CP, and PL (in that order):
IN HAMMER
Now that you have your text file of coordinates and FOVs, hop into Hammer and plop down an entity. Change its class to "info_observer_point" and hit apply.
Let's first move and angle the entity properly before breaking down its available properties. Pick one of the coordinate and FOV combos from your list to use with this entity. Bear in mind, as @fubarFX mentioned, Source chooses the order of the camera cycling by which ones you create first (lowest ID number), so plan accordingly.
There is no direct way to move a point entity to a set of coordinates in Hammer. I don't know why this is, but the workaround for Valve's negligence is quite simple:
Now that the camera is in the correct position and orientation, let's take a look at the special properties of info_observer_point.
Generally, I'd recommend checking out decompiled Valve maps when deciding on how to use each of these parameters. Many PL and CP maps use the "Associated Team Entity" heavily to control the flow of the available cameras in the map, though others will combine this with a restricted "Team" setting and still others will add enabling and disabling I/O to the cameras for even more control (such as pl_barnblitz). Just look around.
CONCLUSION
Hopefully this guide has helped you learn how to properly set up welcome points and spectator cameras for your map. If not, please contact my secretary @EksCelle and complain to him.
Also, now that you know how these entities work and have hopefully messed around a bit, check out @Idolon's info_observer_point creation utility, here. This will help streamline the creation process and ease positioning.
We've all seen the alpha builds with welcome screens that greet us with the underside of a map. Or the maps with no spectator cameras. These maps are suffering from a lack of info_observer_points. These entities control our view at the welcome screen and create fixed spectator cameras that dead players or those in spectate can cycle through. This guide will cover their setup, how to orient them, and how to choose an appropriate FOV for each.
You should try to include at least one camera for the welcome point in your alpha builds and add more cameras later as your layout is cemented.
IN GAME
The best way to decide where to set a spectator camera or welcome point is not in Hammer; it's in-game. You can fly around your map using noclip and scope out areas that will give a commanding view of the action, or at least an interesting vantage point to watch the game, and then dump the coordinates in the console to ensure exact placement. You can also experiment with different FOVs in-game without needing to recompile.
Here is a screenshot of a point that I think will give spectators a good view of the action in my dodgeball map:
Once you have decided on a location and angle, play around with your field of view to see which looks best for the area. You may change your field of view by using the console command _fov <value>, where <value> can be any number between 75 and 90. Most players use an FOV of 90 in TF2, which is the in-game maximum. info_observer_point's can go higher or lower; I use one with an FOV of 110 in my dodgeball map. Unfortunately, previewing FOVs higher than 90 is impossible, but you can set your fov lower than 75 using a second cvar: _fov. Besides _fov, you will just need to guess and do a fast compile to decide.
Here's a screenshot of another spectator camera location I want for viewing Blu players:
Notice that the building ahead looks rather distant and there is quite a lot of visible space that is not included in the playable area. In this case, I determined I would like a lower FOV and I decided on 70:
After you've chosen a location and FOV, open up the console and use the command getpos to dump your current position and angle in x y z format. Then, copy this information from the console to a text file for reference later. Remember to copy down your chosen FOV for each as well. Fly around and find as many cool spectator points as you want.
When deciding on a welcome point, you need only one camera that provides a nice backdrop of the level, not necessarily something that will best capture the action. 5CP maps tend to recycle mid's spectator camera as the welcome point.
Here are some example welcome points from several Valve maps:
For regular spectator cameras, try to choose areas where much of the battle will take place. These areas usually focus on control points or other objectives.
- KotH spectator cams focus on the control point and all official maps only use one.
- CTF has cams for the intel and central area.
- CP maps have cams for each CP and any other important battlegrounds.
- PL and PLR have cams for checkpoints and central areas. Bear in mind, info_observer_point's may be enabled and disabled through checkpoint capturing, so cameras can be turned on and off when a particular checkpoint is reached. Payload maps tend to enable and disable several info_observer_point's as the cart is pushed through the level.
- Generally, most maps have at least 5 spectator points throughout the map. Some maps, like ctf_doublecross and koth_viaduct, only have one spectator camera. I wouldn't take Valve's example as law, however; don't be afraid to sprinkle the cameras around more liberally.
Here are some examples of spectator cameras in KotH, CTF, CP, and PL (in that order):
IN HAMMER
Now that you have your text file of coordinates and FOVs, hop into Hammer and plop down an entity. Change its class to "info_observer_point" and hit apply.
Let's first move and angle the entity properly before breaking down its available properties. Pick one of the coordinate and FOV combos from your list to use with this entity. Bear in mind, as @fubarFX mentioned, Source chooses the order of the camera cycling by which ones you create first (lowest ID number), so plan accordingly.
There is no direct way to move a point entity to a set of coordinates in Hammer. I don't know why this is, but the workaround for Valve's negligence is quite simple:
- Move your entity to the origin of the map. This is represented by the blue lines in the 2D viewports and the red, green, and blue lines intersecting in the 3D viewport. Verify the entity is at the origin by checking the coordinates in the parenthesis at the bottom right corner of Hammer. It will read (0 0 0) when at the origin.
- After it has been moved to the origin, open up the transform dialog box using "ctrl+m".
- Tick the "move" box and input the coordinates (not the angles) you have selected in your text file.
- Once you hit "ok", the info_observer_point should move to the exact location you chose in-game. Verify its position using the coordinates at the bottom right of Hammer.
- Once in the correct position, open the entity's properties and replace the "Pitch Yaw Roll (Y Z X)" parameter's values with the angles you copied from the console. If you have SmartEdit turned off, this parameter will simply be called "angles".
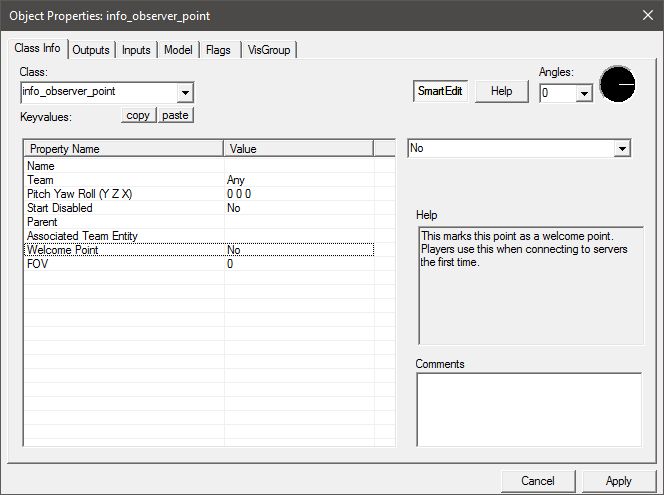
Now that the camera is in the correct position and orientation, let's take a look at the special properties of info_observer_point.
- Team can be used to restrict a team from using this particular spectator camera. Control point maps sometimes restrict a particular team's second and last control points to only their viewing. Of course, this does not apply to spectators, only dead players. Setting an info_observer_point's "Team" parameter to "Red", for example, will restrict Blu players from using it.
- Associated Team Entity can restrict the use of the camera to a currently-owned team entity, such as a control point or flag. For example, 5CP Badlands uses this on each of its cameras for every control point. Payload maps often tie this to each checkpoint. Remember that spectators will not be affected by this parameter because they do not own anything. Spectators are homeless.
- Welcome Point will tell the game to use this camera as the backdrop to the welcome screen if set to "Yes". If you're just pushing out an a1 and want to skip as much detail work as possible, set up at least one info_observer_point with this parameter set to "Yes" so we don't have to stare at the ugly underbelly of your map when we connect to the server. If no info_observer_point's are present in your map, Source will automatically assign one to the origin, which tends to be underneath it. If you have multiple welcome points set, Source will use the entity with the lowest ID (first created) to decide which to use. If none of your info_observer_point's are welcome points, Source will pick the lowest ID that is not team or objective specific to use. Welcome points may not be used with observer points that have the "Team" parameter set to either team.
- FOV is the field of view of the camera. The default FOV in Hammer is "0", which will actually use the client's fov_desired once in-game. As outlined above, most TF2 players use an FOV of 90, but lower FOVs tend to have a cinematic effect that can look more appropriate in many situations. Most info_observer_point's I have seen use the default value of 0, though some deviate. If you already decided on what FOV to use for this particular camera in-game, just input that value here.
Generally, I'd recommend checking out decompiled Valve maps when deciding on how to use each of these parameters. Many PL and CP maps use the "Associated Team Entity" heavily to control the flow of the available cameras in the map, though others will combine this with a restricted "Team" setting and still others will add enabling and disabling I/O to the cameras for even more control (such as pl_barnblitz). Just look around.
CONCLUSION
Hopefully this guide has helped you learn how to properly set up welcome points and spectator cameras for your map. If not, please contact my secretary @EksCelle and complain to him.
Also, now that you know how these entities work and have hopefully messed around a bit, check out @Idolon's info_observer_point creation utility, here. This will help streamline the creation process and ease positioning.
Last edited:

")


