PL 3dnrav A5
- Thread starter RaVaGe
- Start date
You are using an out of date browser. It may not display this or other websites correctly.
You should upgrade or use an alternative browser.
You should upgrade or use an alternative browser.

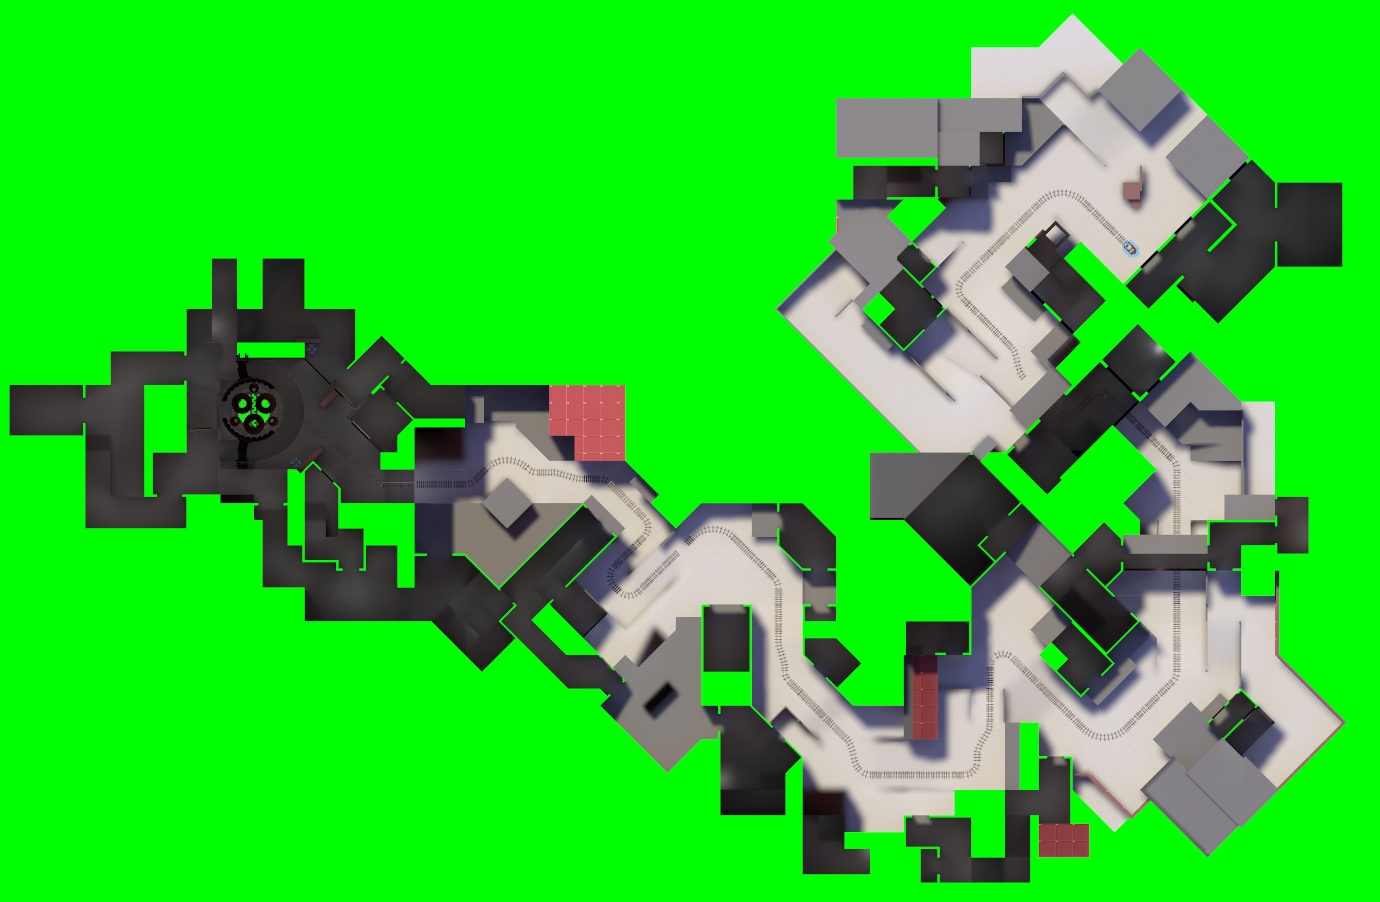
Any thoughts on the map guys ? I still obviously need more playtest but I think the map is in the good way.
Known issues :
- Pacing may be weird, I think it's quite hard to put a solid defense at 2 and 3, 2 seems fun when the reds have a good hand on it, 3 defo need some work.
- Spawn doors are close to the cart at 2 and 3, which is a thing that I wanted to do in order to give the map the smallest amount of walk possible.
- Respawn time too long ?
- Hard to tell which door open and which don't.
- Some minor bugs.
Anyway, I really need a lot of playtest...
- Aug 7, 2014
- 1,241
- 1,025
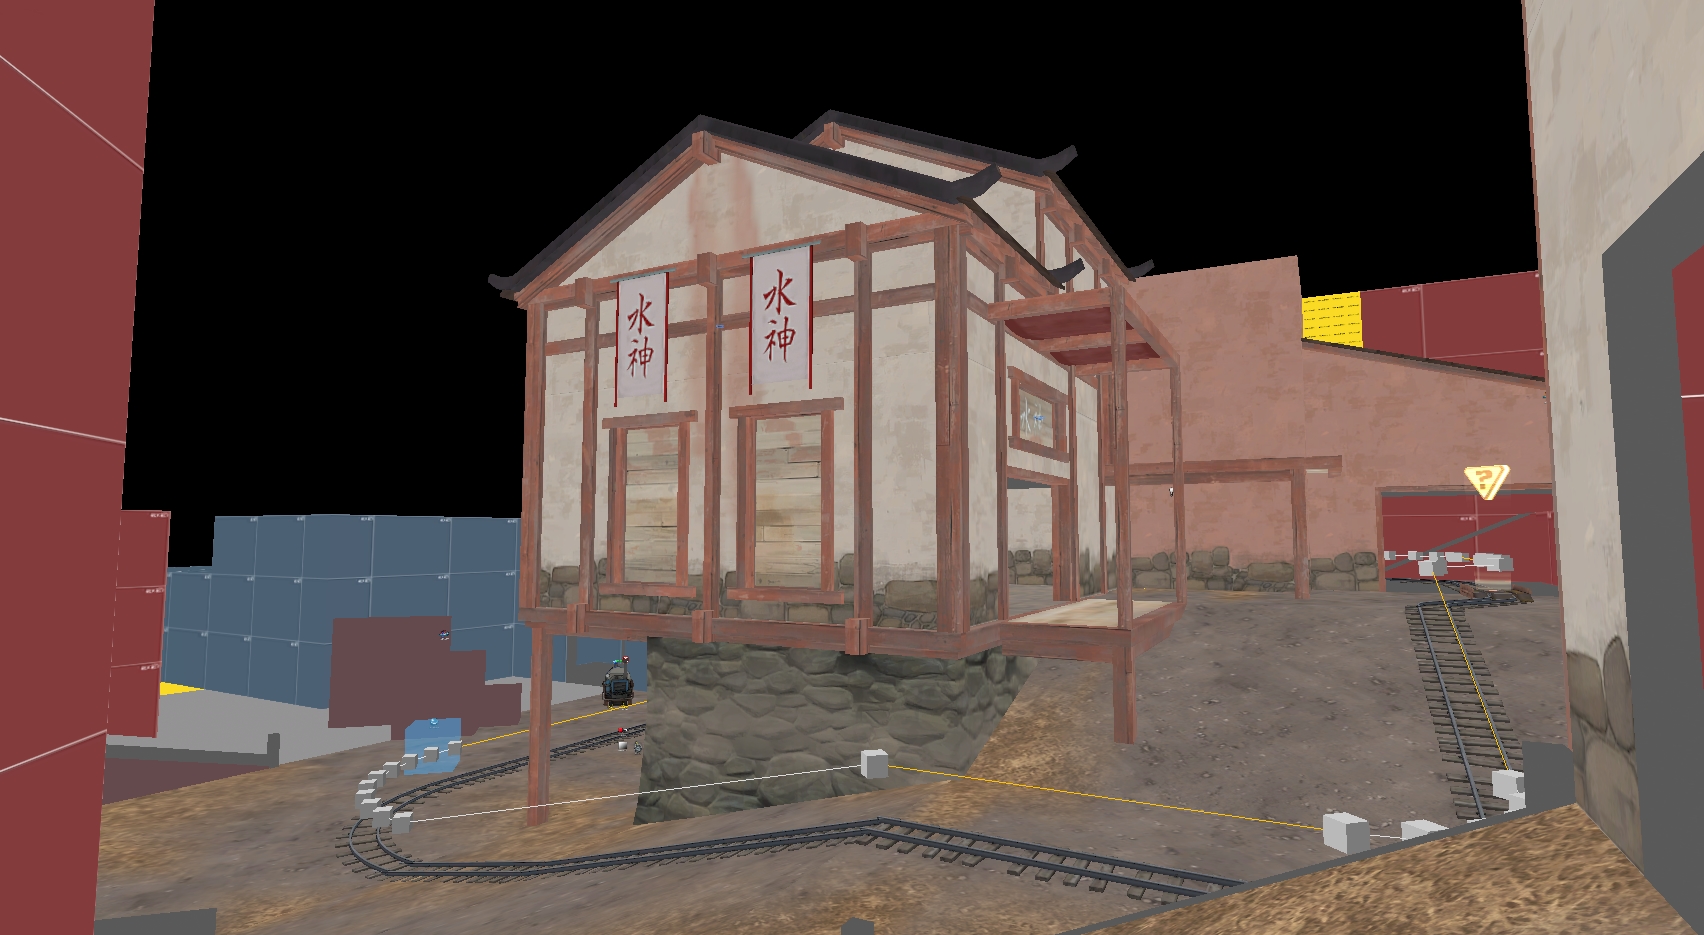
I feel like the colour red is a bit too prominent throughout this map this map. In most other payload maps red emerges more in the detailing the closer the cart comes to the last point, featuring more blues and neutral colours before then. It's a fairly easy way to lead players around the map I feel.
alkaL1ne
L1: Registered
- Dec 20, 2015
- 24
- 12
There's a massive sightline at 1. Not at 1 itself, but just around that corner. It's also extremely open, so it's not even like the Tunnel in Badwater or the section inside the second barn (the one which houses 2) in Barnblitz, so you're exposed from a big height pretty much all the time, which makes it harder to try and take down the guy. 1 was fun in general, just has that minor problem.
As for 3, there's a few main problems with it - the respawn times when 2 is captured but 3 is not are way too long, and Red can barely set up a good defense in that meantime, or just set up a defense in general, seeing as there's a massive height disadvantage for the reds. A little bit more of time just leading the bomb around could put the reds in a slightly more defensible position, but the height advantage from up that hill to both sides is actually pretty powerful.
Anyway, just my two cents.

")


Tibet theme hype?
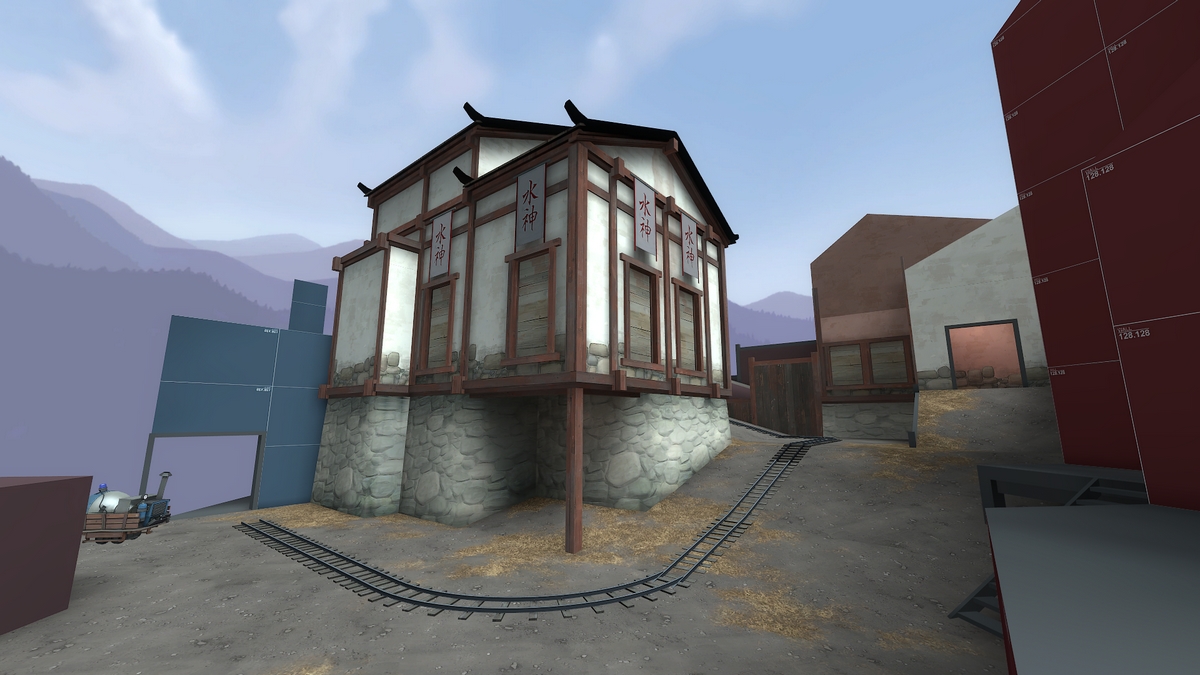
Tbh i'm heading more and more toward a Japanese theme, tibetan's buildings use way less wood. I'm not quite sure the direction i'm taking atm ^^
What ever the geological reference point is, looks cool.Tbh i'm heading more and more toward a Japanese theme, tibetan's buildings use way less wood. I'm not quite sure the direction i'm taking atm ^^

I think thats because its a collaboration between Ravage and 3DnjWas I the only who thought about @3Dnj when first read the name?
3Dnj is alive, has a computer, internet connection and Hammer? Just like us all! Unbelievable!I think thats because its a collaboration between Ravage and 3Dnj
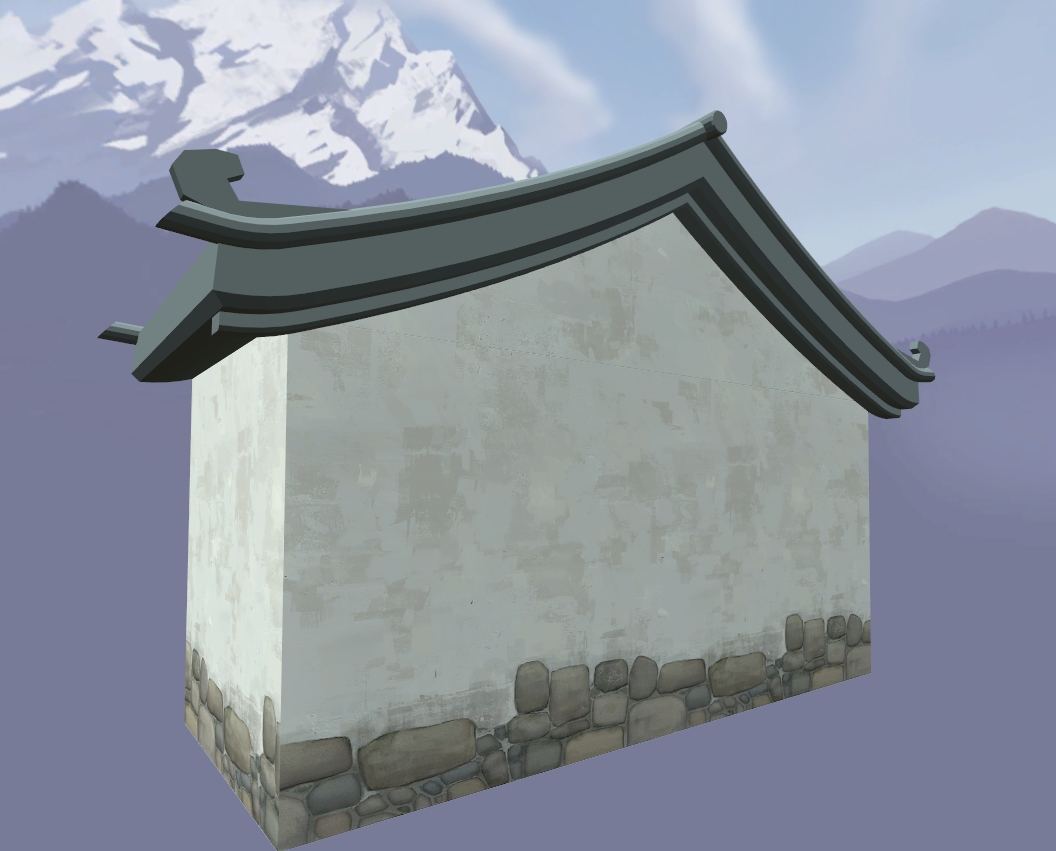
FWIW, I'm doing some more Japanese roofs to expand on the Japan Pack that might help: http://i.imgur.com/viLNtSY.jpg
Should be releasing them in the next couple of weeks, once I have a suitable number of variants.
Should be releasing them in the next couple of weeks, once I have a suitable number of variants.
