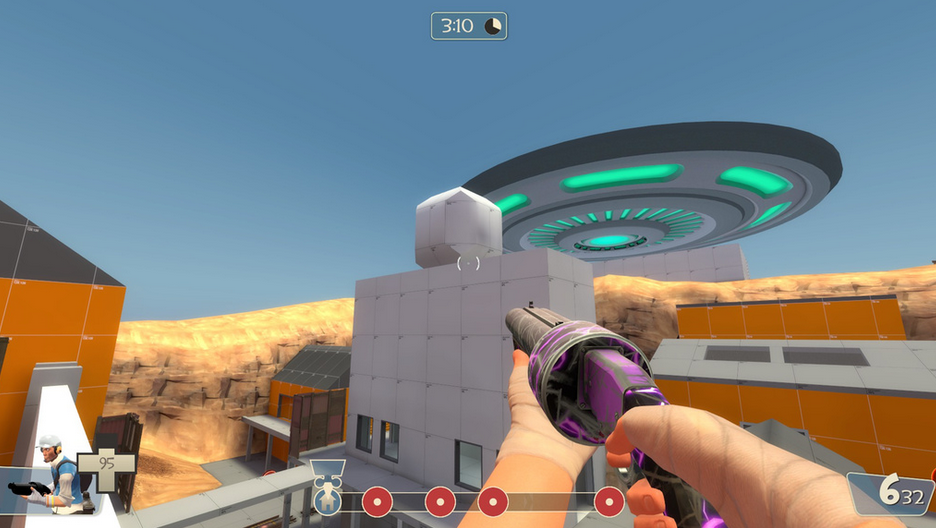
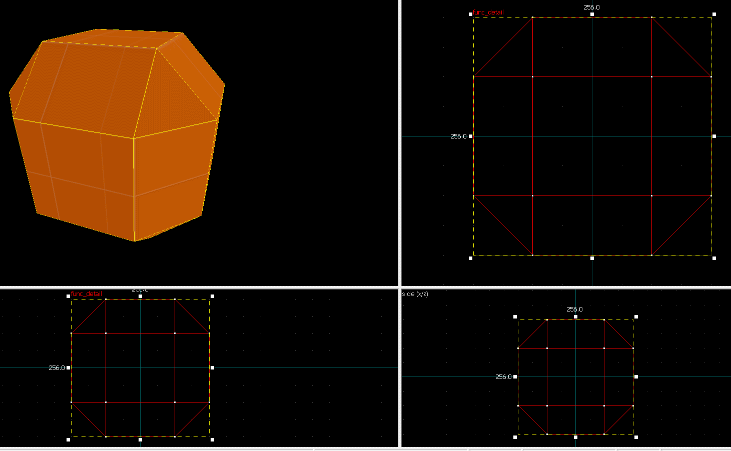
Lots of people have asked about displacements recently, and with YM's tutorial being half-broken, and IMO a inferior method of constructing displacements, I've been requested a few times to write this tutorial on how I do my displacements.
Disclaimer: This tutorial is more about the method of constructing the base brushes. I will write another tutorial soon on the theory of how to actually sculpt and texture and design the displacements.
This method is a lot faster than the others, and a lot easier on your sanity.
I will be using a similar cliff structure to YM's original tutorial in order to highlight the differences.
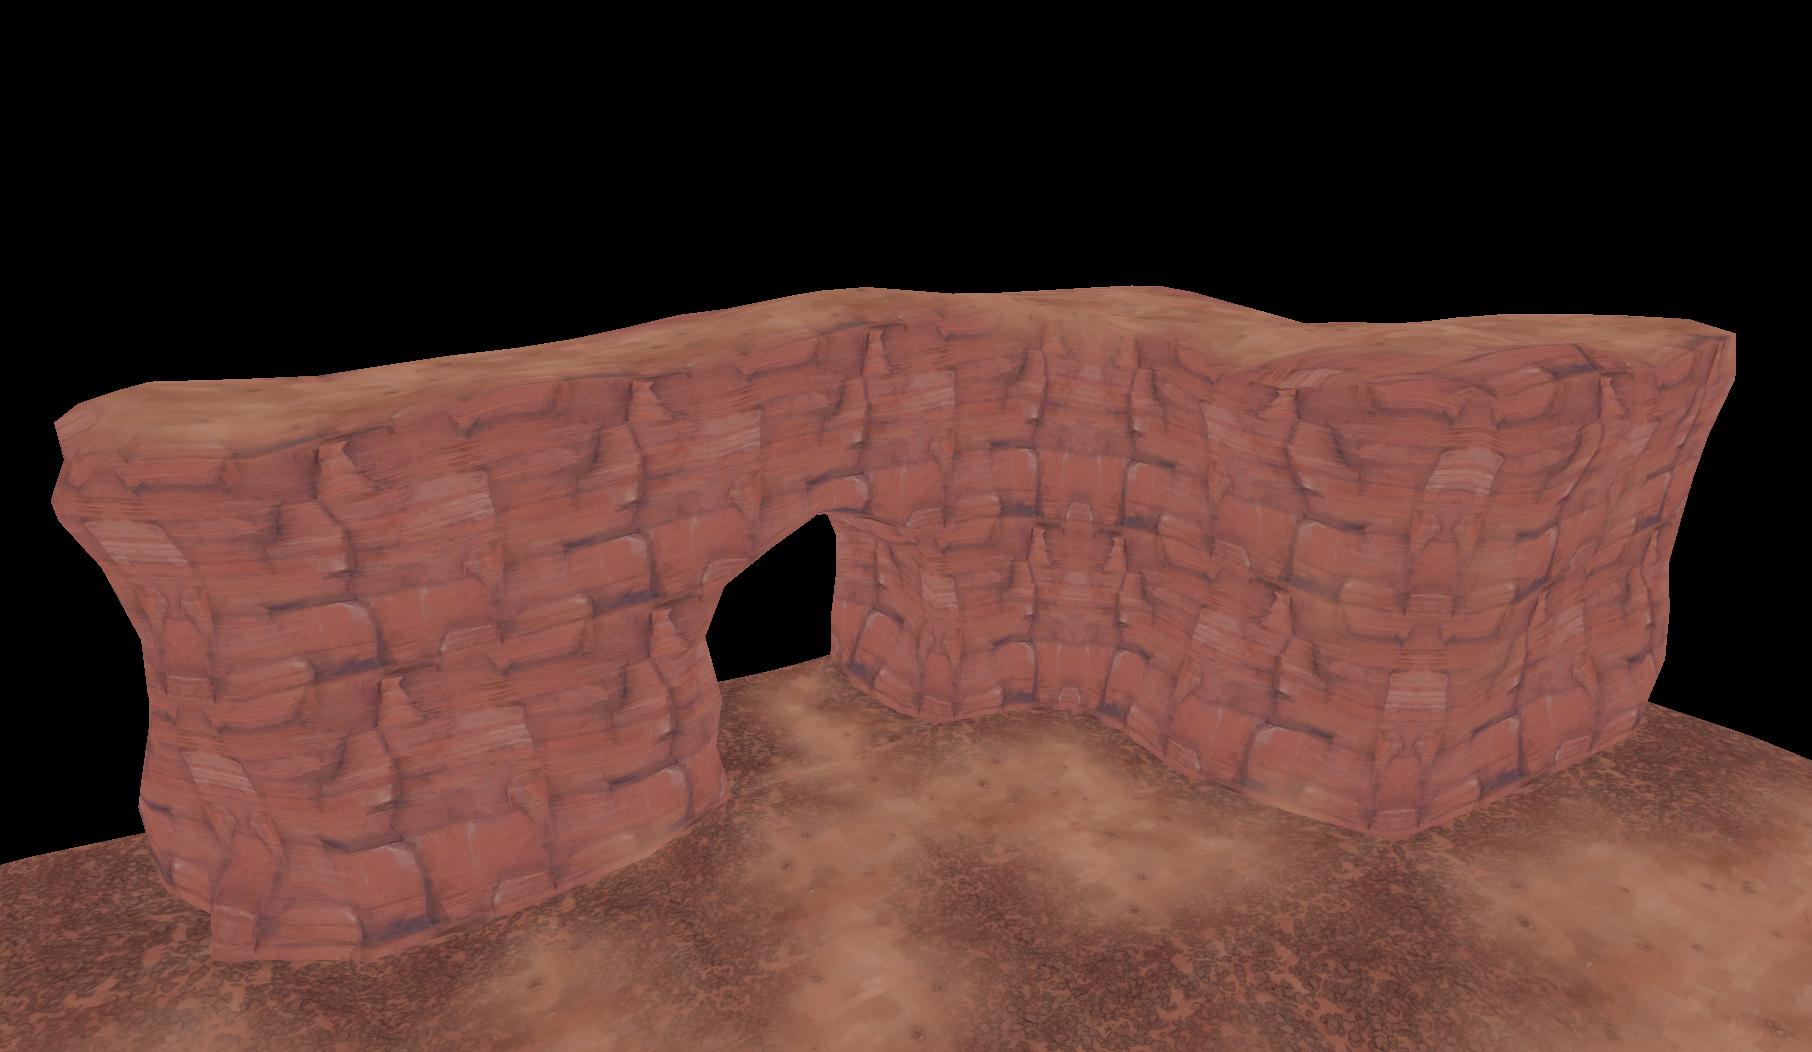
This is the product we will end up with:
The basic foundation of this method is that displacements sew by the alignment of their faces, not the base brush underneath. This means that ALL these configurations below will sew together (faces that turn into displacements are shown selected):
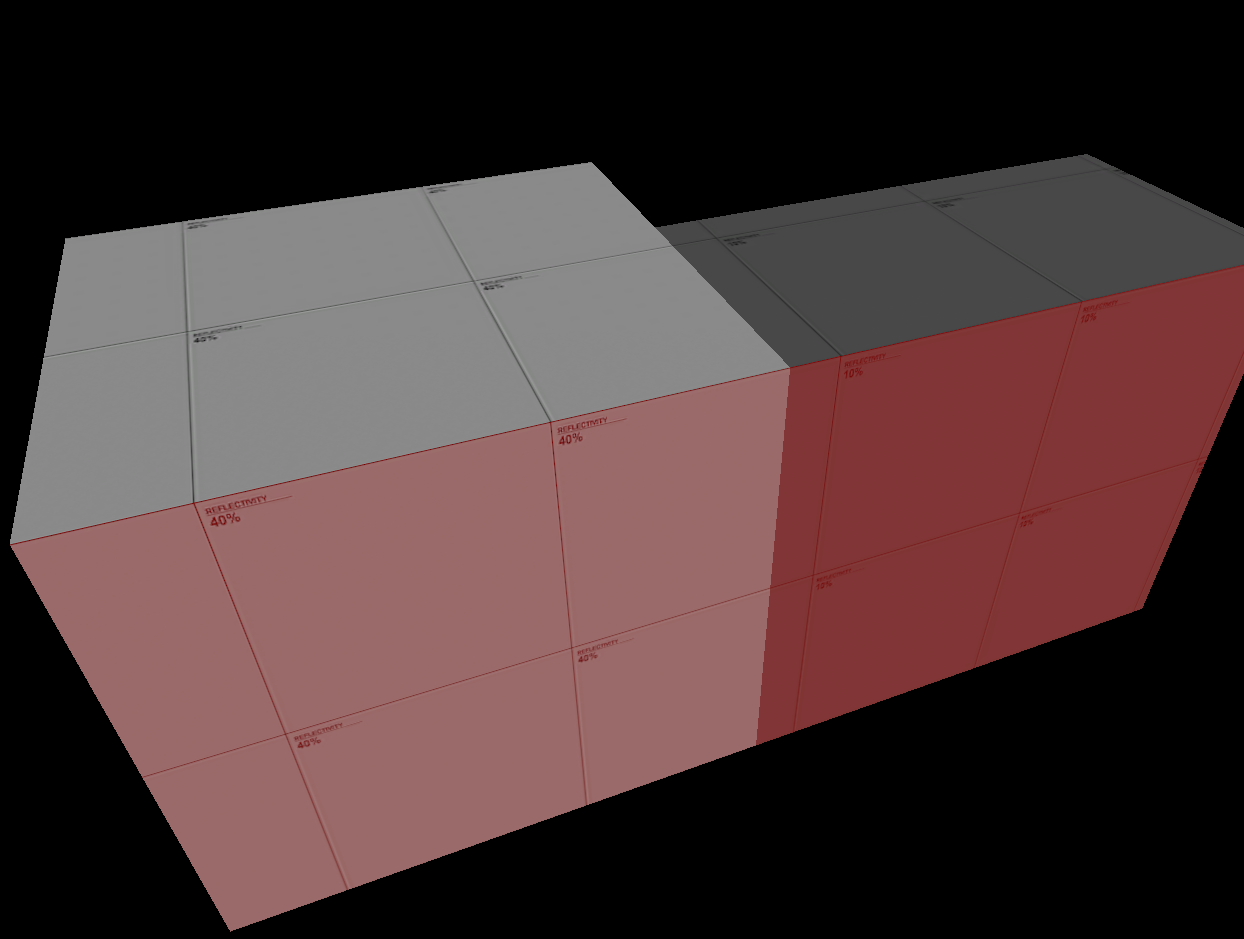
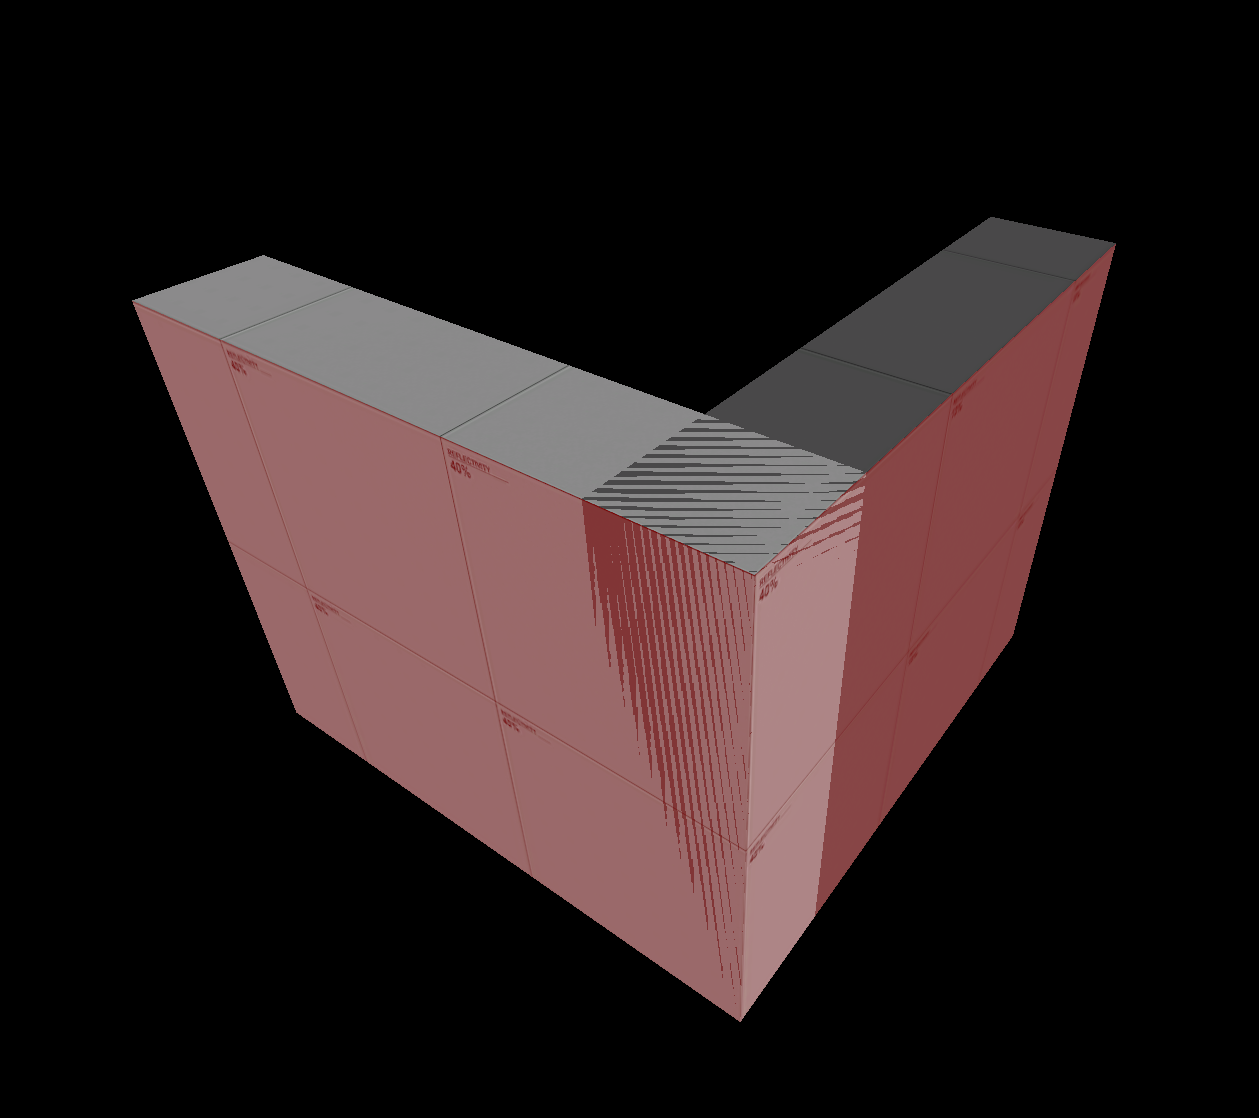
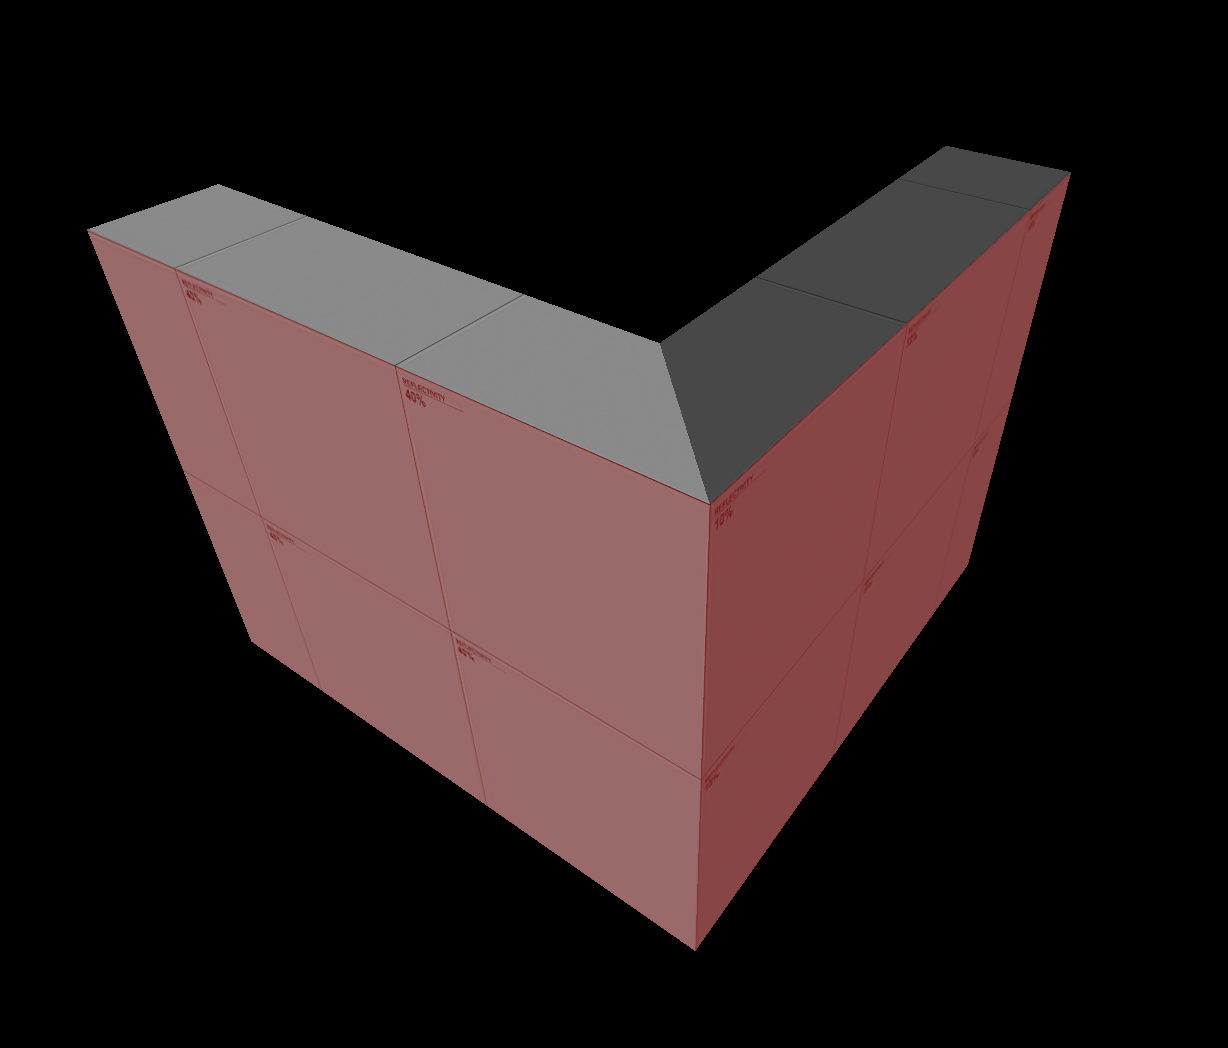
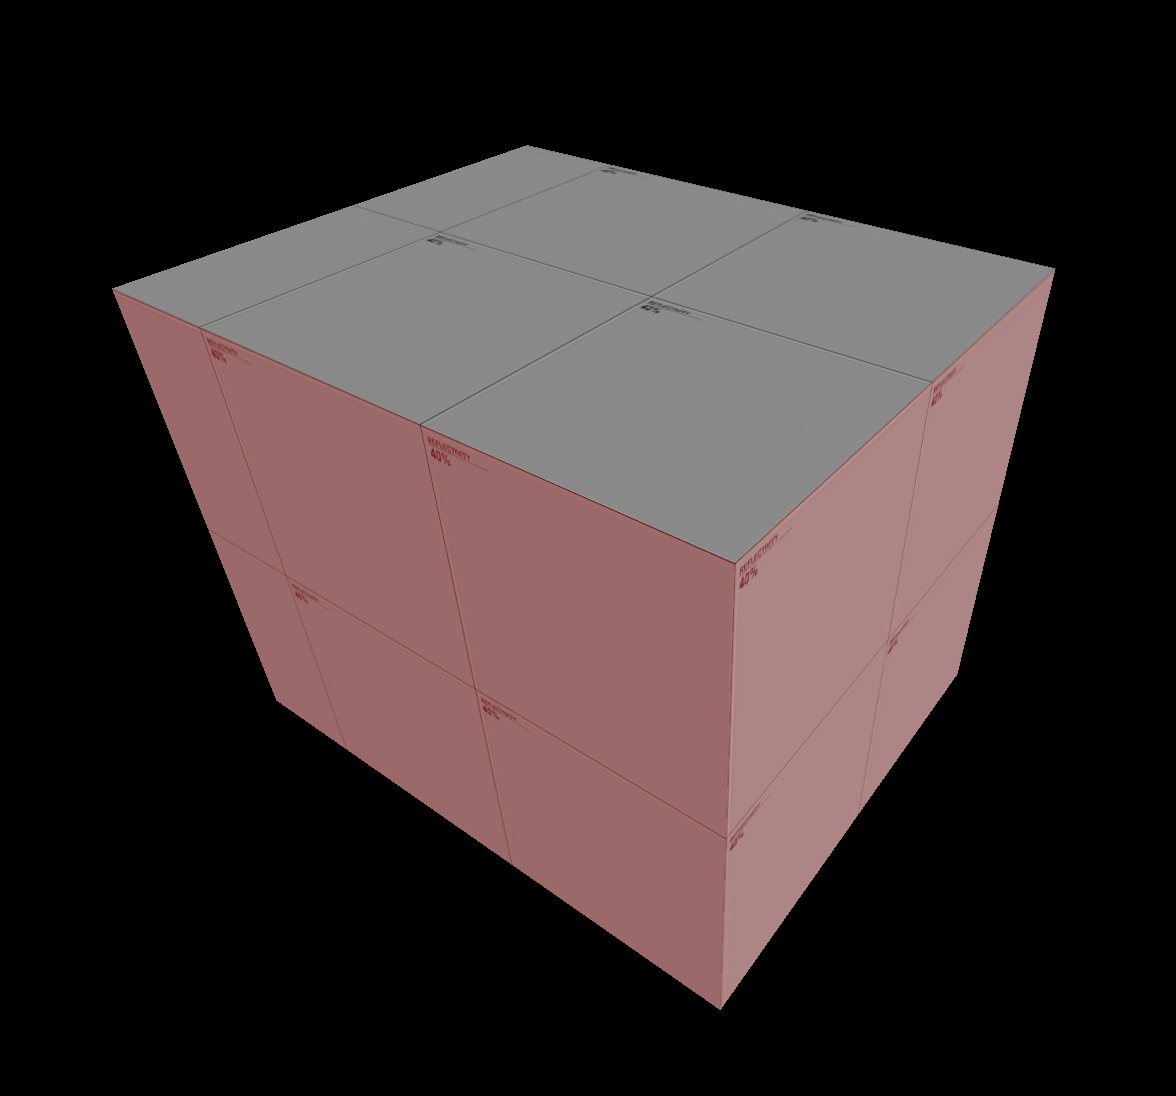
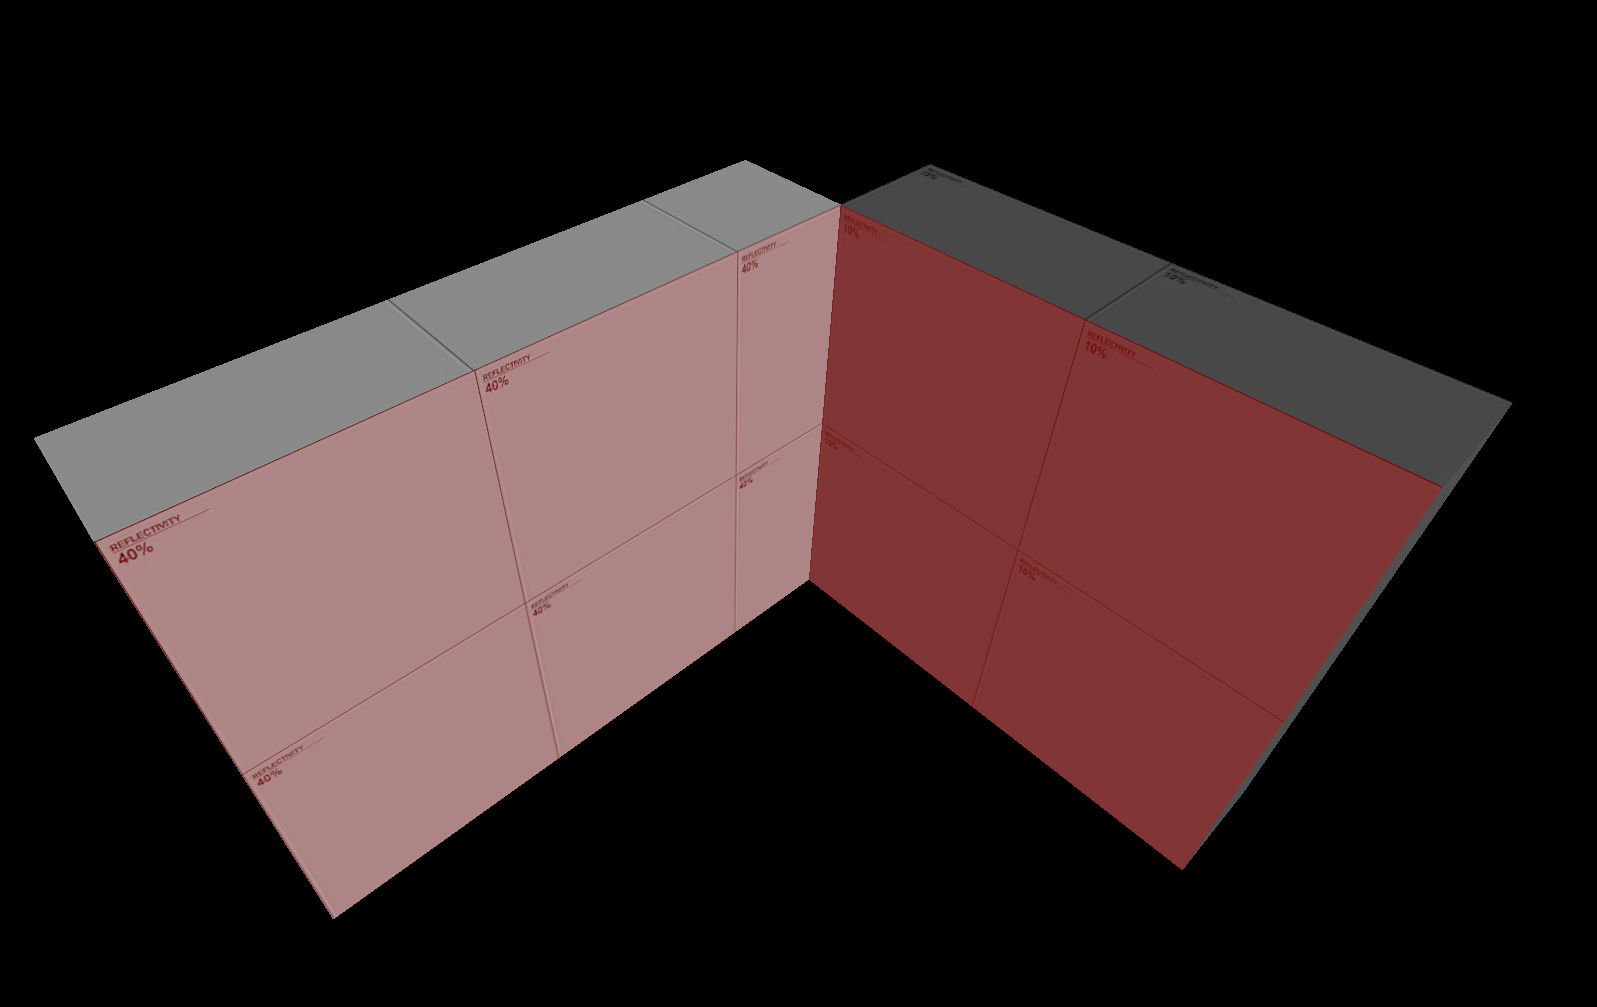
So what does this mean? This means that instead of complicatedly constructing your displacements with miltered corners and thick brushes, which gets almost nightmarish on complex structures, we can build our displacements out of basic blocks and still have it all sew nicely together. So let's get started!
Here we have the two basic components that will make up this entire cliff structure. A 256x256x256 cube, and a 512x512 ground block.
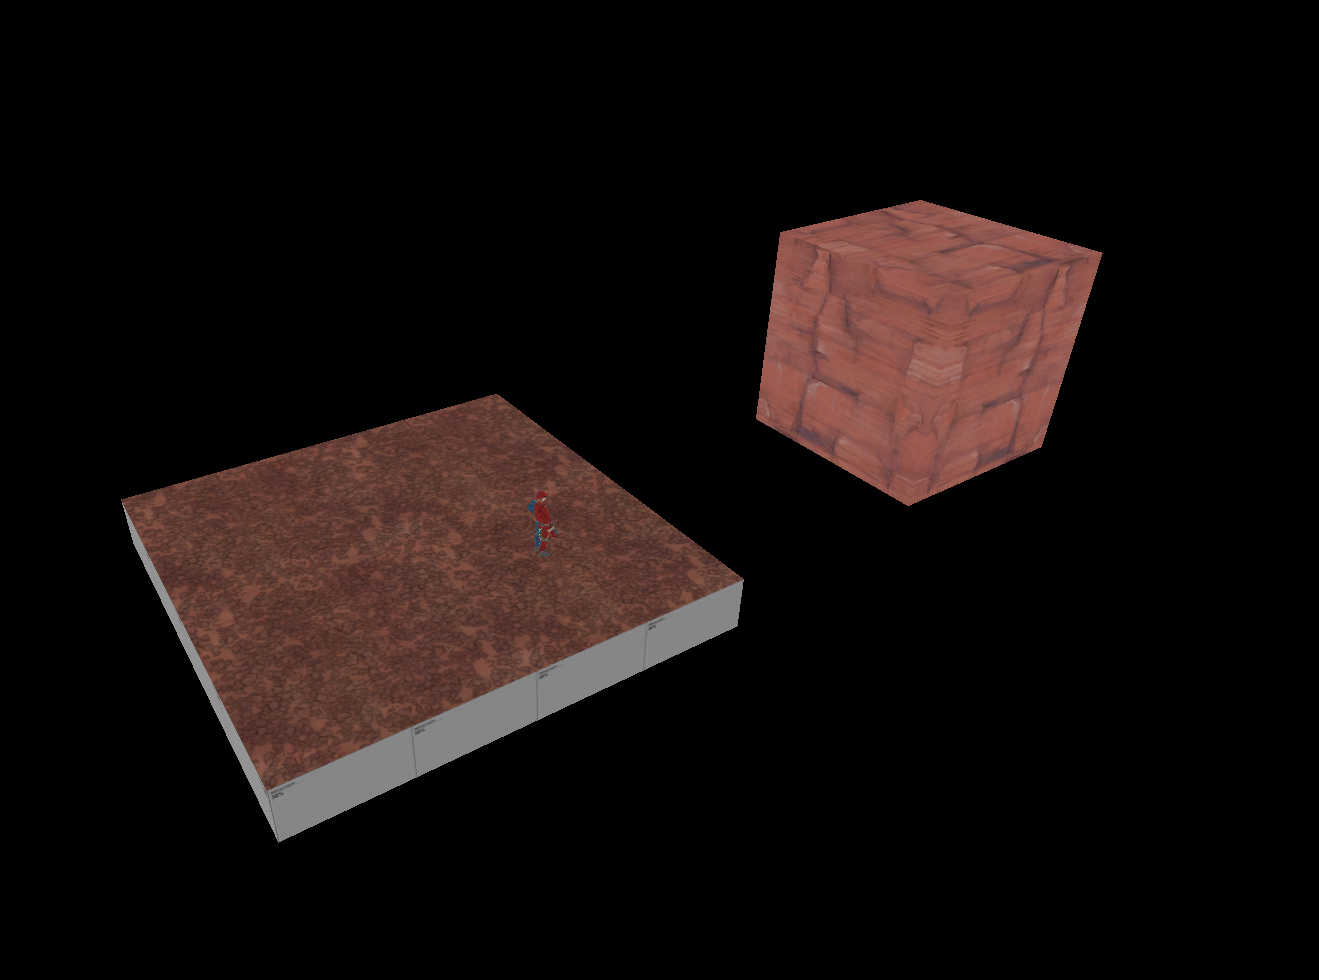
Next, we will shift-drag these cubes and start to build the base brush structure of our cliff. Make sure they stay together - it's just like large lego! As long as they sit nicely together on the grid like this your final product will sew. You can also see hehre I've moved them to align with the ground brush like one of the examples above.
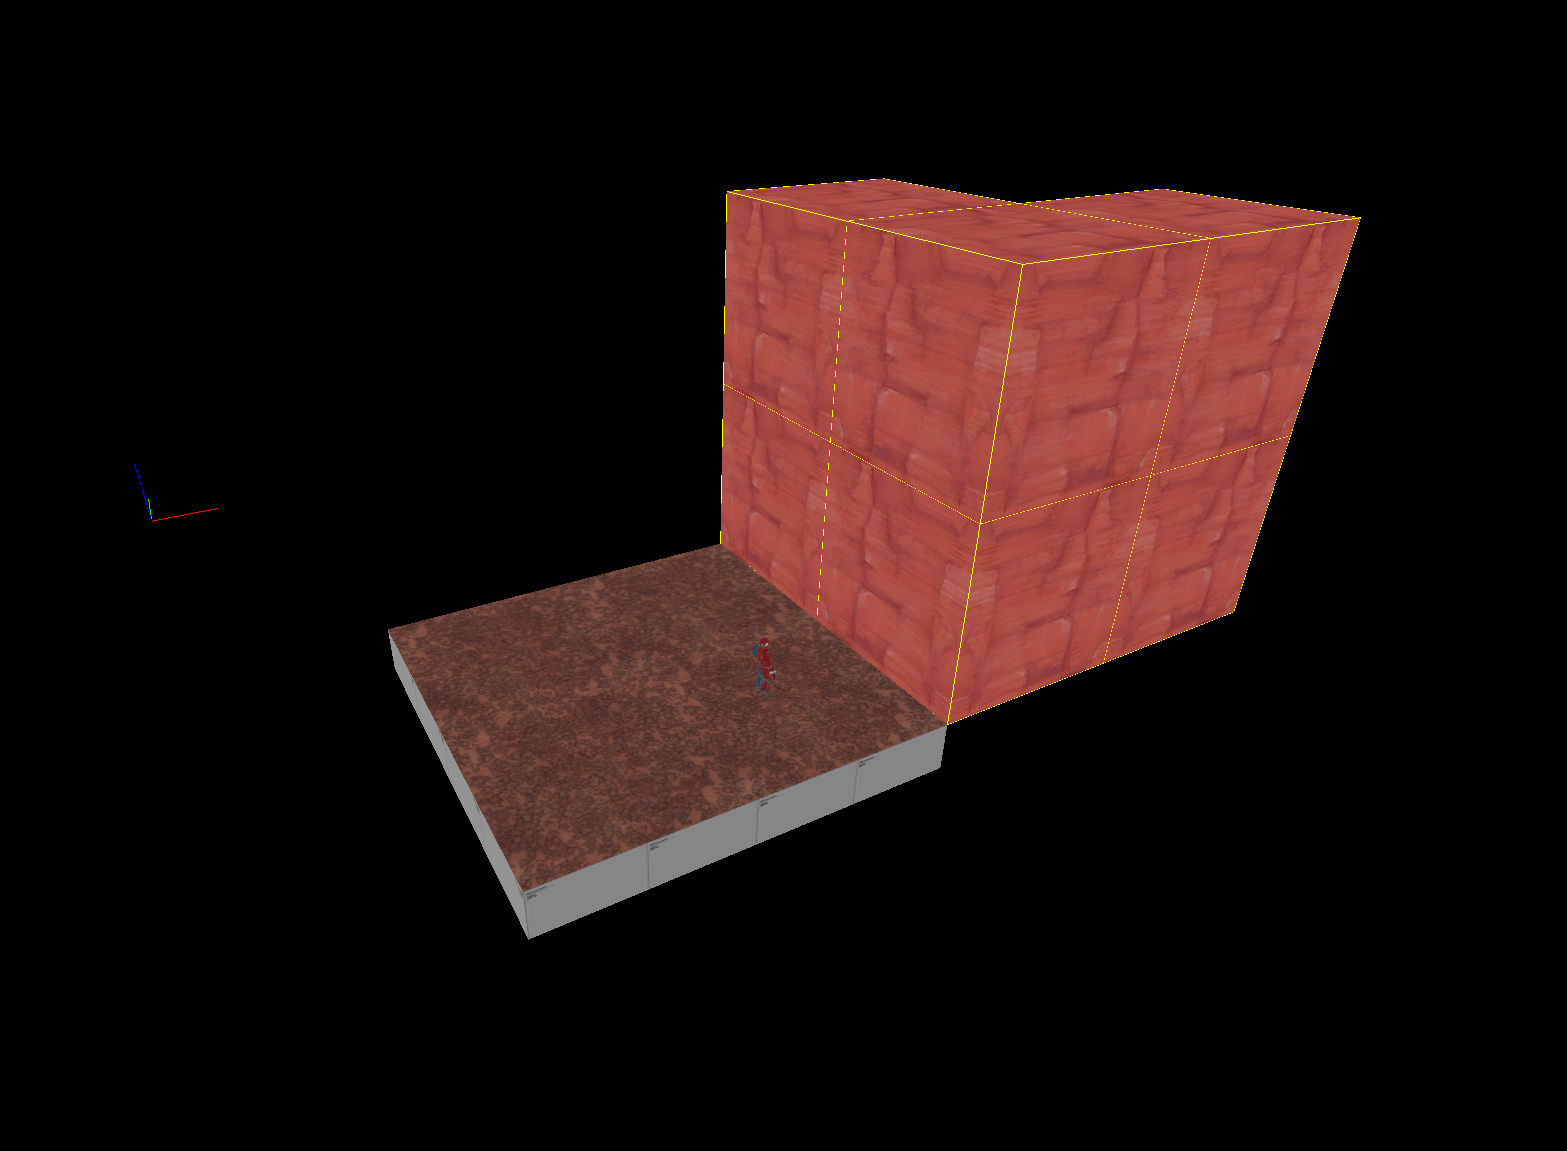
When it comes to inner corners, you don't actually need this brush that I have selected. It won't be seen, and you should delete it when you're done. The top block we'll need though - as the top of it will serve as ground on top of the cliff.
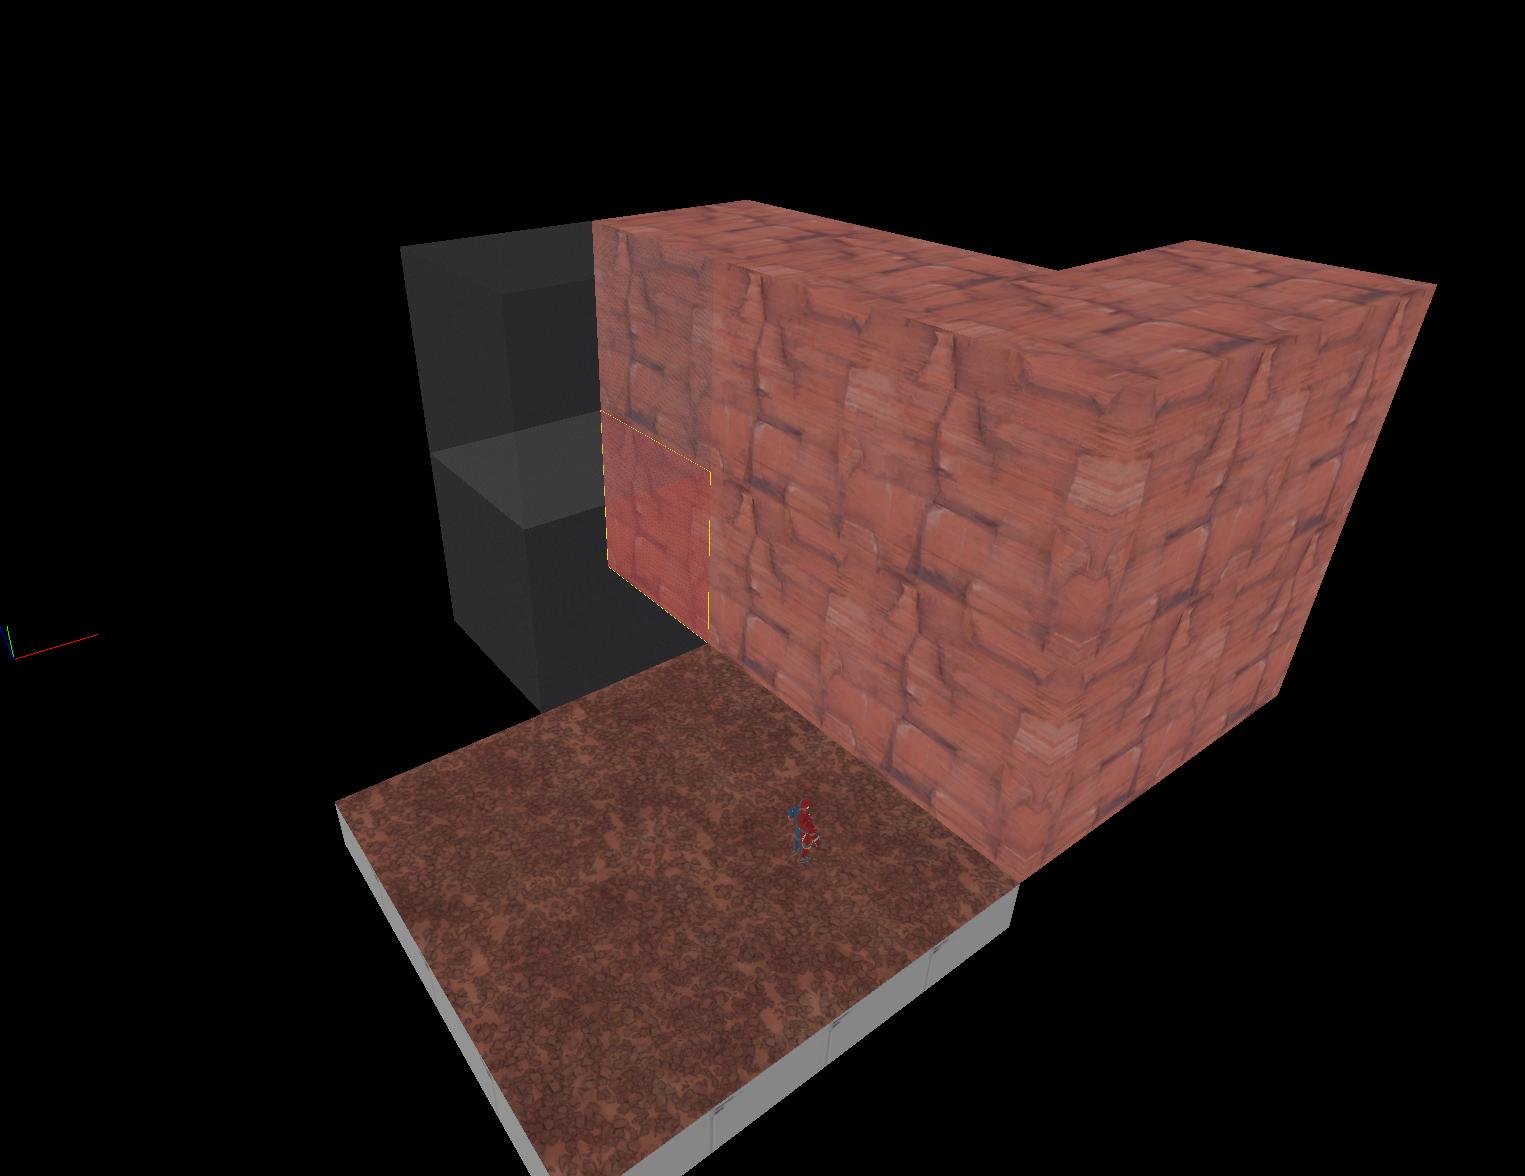
Continuing to build the structure, I've deleted one of the blocks to make the tunnel that will feature at the end of the build.
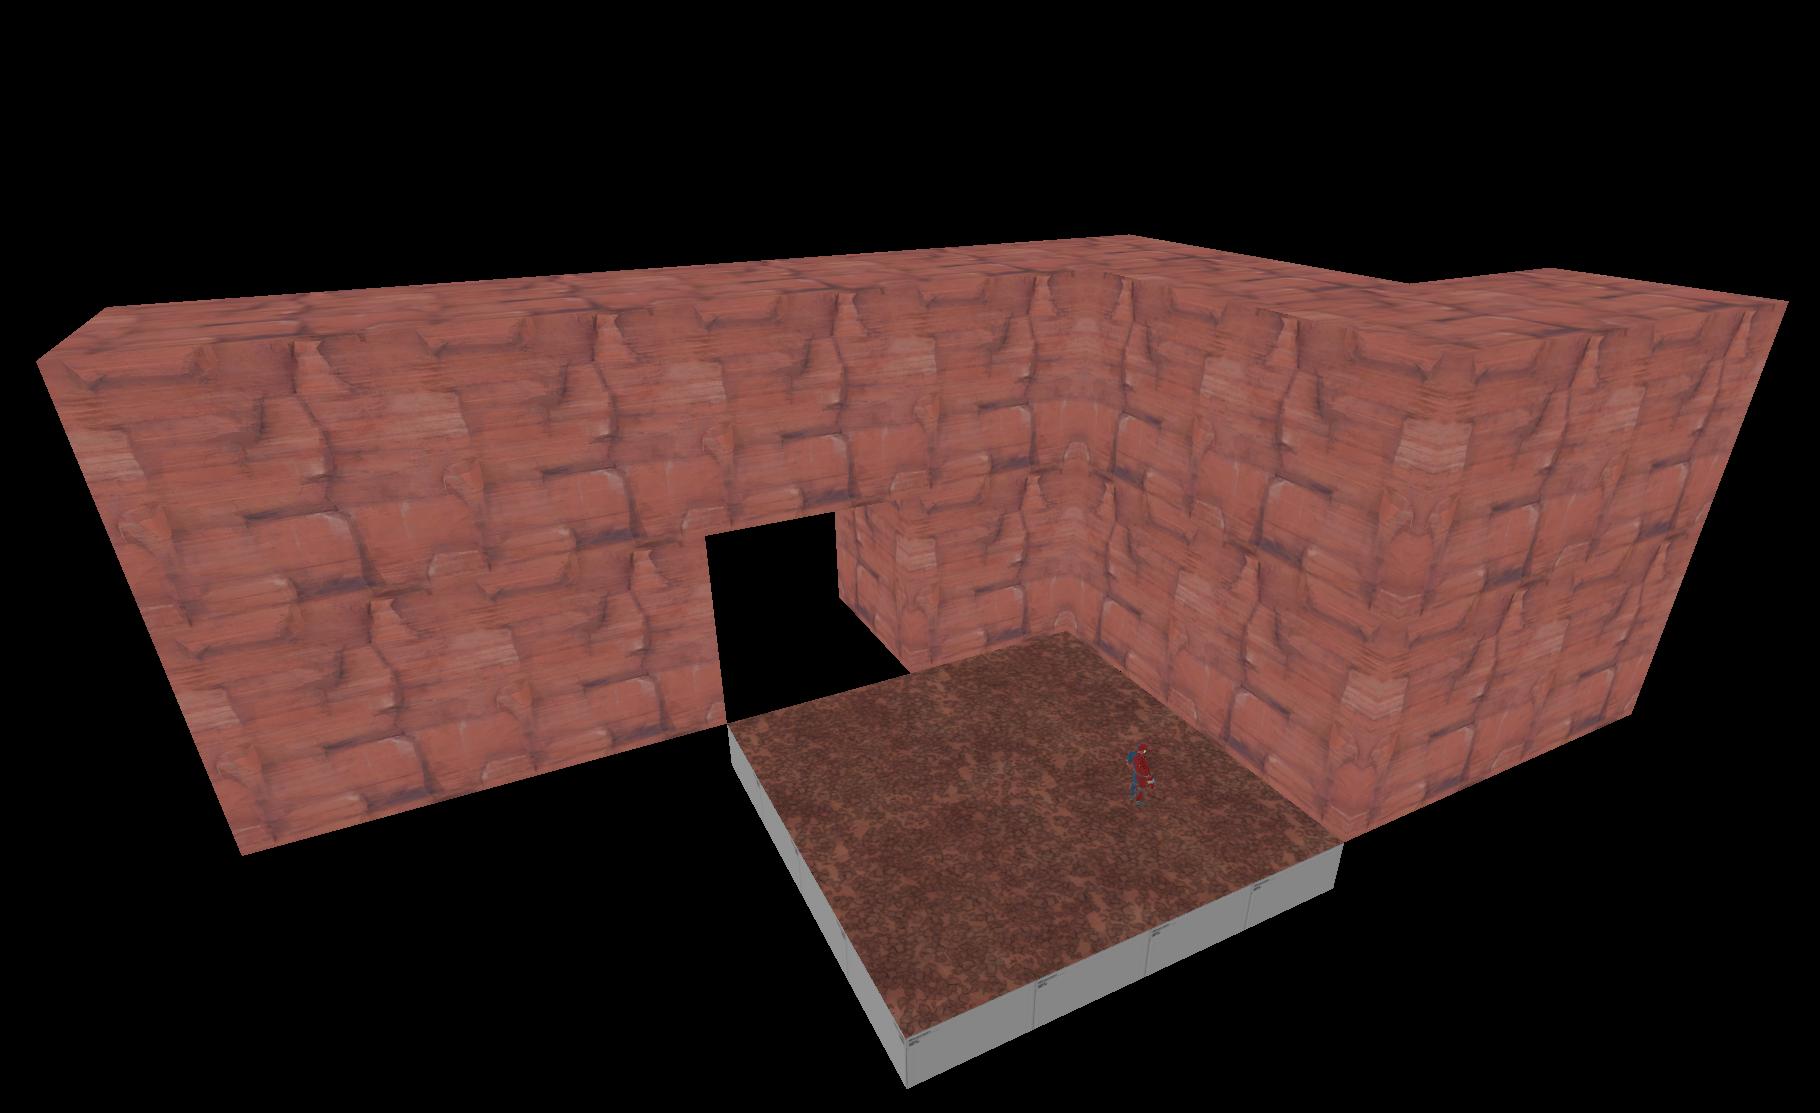
Next, I copied the ground tiles around to that they fill up the ret of the space. You'll notice that they're twice the size of the cliff blocks - this is fine, they'll still sew as long as they're exactly twice the length, or half the length of the touching face. I do this because the ground usually needs a bit less resolution in displacements.
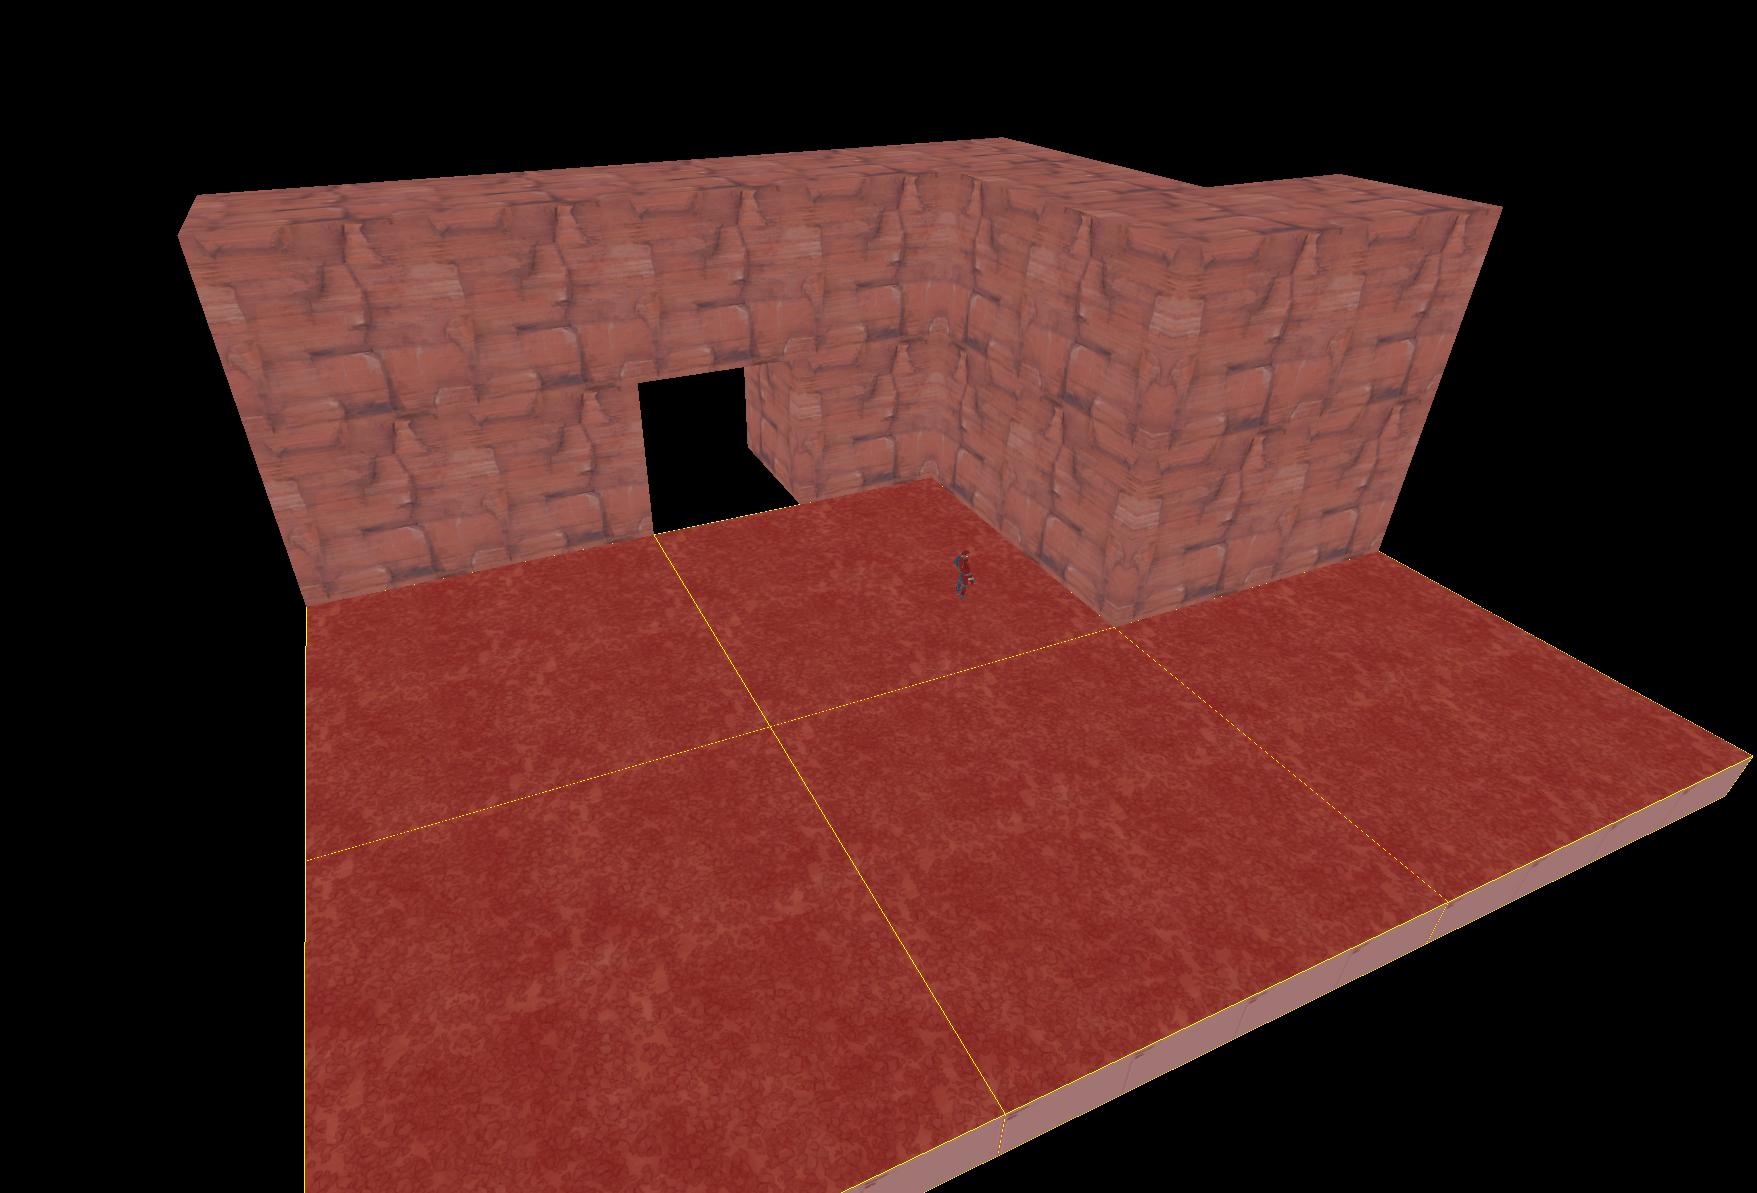
The one inside the tunnel you can downsize to fit nicely.
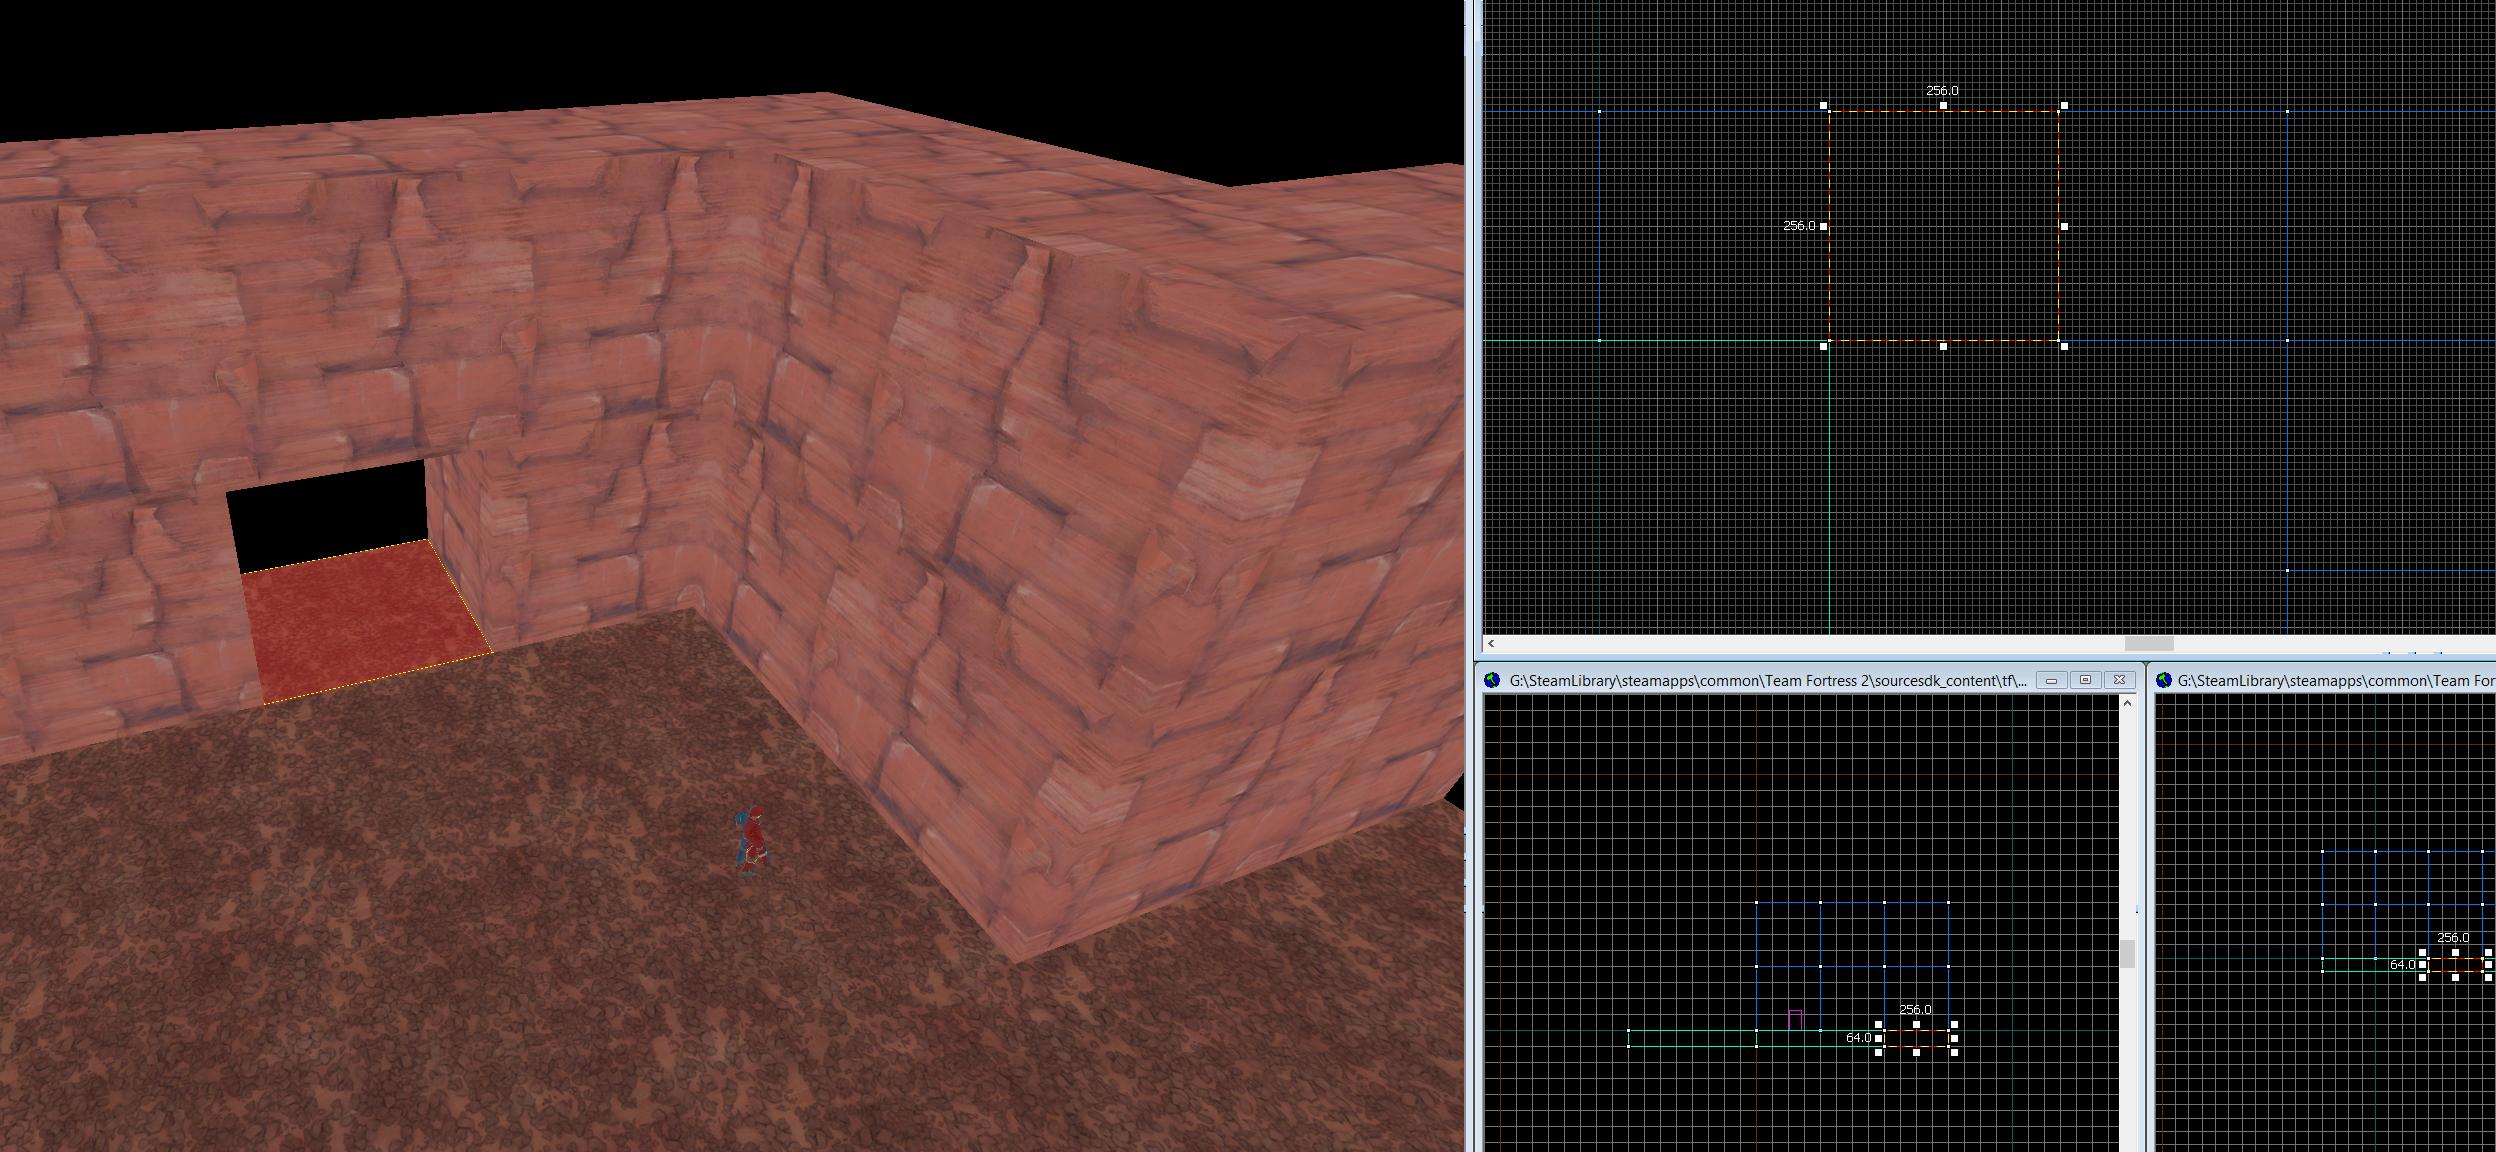
Next, I go ahead and select all the faces that will turn into displacements, at least on the cliff to start with. You can do this is sections, which I reccomend because it's crazy trying to select an entire map's worth of displacements at once.
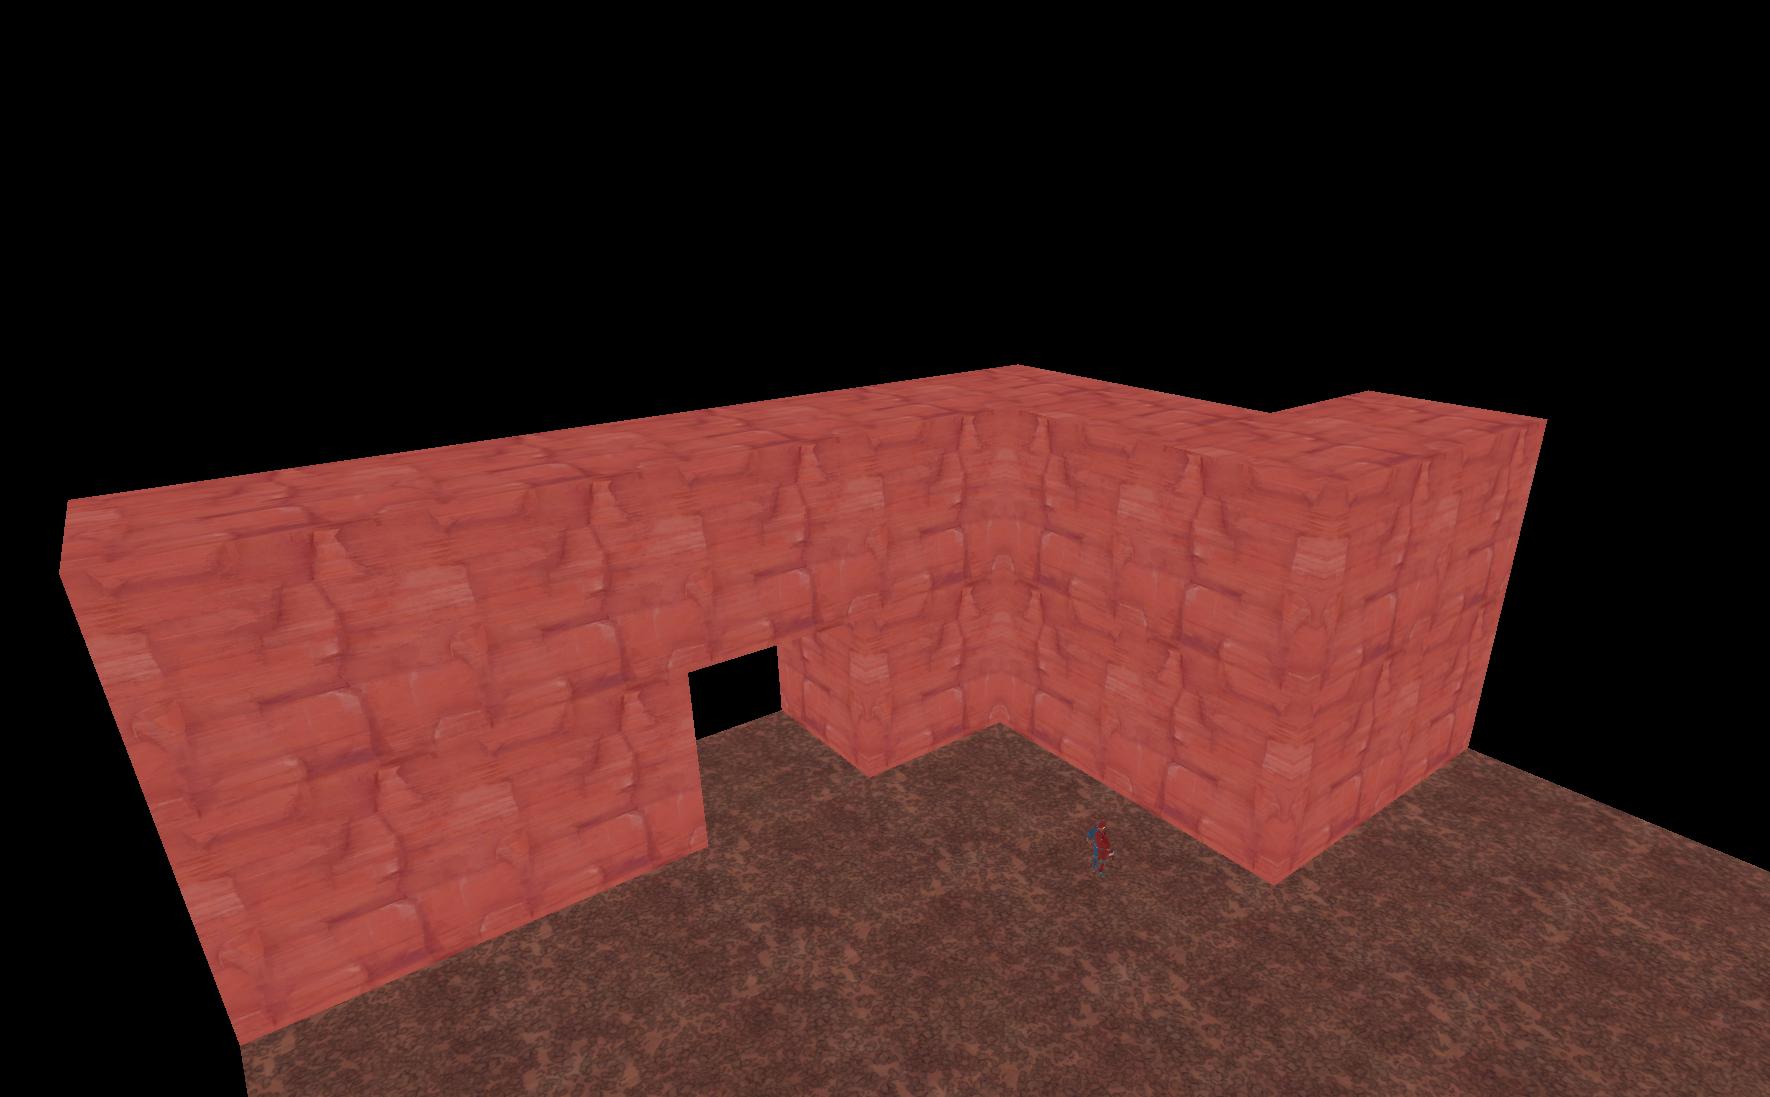
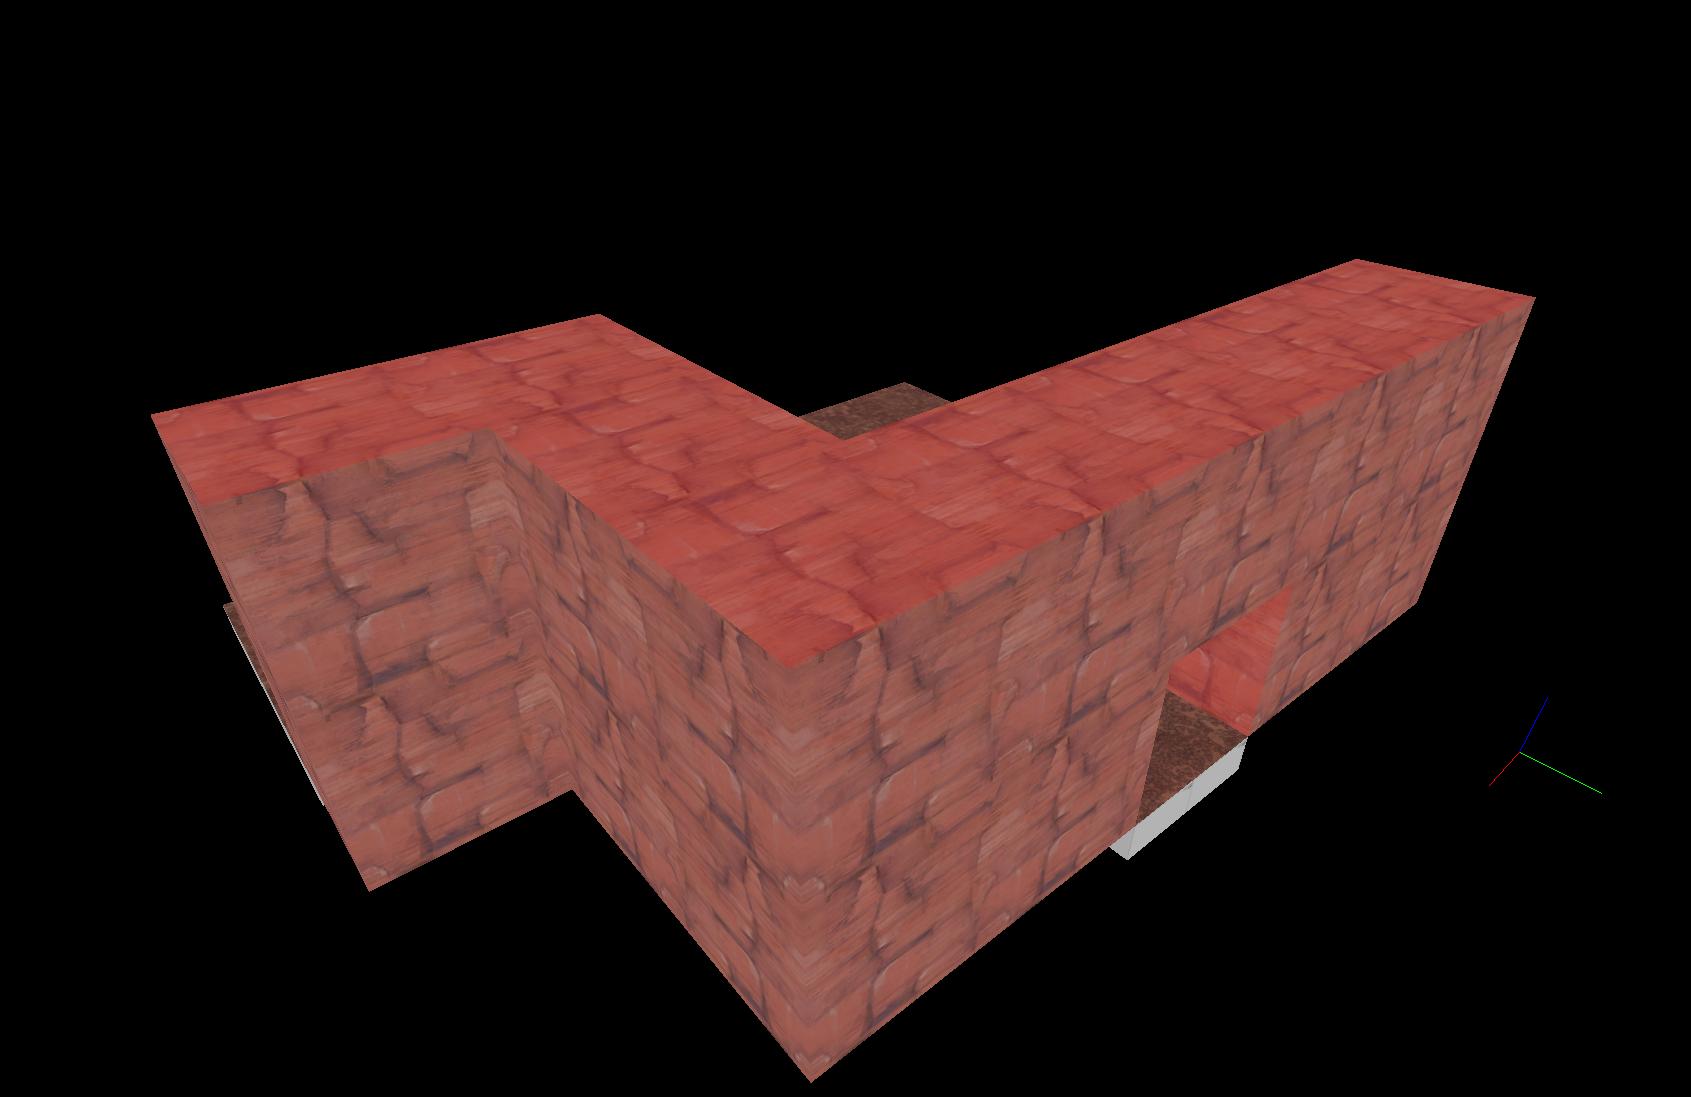
Then turn them into displacements as you'd normally would. I used power 2 here.
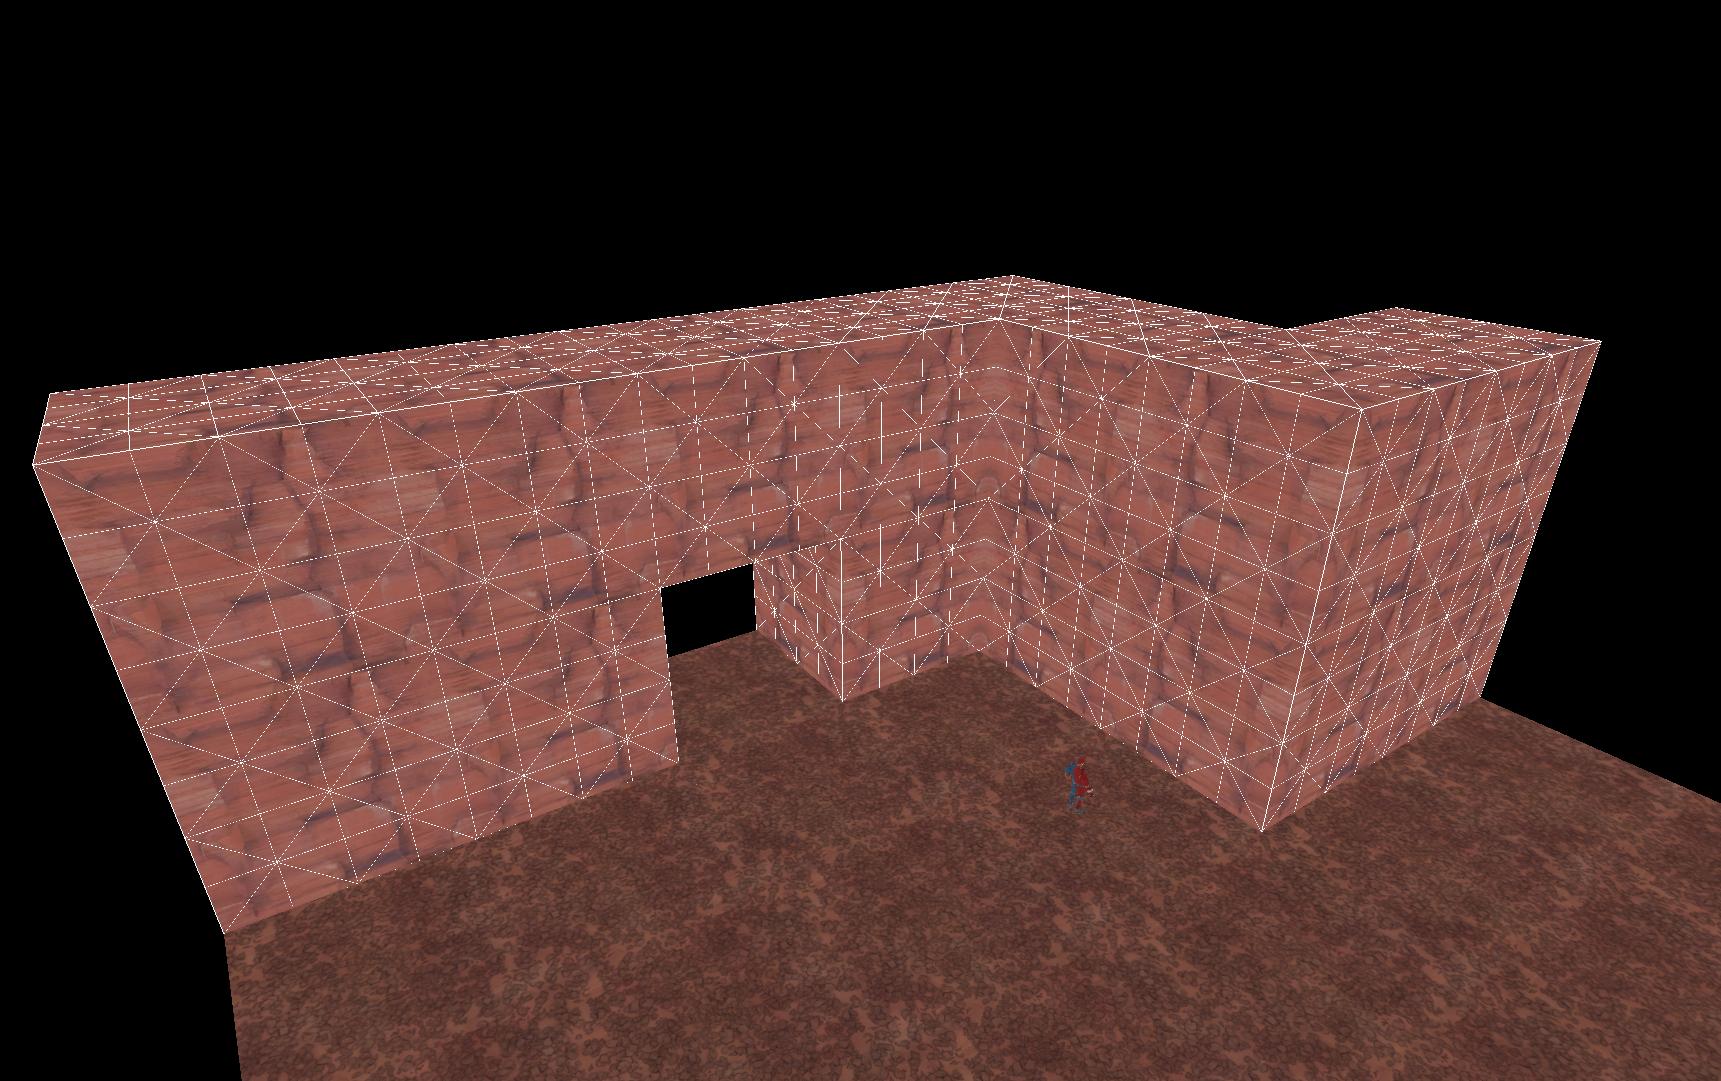
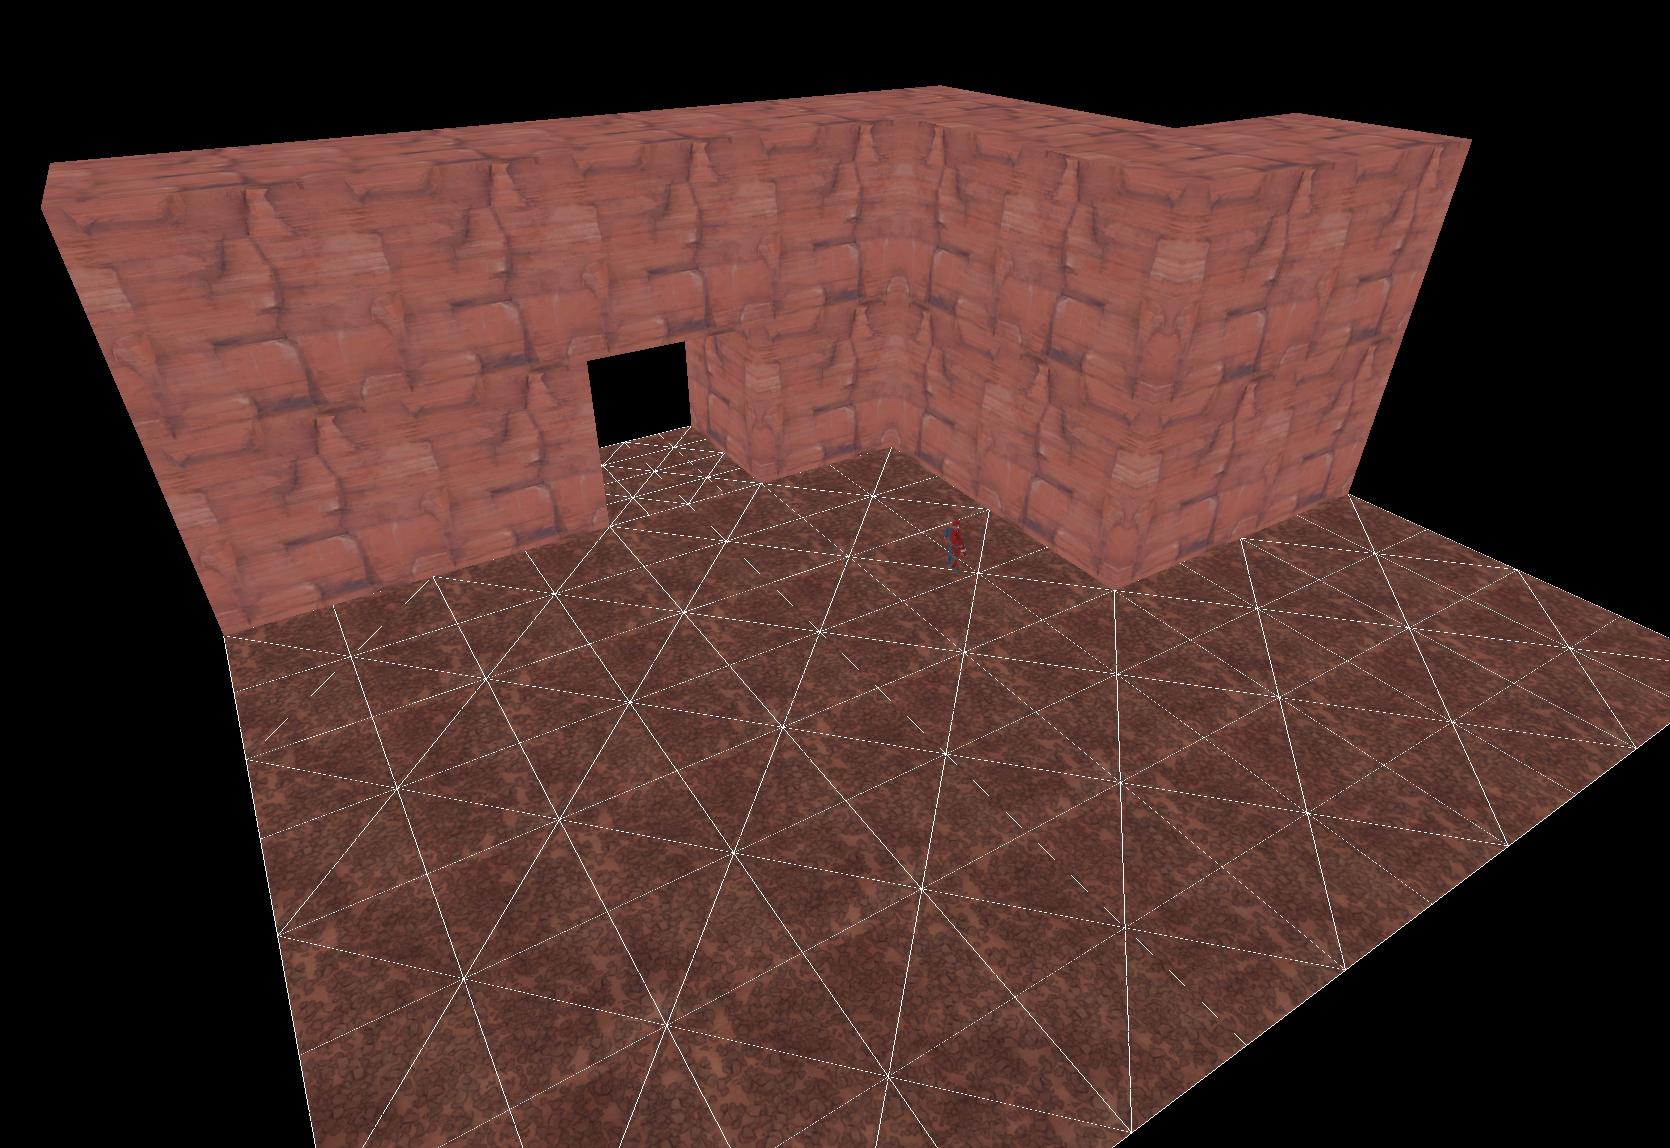
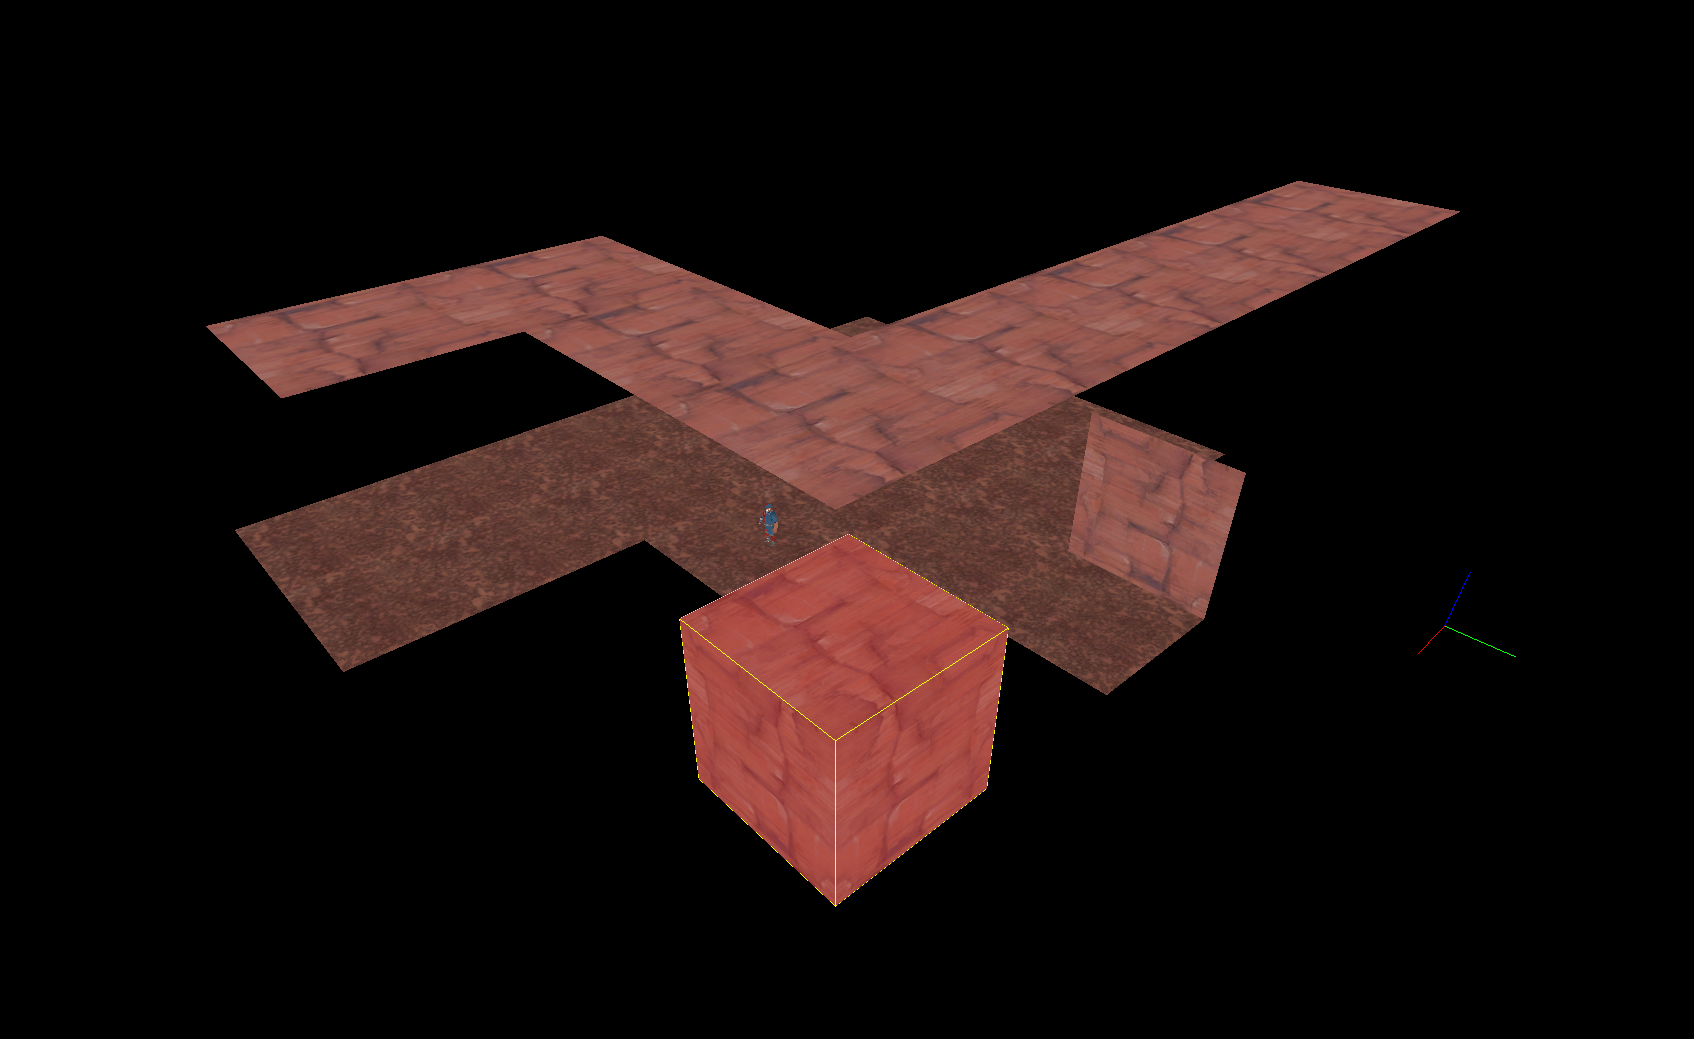
As you can see, the block from earlier was untouched because it has no outward facing faces. This is usually when I delete it.
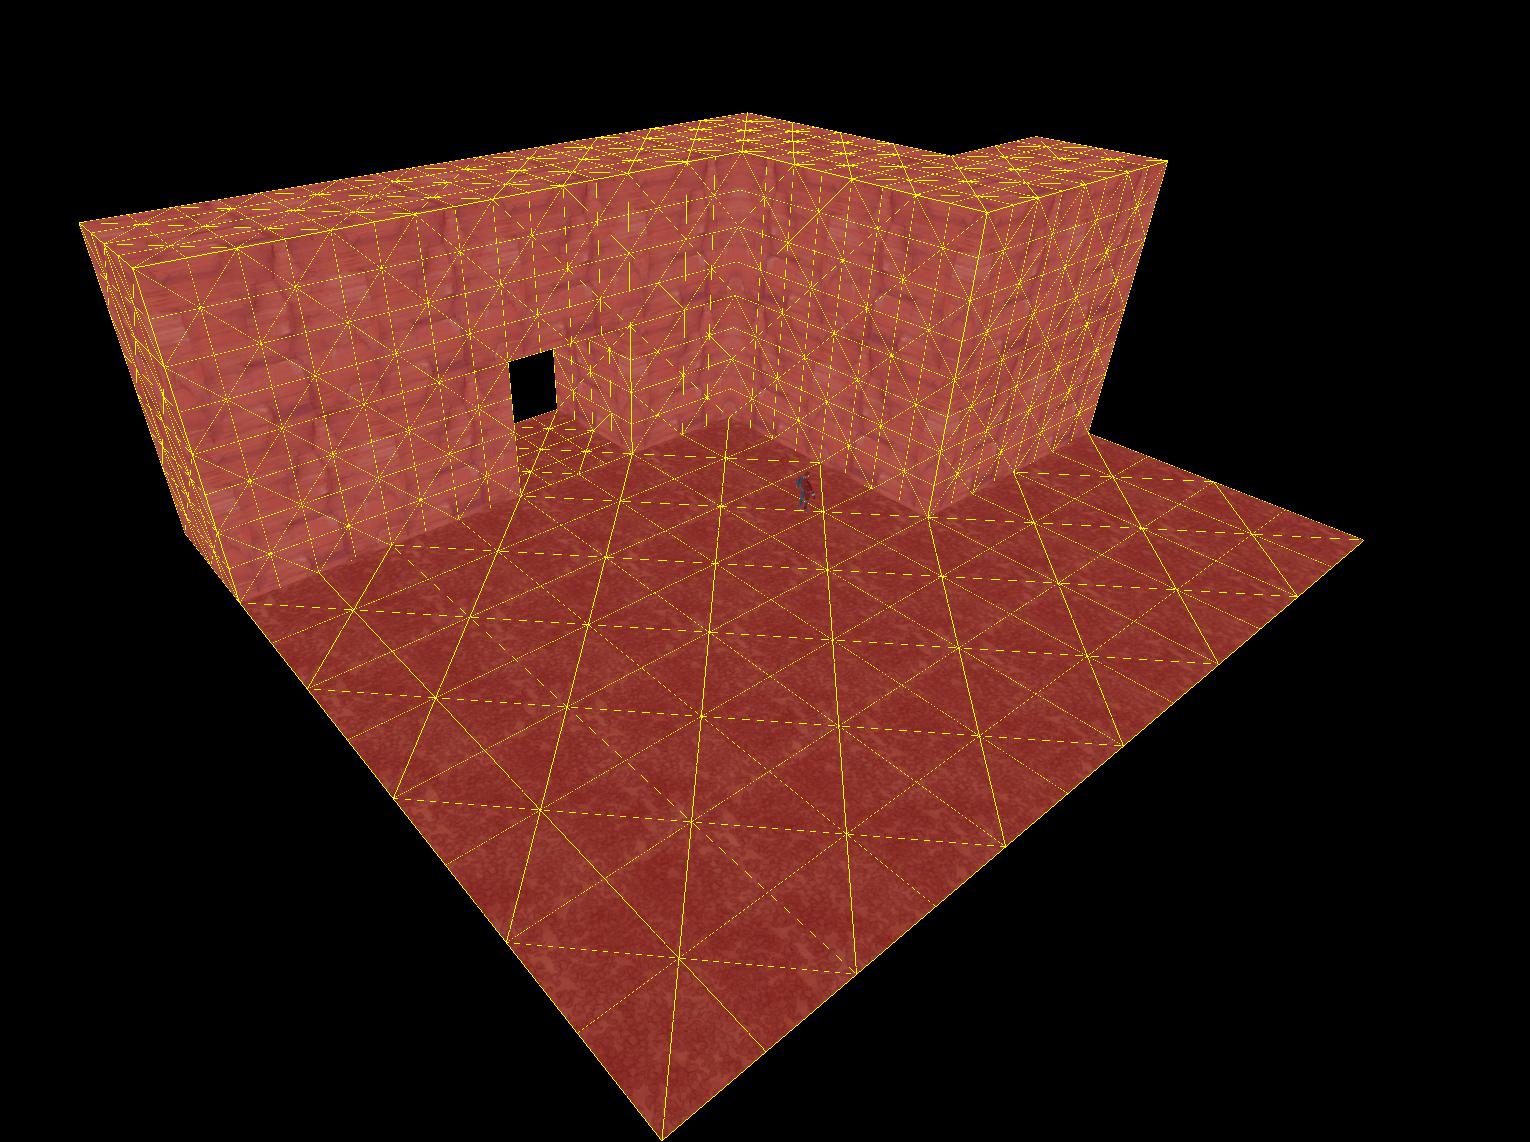
And this is our final structure - all turned into displacements and it should sew perfectly together.
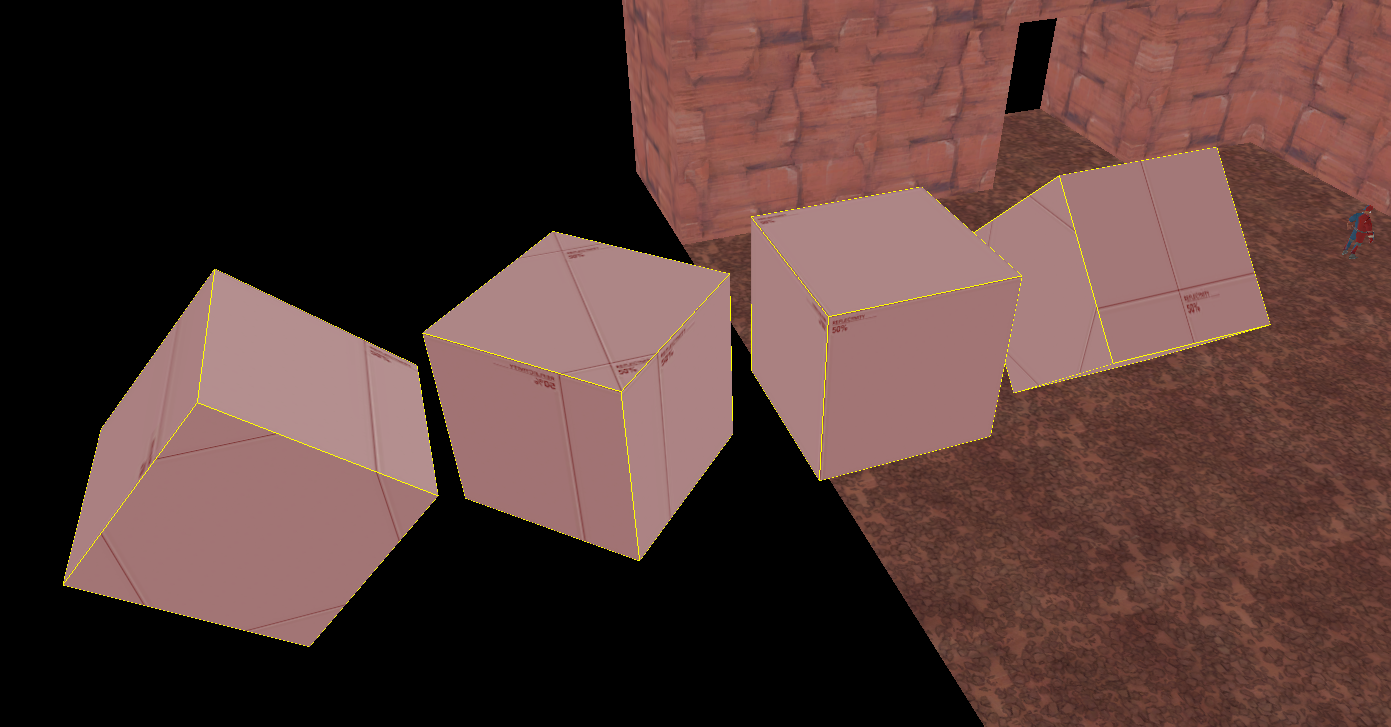
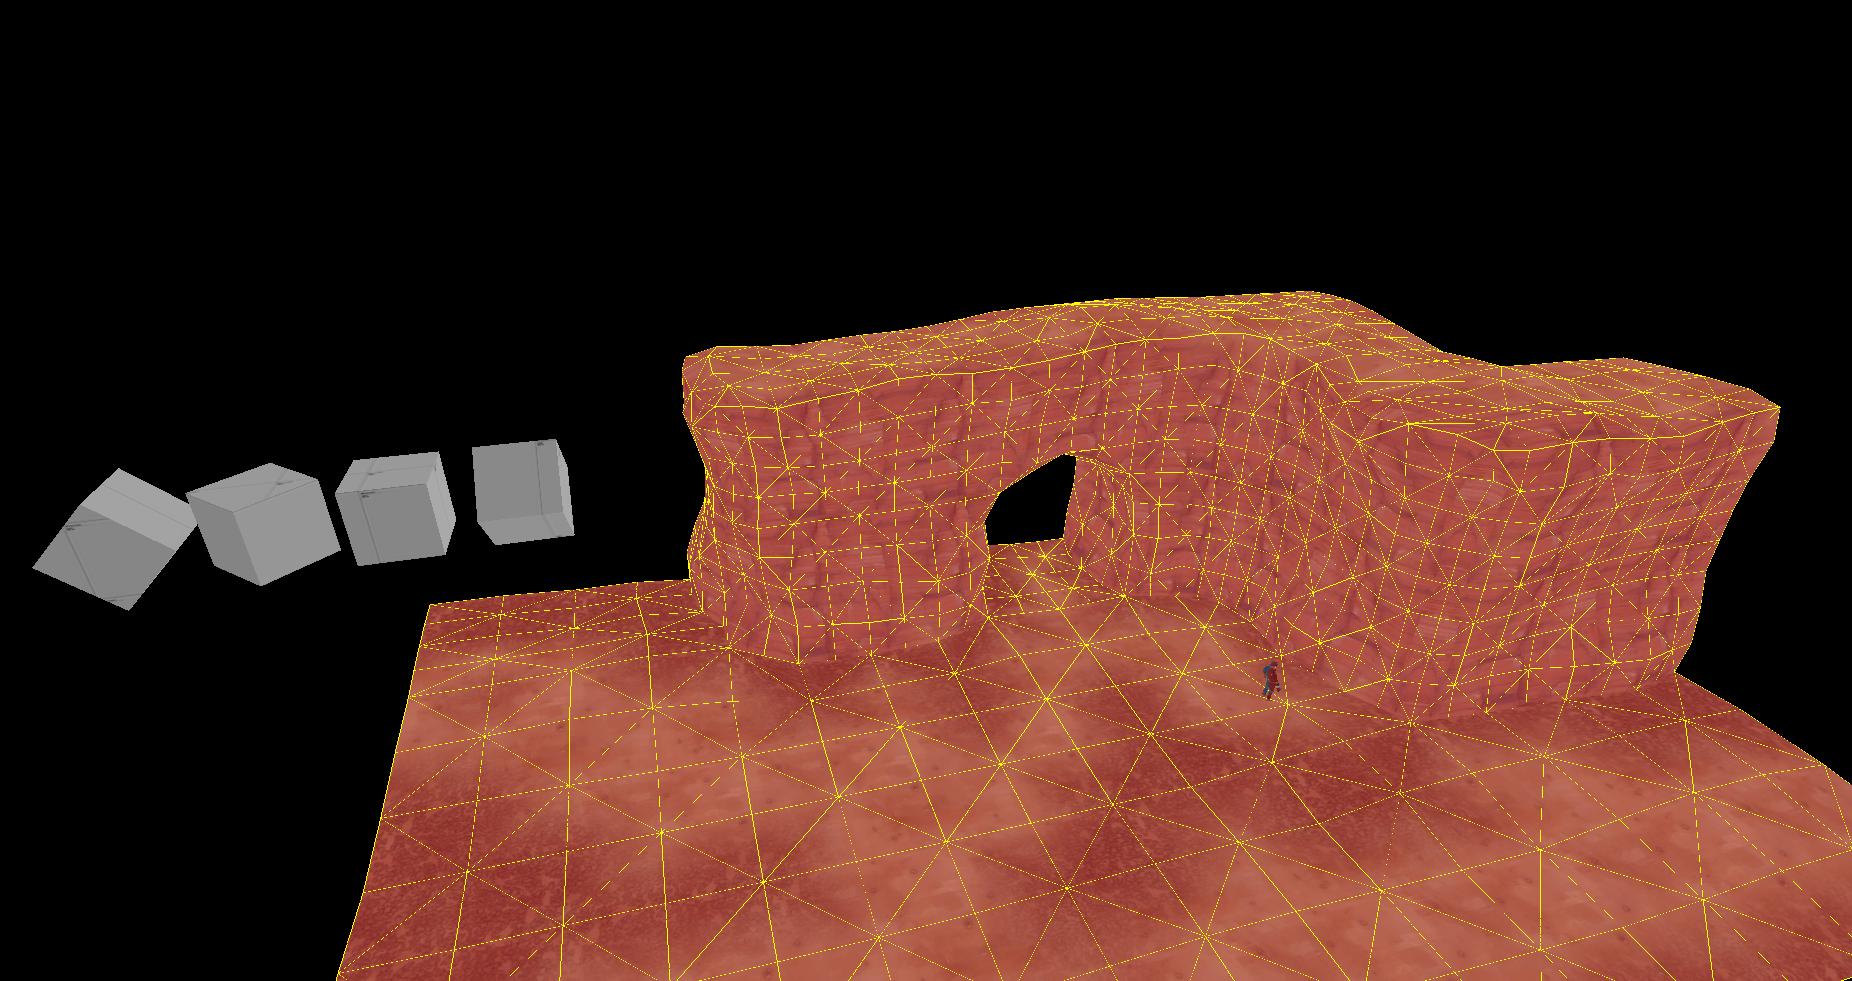
Next, we'll start actually turning it into a nice looking cliff. The way I do this is by using smooth with the face normal tool in displacements. To get started, I usually make a bunch of cubes and rotate them like this - this gives me 45 degree faces in the main directions.
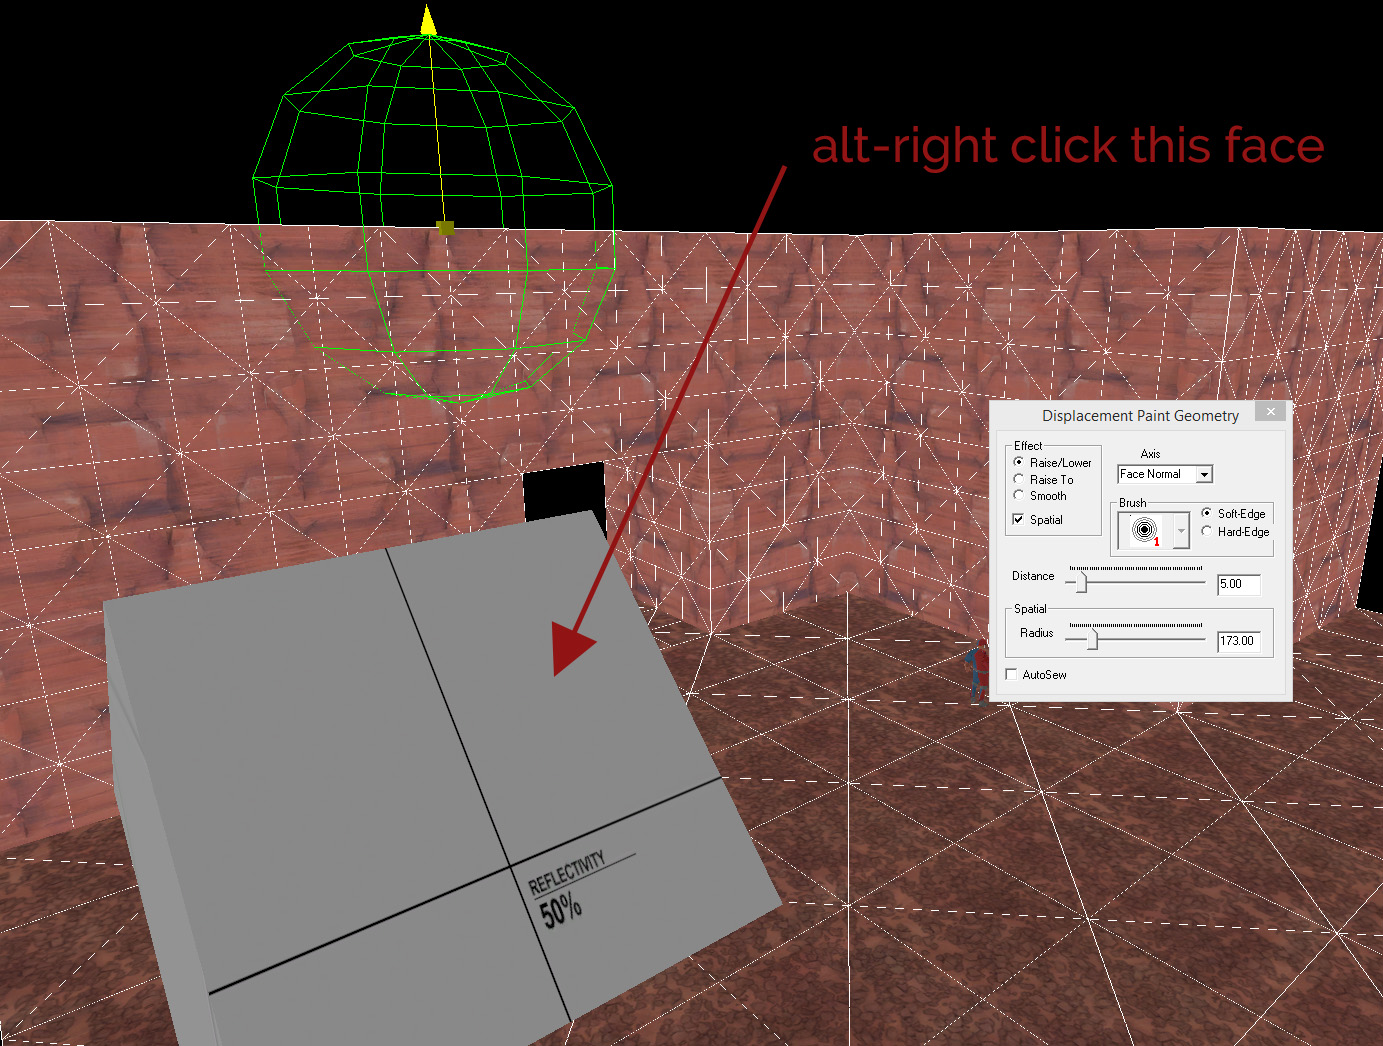
You'll notice that by default, your displacement paint geometry tool is set to 'face normal'. This means that you can sample the angle of another face somewhere in the map and use that as the push/pull direction. If you alt-right click on the face pictured here...
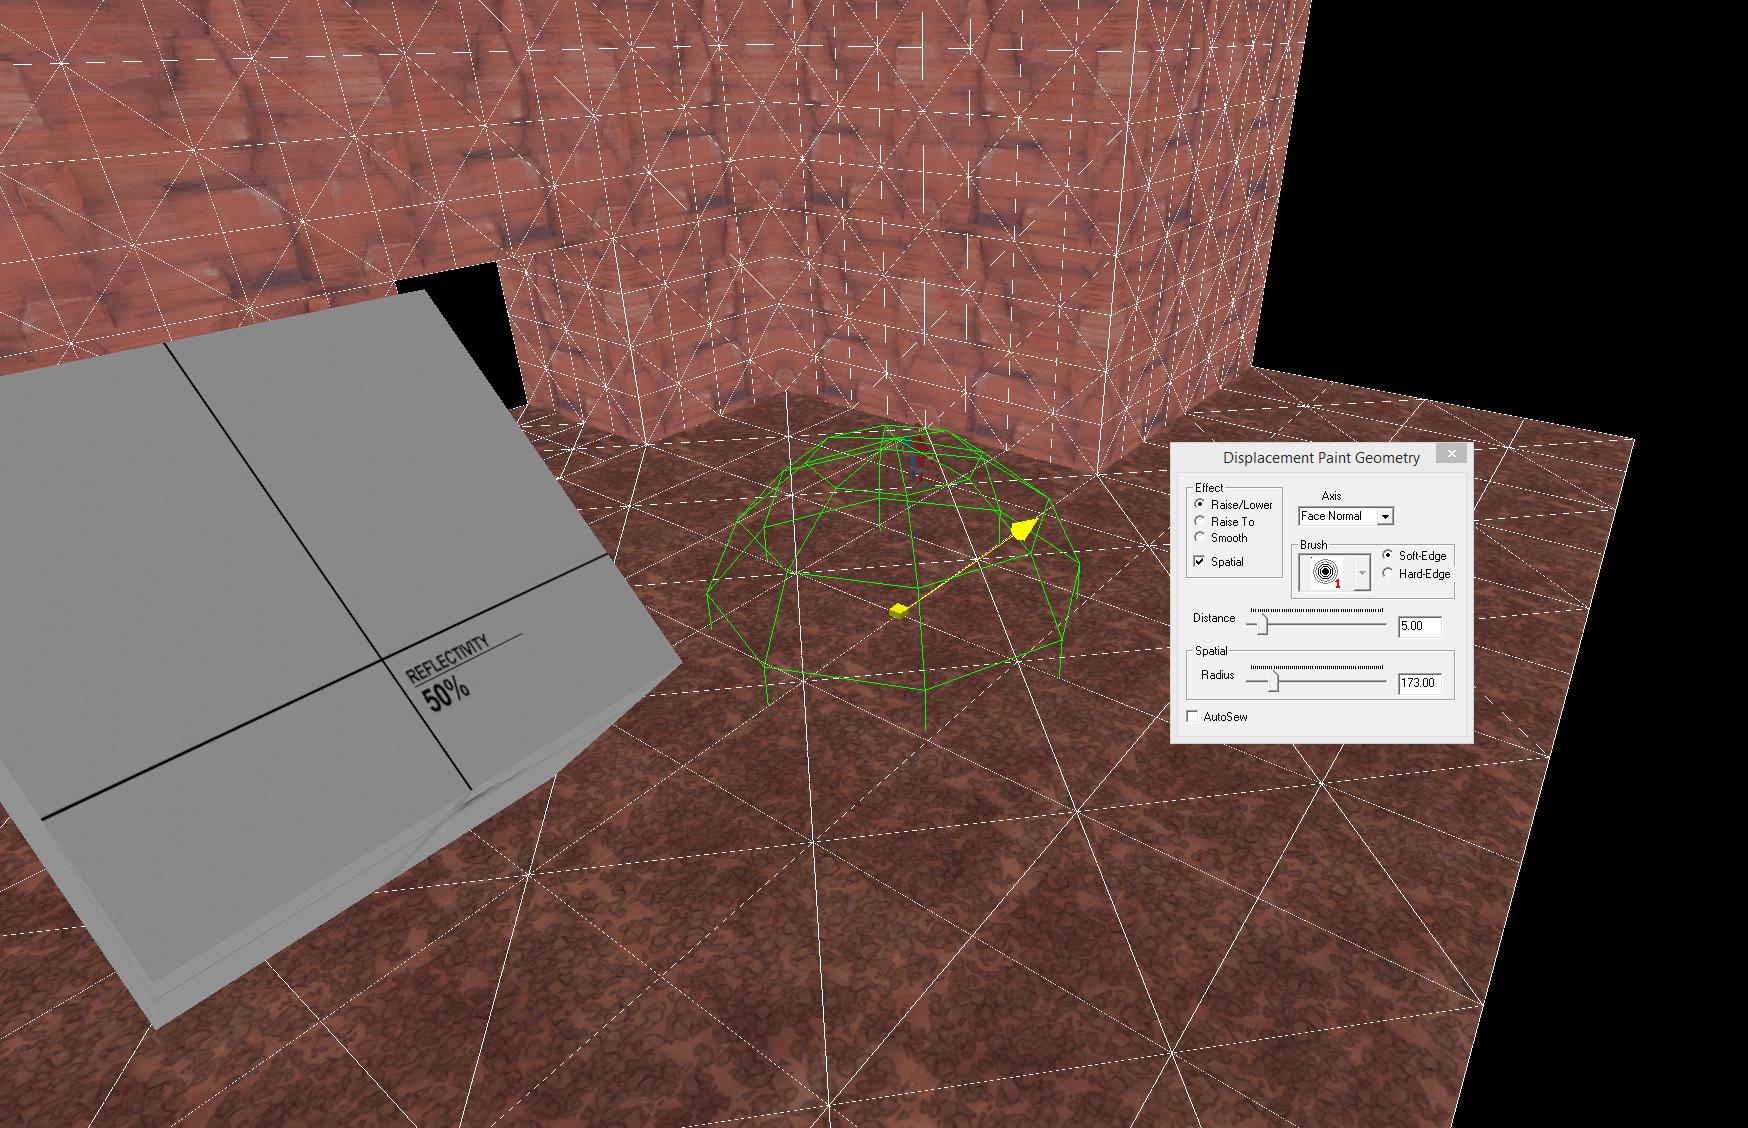
Your displacement tool will rotate it's axis to match that face, and you can now push, pull and smooth in that direction!
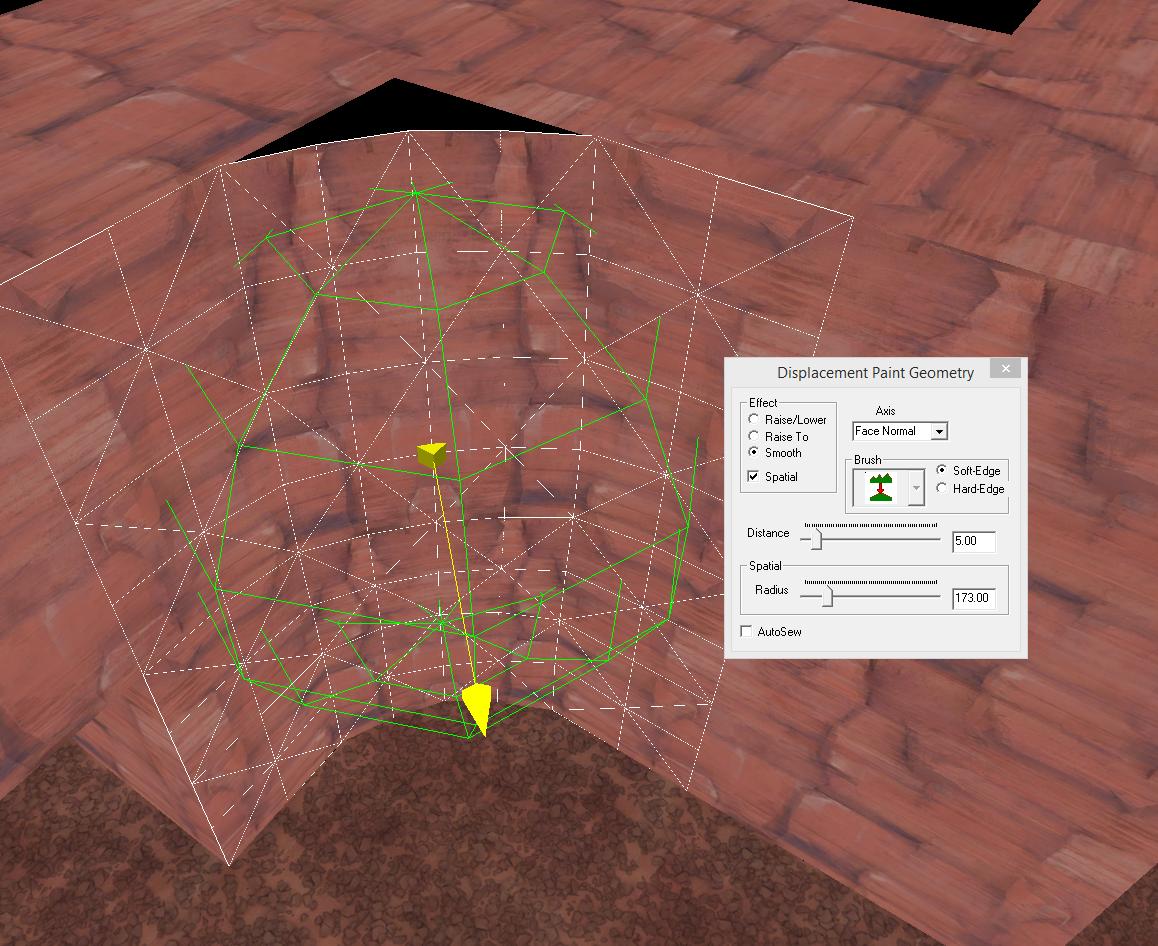
So then I go through and smooth out the right angled corners. You can see here, I sampled the face correspinding to the inner corner and selected smooth in the paint geometry window. You'll also notice that I only have the direct two displacement faces selected here - this is because otherwise, smooth will reek havok with the top and bottom of your cliff structure. We'll go into that shortly.
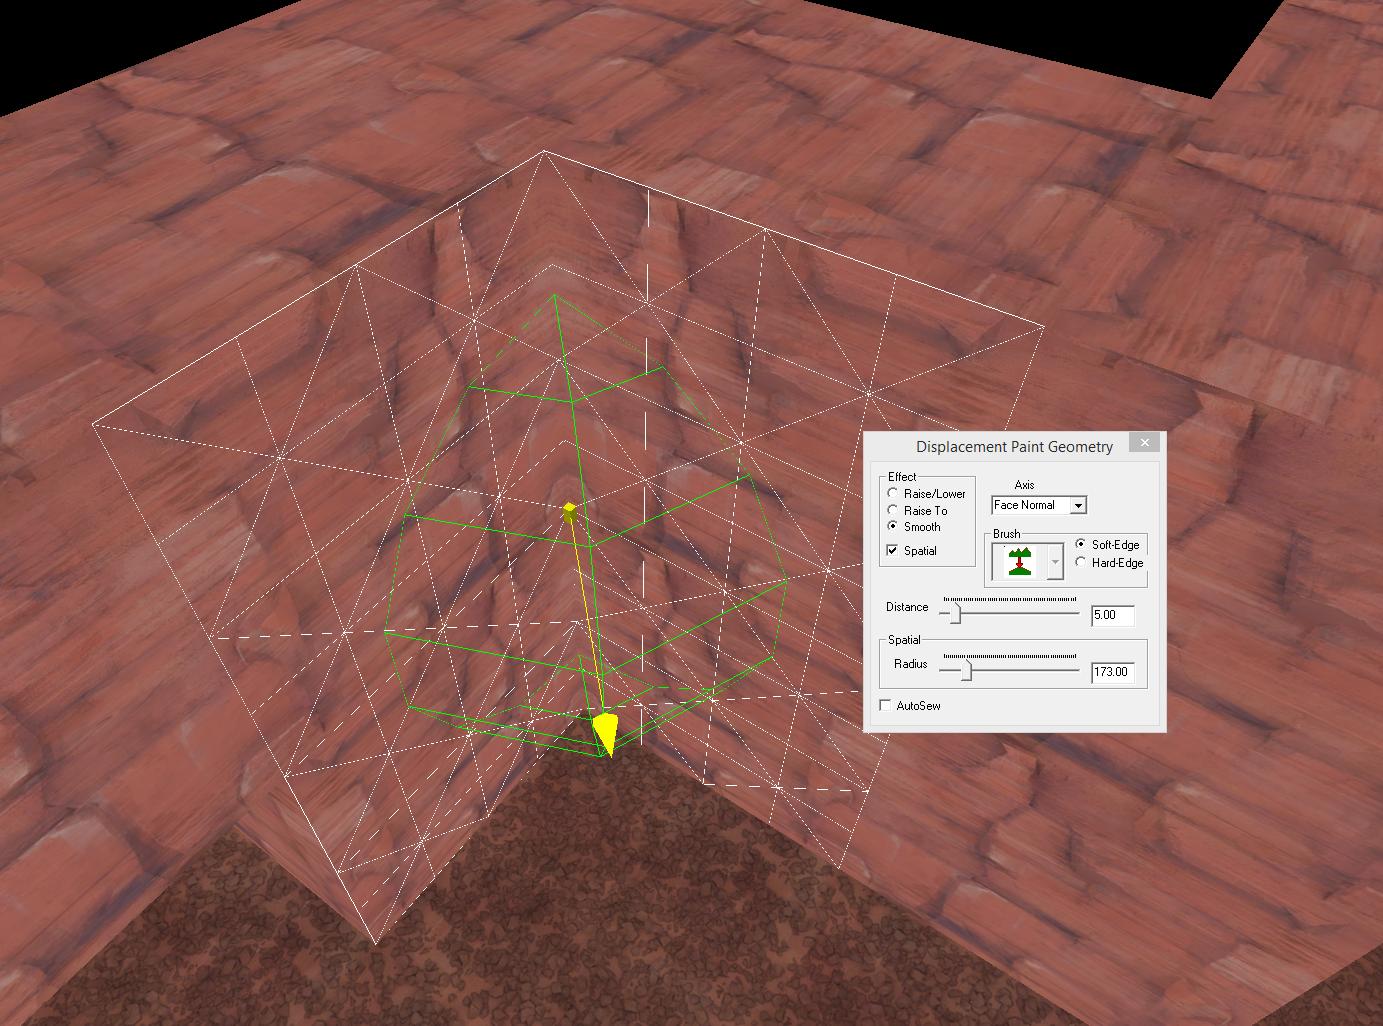
Smoothing with light, gentle clicks (don't hold it down!!) we can get a nice curved shape out of these displacemnets in this way.
Now to fix up the parts of the cliff we left behind - select the face of the ground in the corner. Using the same face normal angle - just with raise/lower selected, we pull this corner out from under the new smoothed corner. This makes it sew a lot nicer and requires less fixing up when we get to that stage. You can do this with the top too, but it doesn't matter as much on inner corners like this.
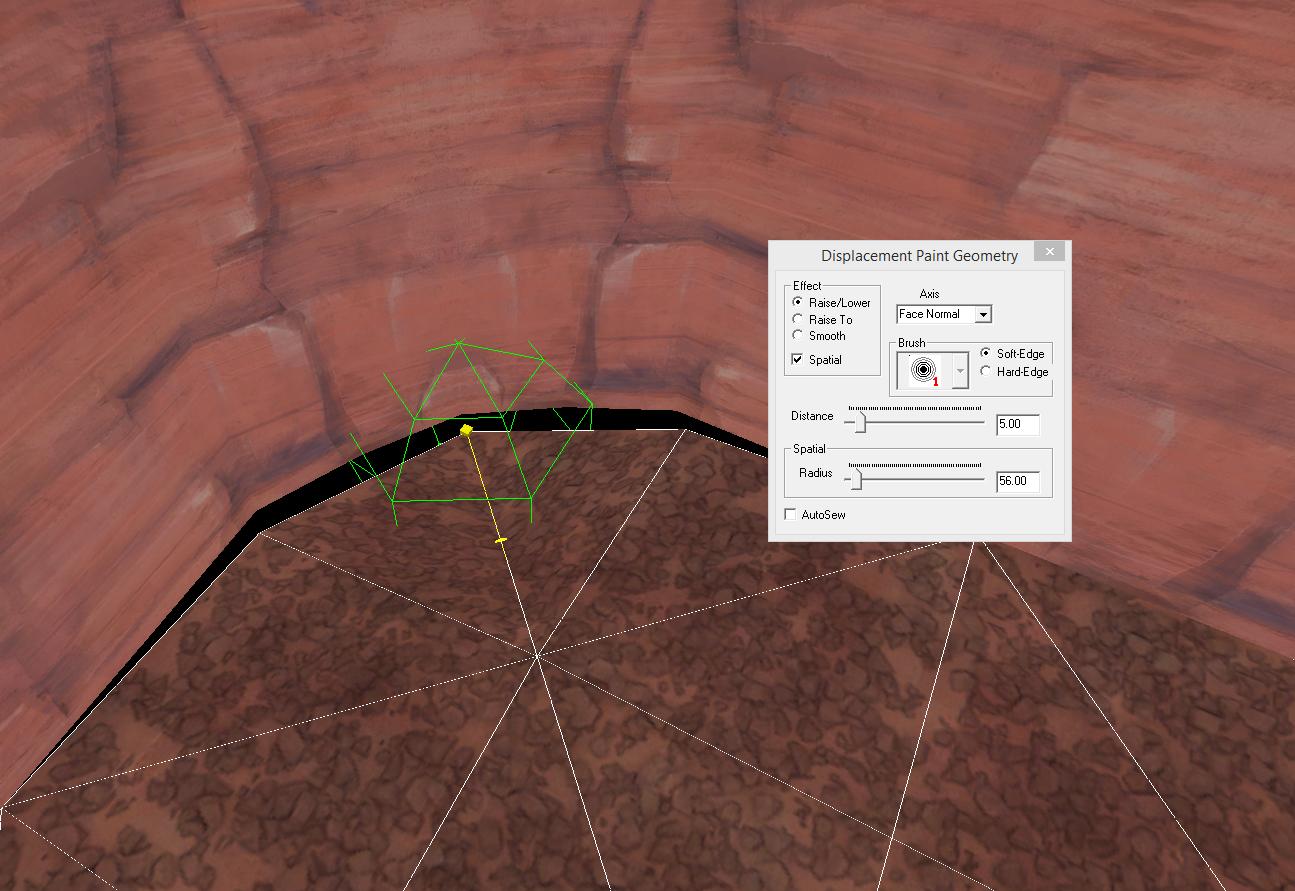
And as you can see, once we hit sew the displacement comes and meets your new smooth corner nicely.
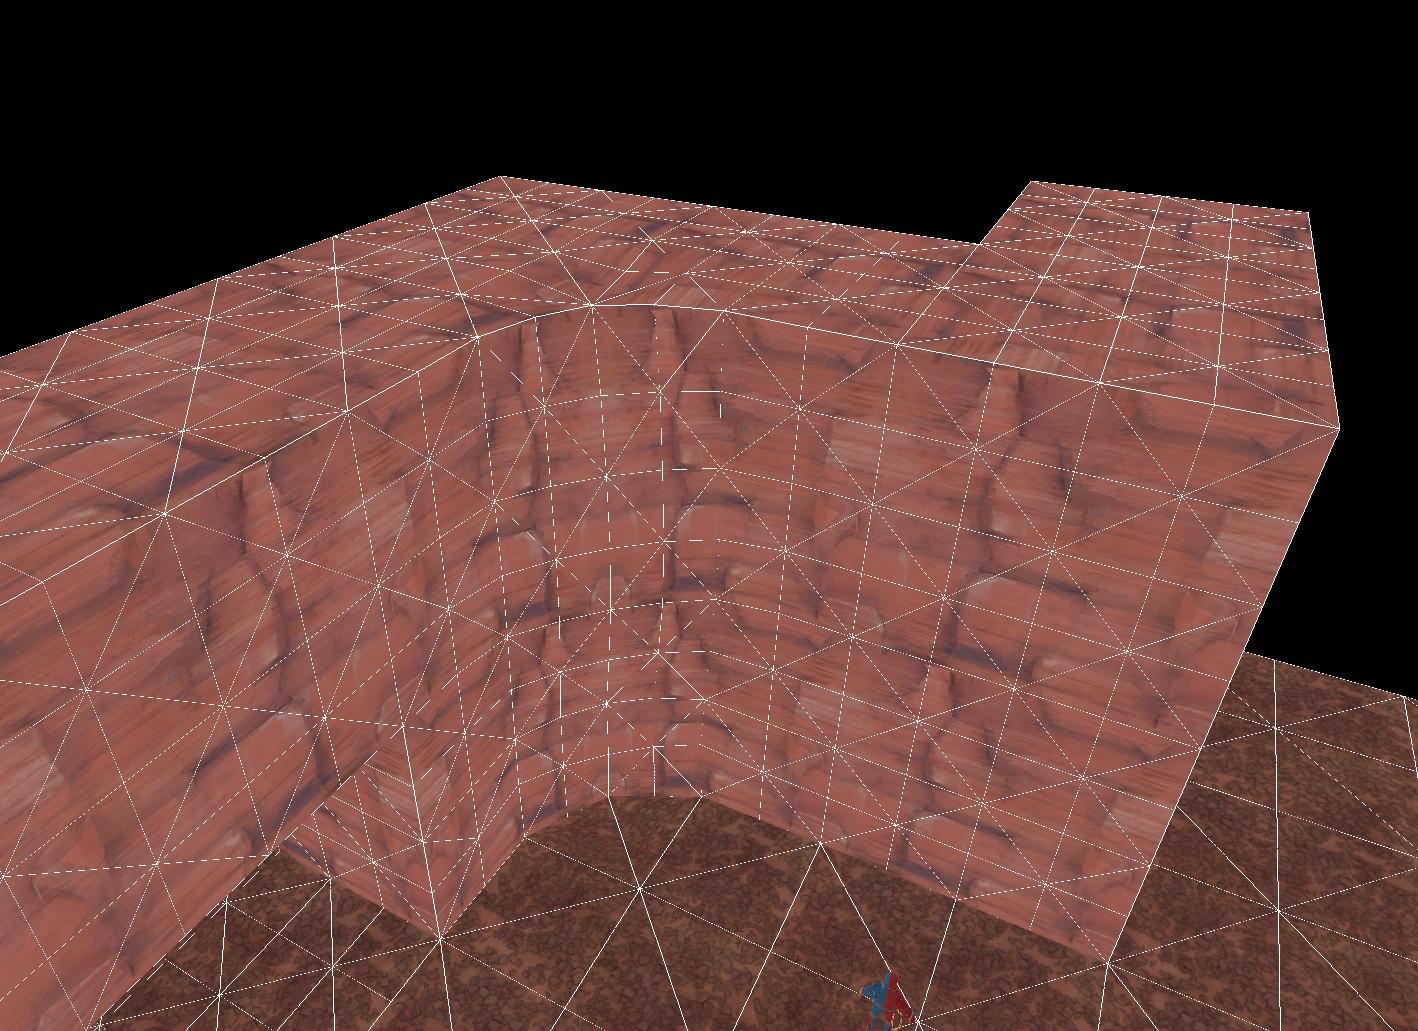
Going through and doing the rest of the corners in this way - I noticed that I missed some of the floor tiles! So I just shift-dragged and fit these on the edge here. You can also see that I've "pushed back" the corner on the top of the cliff here, similar to what I did in the last part.
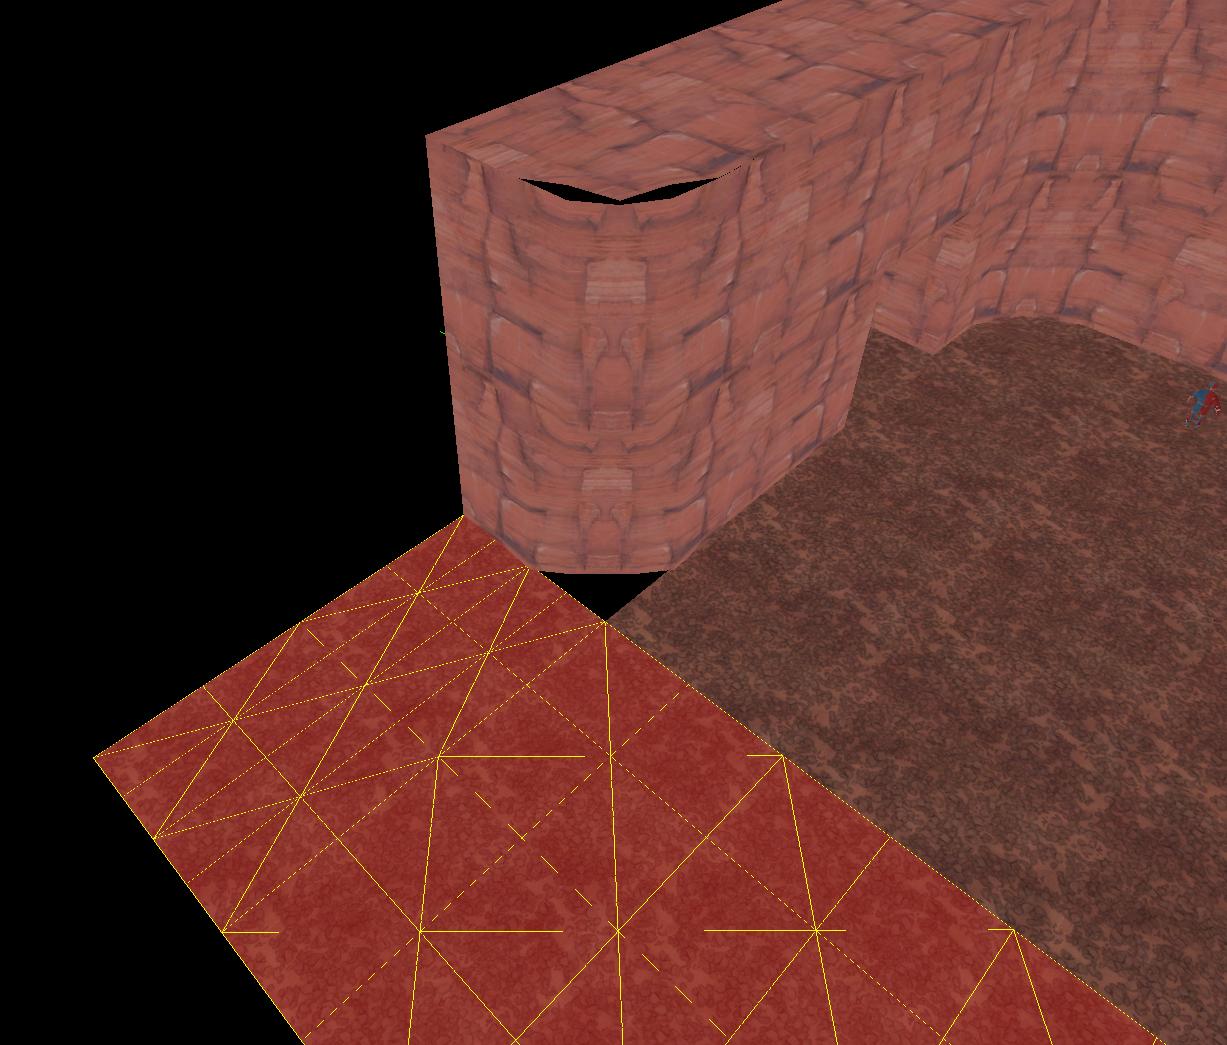
From here, I went through and just roughed up the displacements a bit. Using the face normal, you can smooth the corners between the top of the cliff and the walls - or the walls and floor if you want. You can round the roof of the cave too. I also suggest pulling and pushing the walls around a bit just to get an interesting shape for the cliffs - usually I pull the bottoms and tops out a bit, vary the height a bit too, and roughen up the ground. I also did some alpha painting to fix up the textures.
And here's our result - it could do with a lot of polishing but you get the idea of how to construct displacements in this manner.

Disclaimer: This tutorial is more about the method of constructing the base brushes. I will write another tutorial soon on the theory of how to actually sculpt and texture and design the displacements.
This method is a lot faster than the others, and a lot easier on your sanity.
I will be using a similar cliff structure to YM's original tutorial in order to highlight the differences.
This is the product we will end up with:

The basic foundation of this method is that displacements sew by the alignment of their faces, not the base brush underneath. This means that ALL these configurations below will sew together (faces that turn into displacements are shown selected):


So what does this mean? This means that instead of complicatedly constructing your displacements with miltered corners and thick brushes, which gets almost nightmarish on complex structures, we can build our displacements out of basic blocks and still have it all sew nicely together. So let's get started!
Here we have the two basic components that will make up this entire cliff structure. A 256x256x256 cube, and a 512x512 ground block.

Next, we will shift-drag these cubes and start to build the base brush structure of our cliff. Make sure they stay together - it's just like large lego! As long as they sit nicely together on the grid like this your final product will sew. You can also see hehre I've moved them to align with the ground brush like one of the examples above.

When it comes to inner corners, you don't actually need this brush that I have selected. It won't be seen, and you should delete it when you're done. The top block we'll need though - as the top of it will serve as ground on top of the cliff.

Continuing to build the structure, I've deleted one of the blocks to make the tunnel that will feature at the end of the build.

Next, I copied the ground tiles around to that they fill up the ret of the space. You'll notice that they're twice the size of the cliff blocks - this is fine, they'll still sew as long as they're exactly twice the length, or half the length of the touching face. I do this because the ground usually needs a bit less resolution in displacements.

The one inside the tunnel you can downsize to fit nicely.

Next, I go ahead and select all the faces that will turn into displacements, at least on the cliff to start with. You can do this is sections, which I reccomend because it's crazy trying to select an entire map's worth of displacements at once.


Then turn them into displacements as you'd normally would. I used power 2 here.


As you can see, the block from earlier was untouched because it has no outward facing faces. This is usually when I delete it.

And this is our final structure - all turned into displacements and it should sew perfectly together.

Next, we'll start actually turning it into a nice looking cliff. The way I do this is by using smooth with the face normal tool in displacements. To get started, I usually make a bunch of cubes and rotate them like this - this gives me 45 degree faces in the main directions.

You'll notice that by default, your displacement paint geometry tool is set to 'face normal'. This means that you can sample the angle of another face somewhere in the map and use that as the push/pull direction. If you alt-right click on the face pictured here...

Your displacement tool will rotate it's axis to match that face, and you can now push, pull and smooth in that direction!

So then I go through and smooth out the right angled corners. You can see here, I sampled the face correspinding to the inner corner and selected smooth in the paint geometry window. You'll also notice that I only have the direct two displacement faces selected here - this is because otherwise, smooth will reek havok with the top and bottom of your cliff structure. We'll go into that shortly.

Smoothing with light, gentle clicks (don't hold it down!!) we can get a nice curved shape out of these displacemnets in this way.

Now to fix up the parts of the cliff we left behind - select the face of the ground in the corner. Using the same face normal angle - just with raise/lower selected, we pull this corner out from under the new smoothed corner. This makes it sew a lot nicer and requires less fixing up when we get to that stage. You can do this with the top too, but it doesn't matter as much on inner corners like this.

And as you can see, once we hit sew the displacement comes and meets your new smooth corner nicely.

Going through and doing the rest of the corners in this way - I noticed that I missed some of the floor tiles! So I just shift-dragged and fit these on the edge here. You can also see that I've "pushed back" the corner on the top of the cliff here, similar to what I did in the last part.

From here, I went through and just roughed up the displacements a bit. Using the face normal, you can smooth the corners between the top of the cliff and the walls - or the walls and floor if you want. You can round the roof of the cave too. I also suggest pulling and pushing the walls around a bit just to get an interesting shape for the cliffs - usually I pull the bottoms and tops out a bit, vary the height a bit too, and roughen up the ground. I also did some alpha painting to fix up the textures.

And here's our result - it could do with a lot of polishing but you get the idea of how to construct displacements in this manner.

Last edited:

