- Dec 25, 2007
- 566
- 441
This tutorial uses Photoshop CS3. It should work fine in slightly earlier versions of Photoshop, but some things may be done slightly differently if you're using Paint Shop Pro or The Gimp. The end result will still be achievable with those tools.
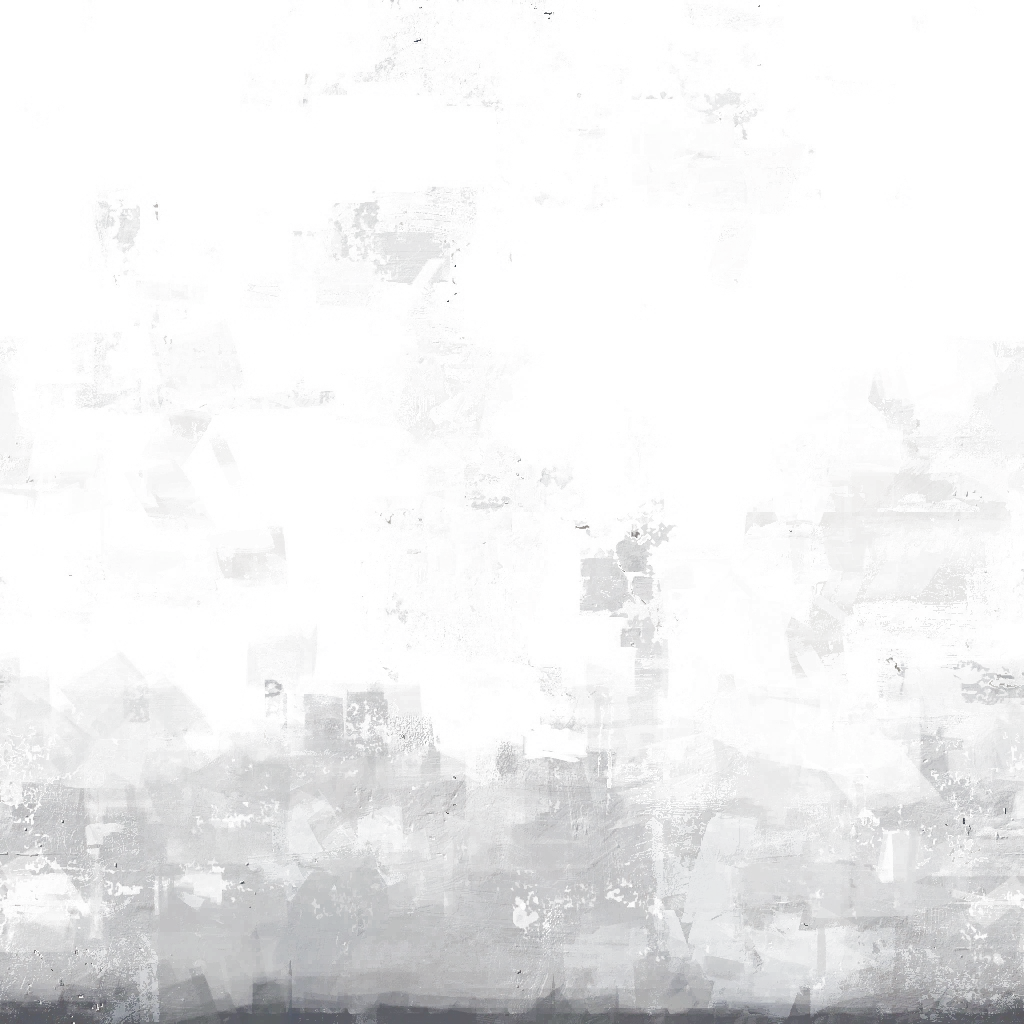
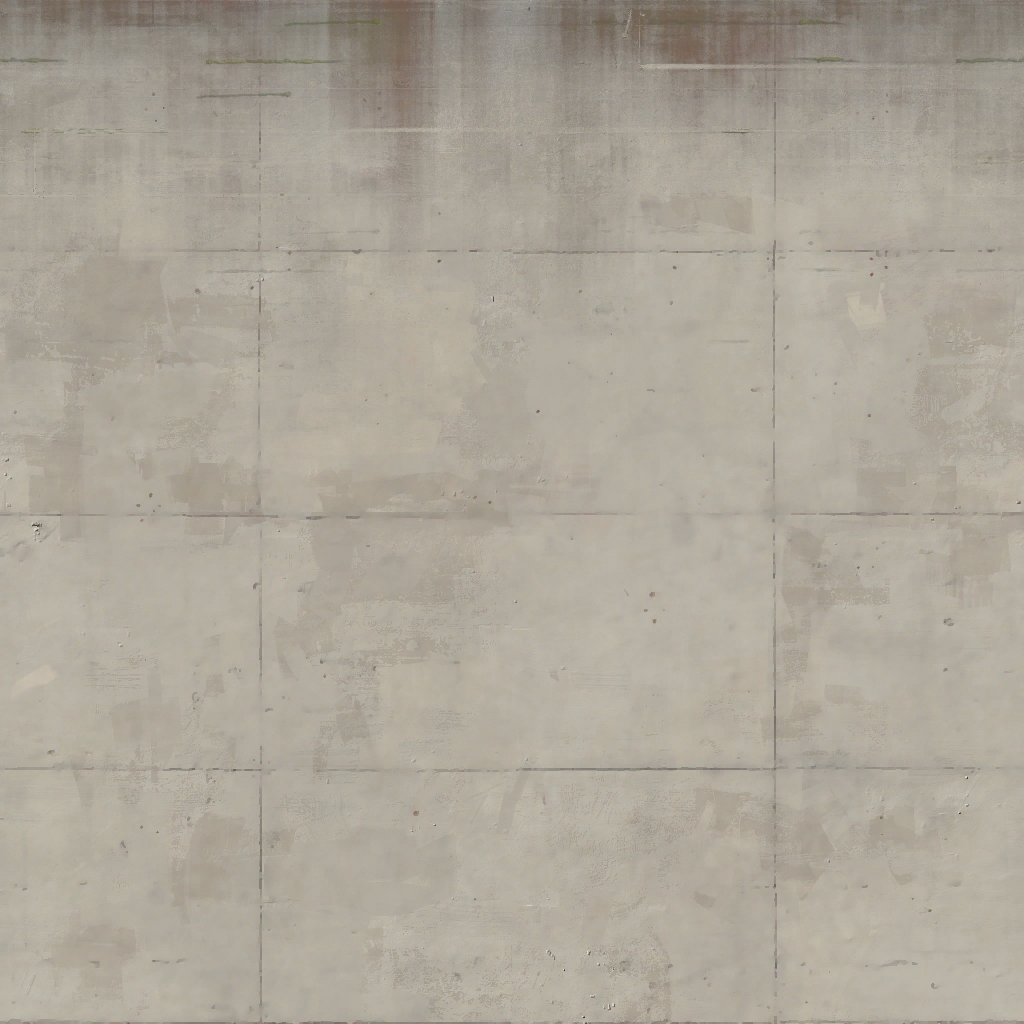
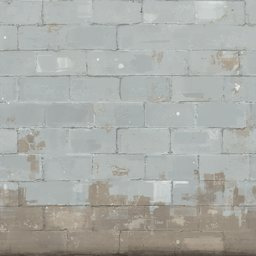
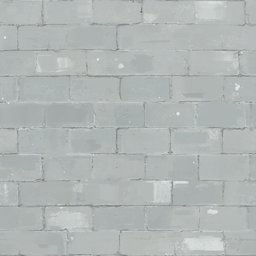
We're going to steal the dirt marks that you can see on concretewall002b. This will work because apart from the dirt, the texture's identical to concretewall002:
concretewall002b
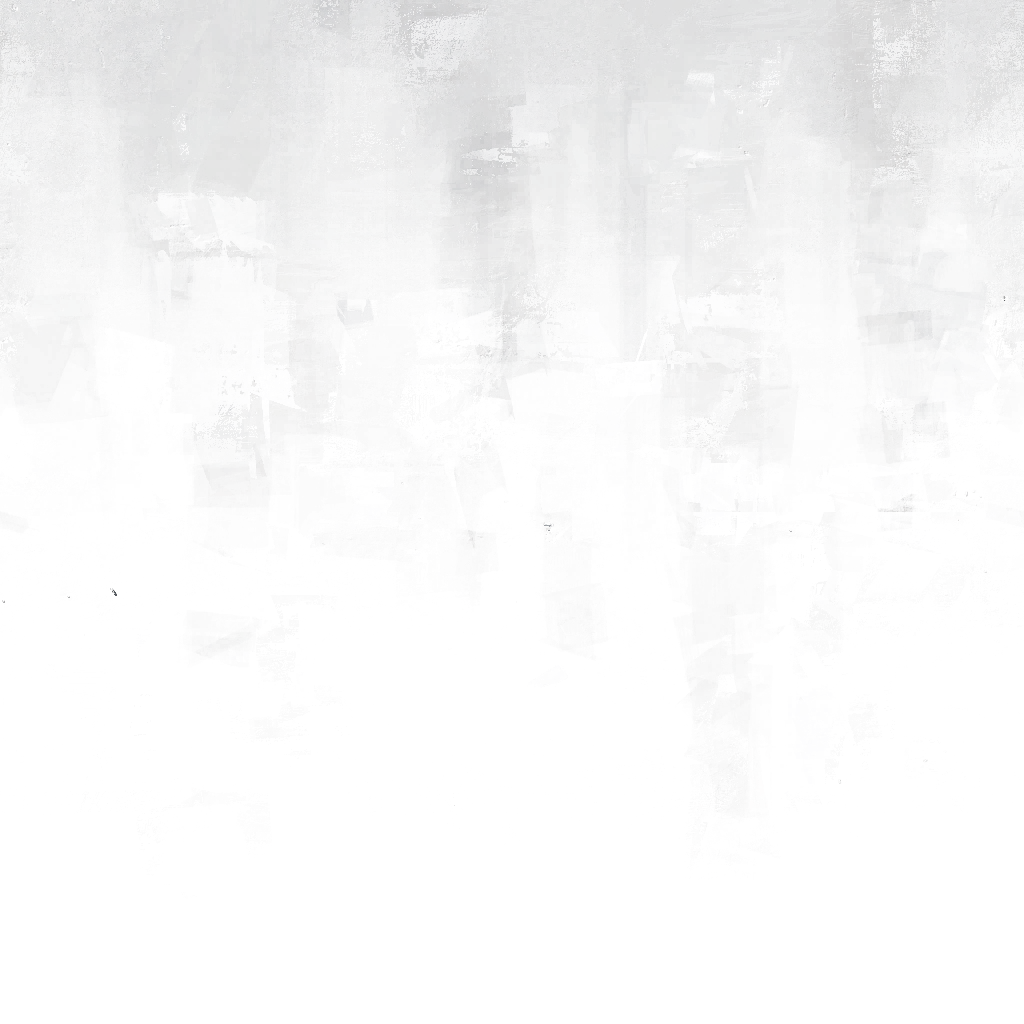
concretewall002
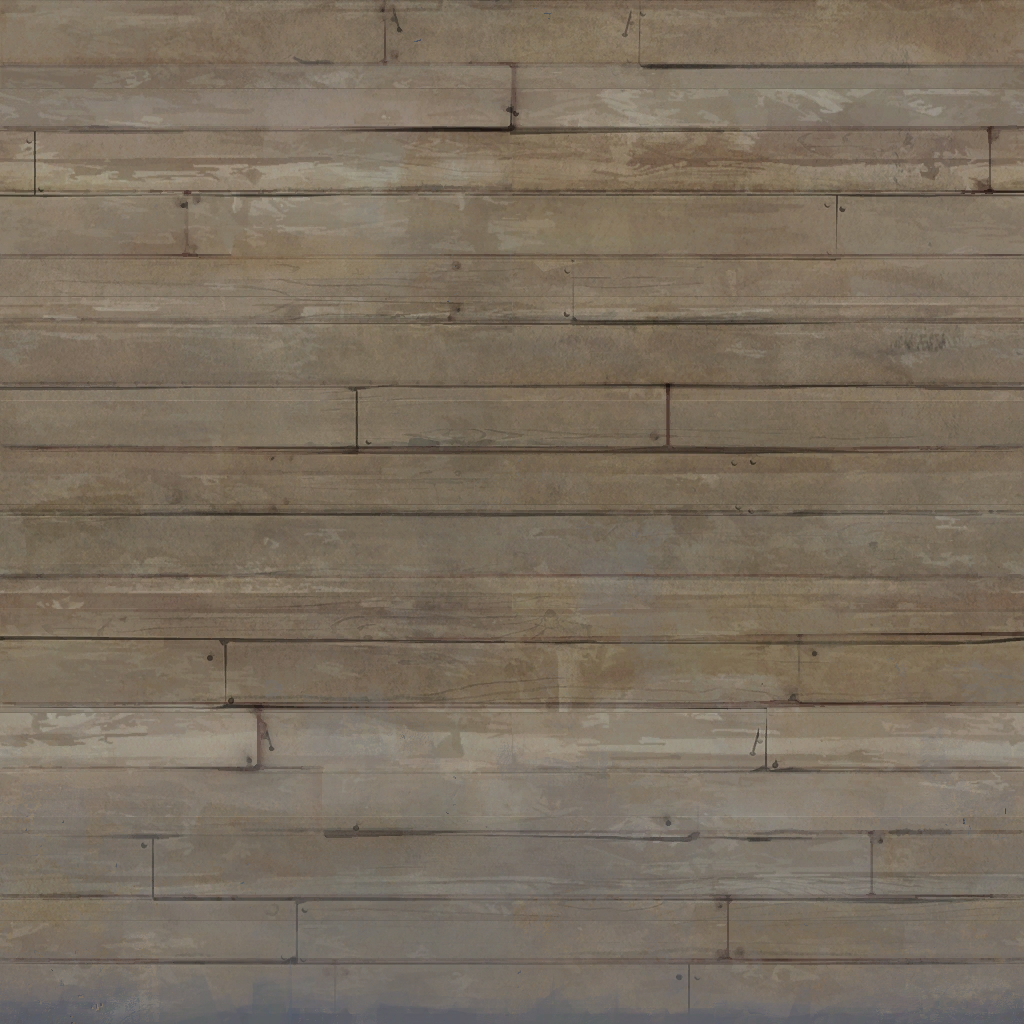
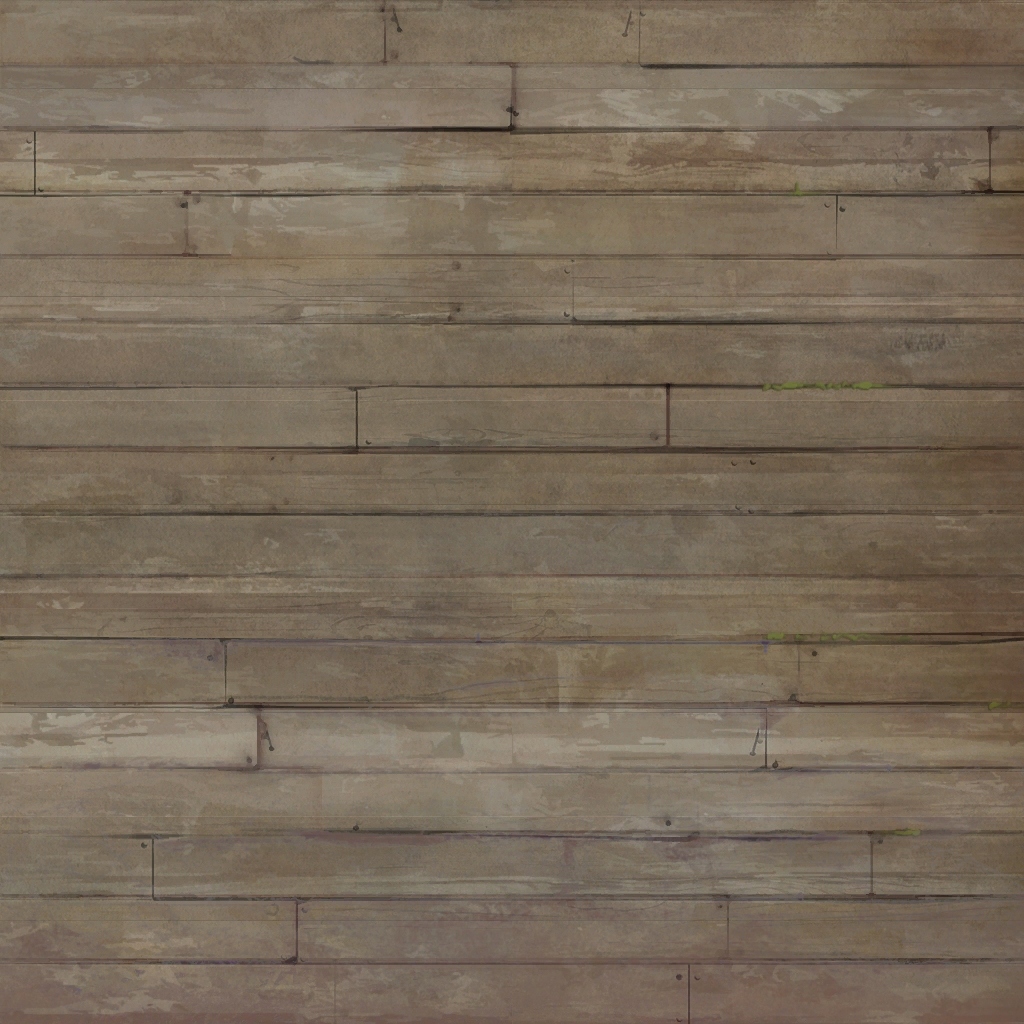
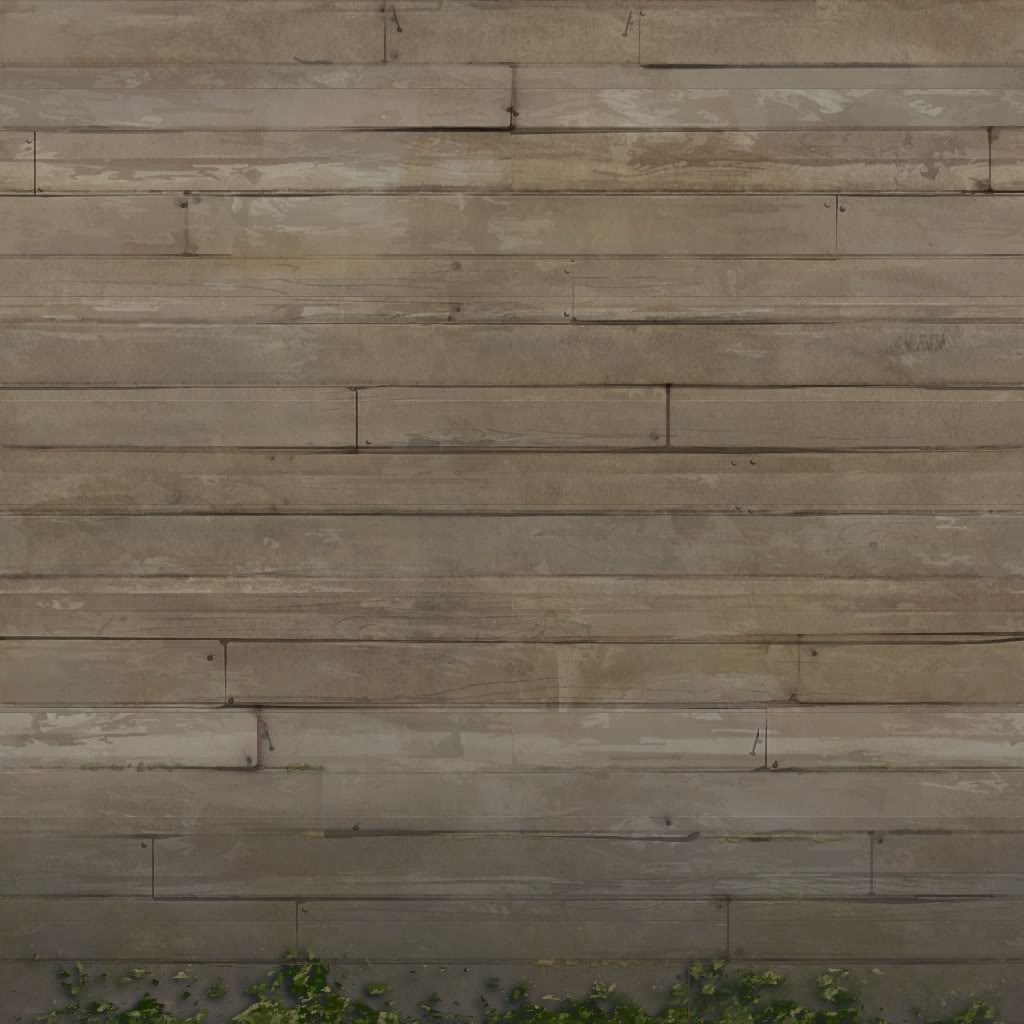
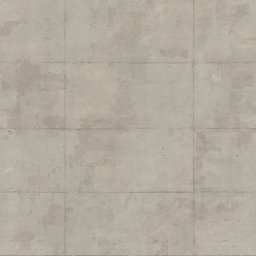
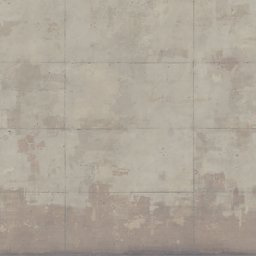
And put it on concretewall011, which lacks dirty variation. You could substitute your own texture here, too.
concretewall011
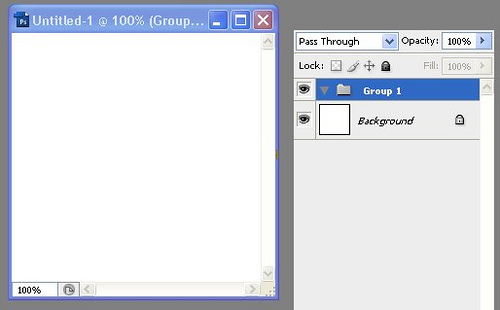
So let's start. Create a new image the size of the texture, 1024x1024, and create a new layer group. Make sure it's selected:
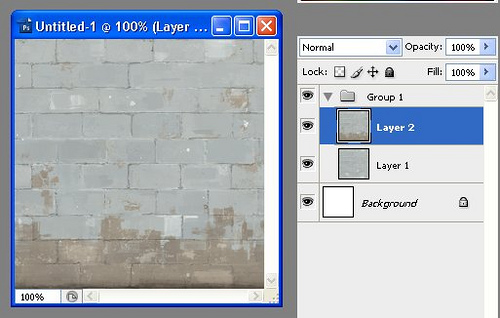
Using the VTF plugin (or loading the TGAs exported from VTFEdit if you don't have the plugin), we open concretewall002.vtf and concretewall002b.vtf. Selecting first the clean texture, then the dirty one, drag the background layer of each from the layers palette into your new image. They will end up in the group like this:
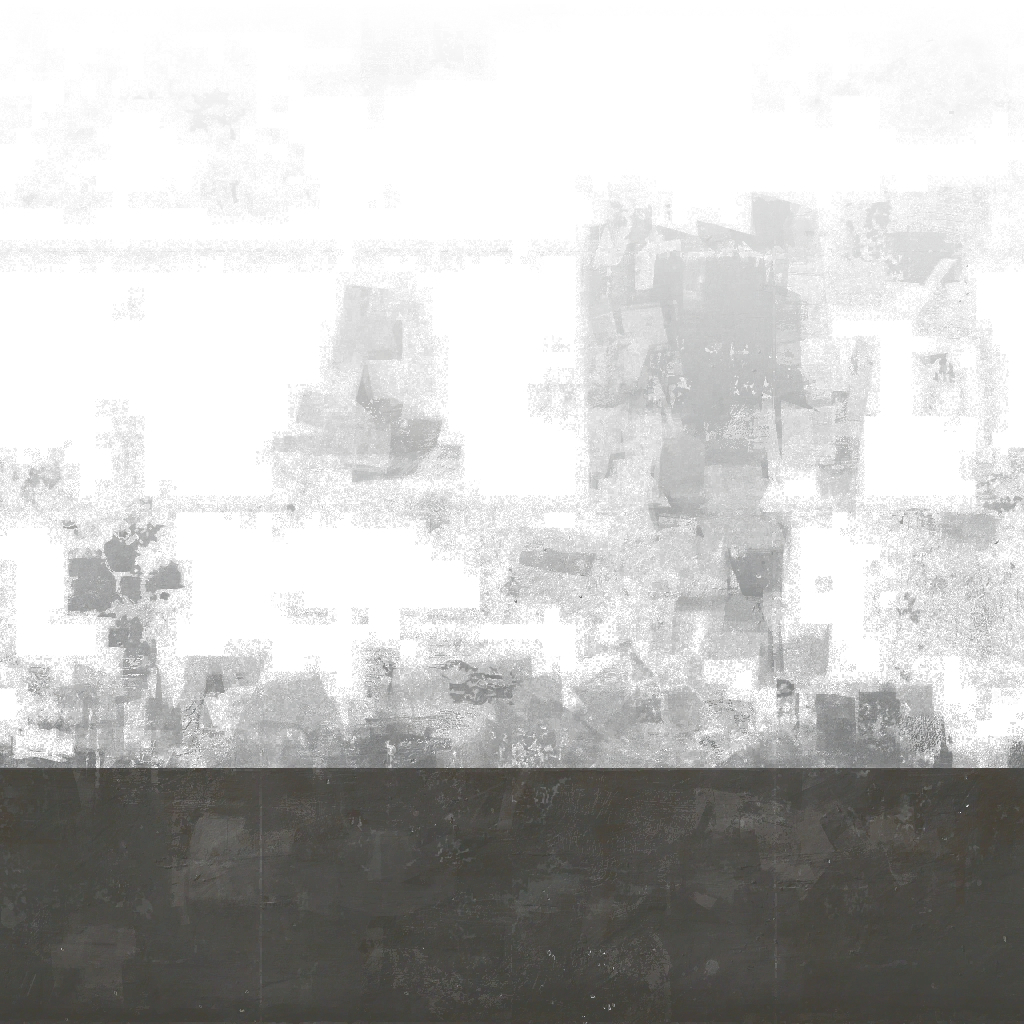
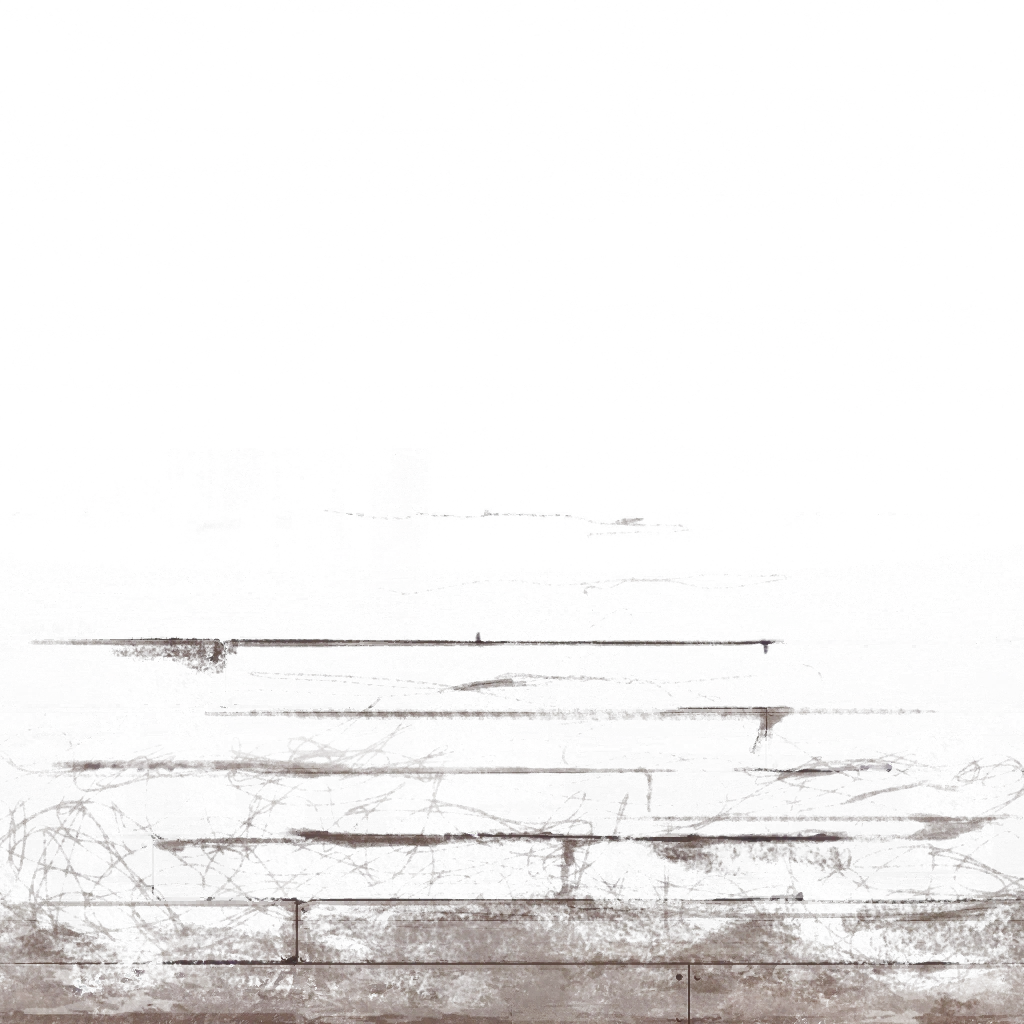
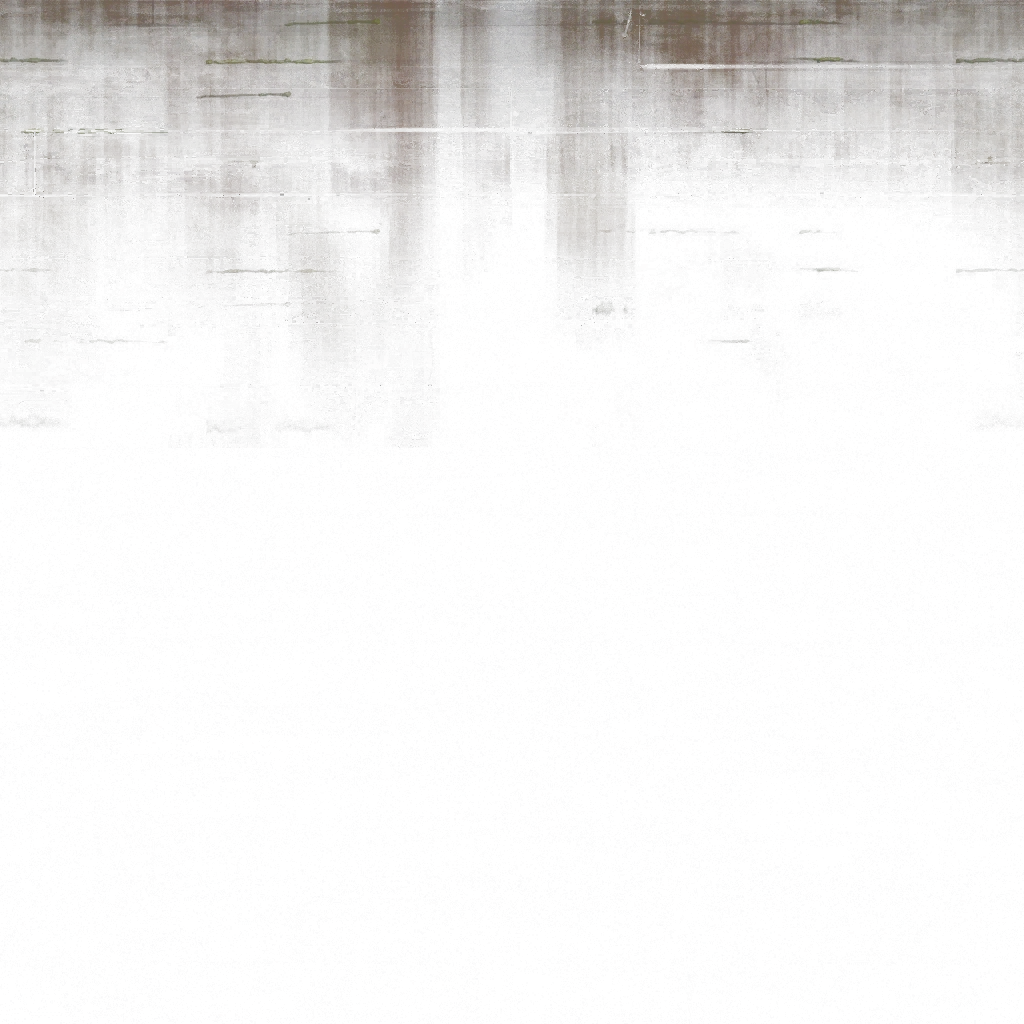
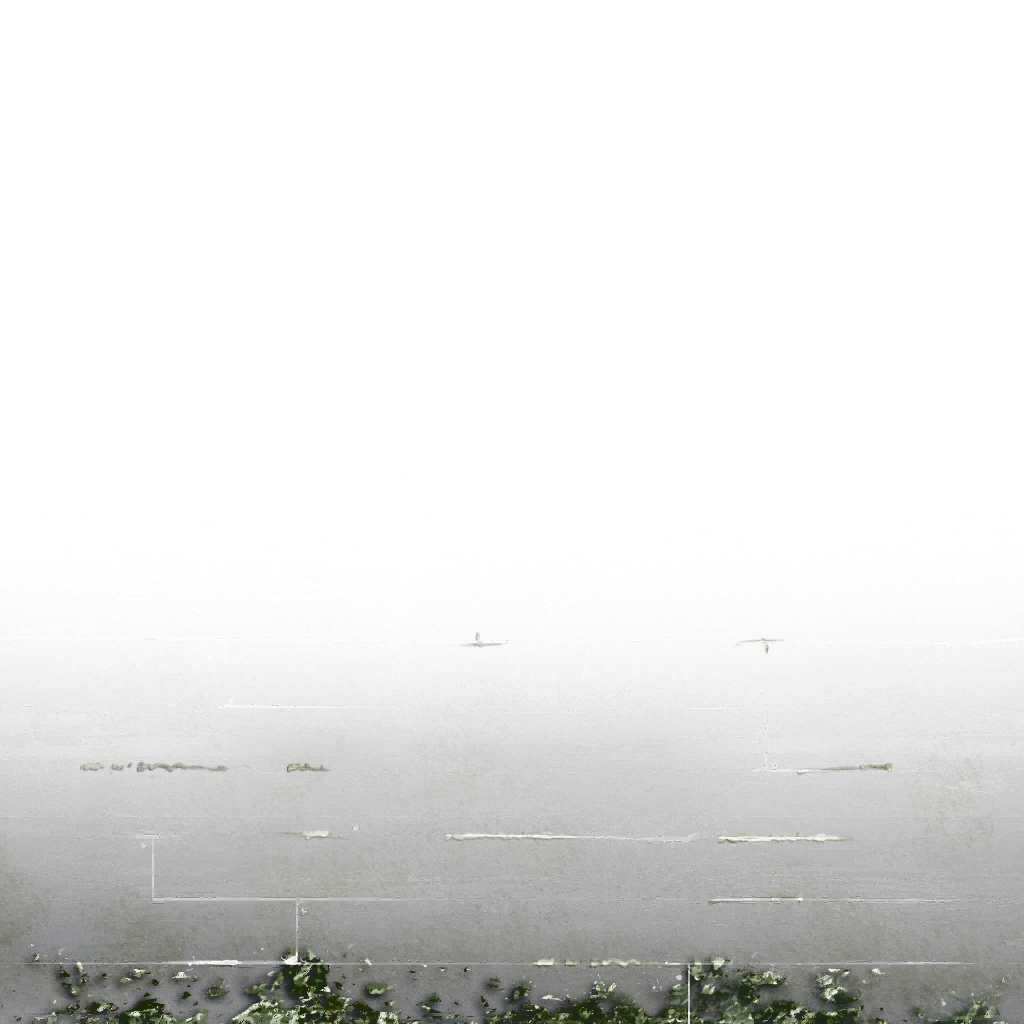
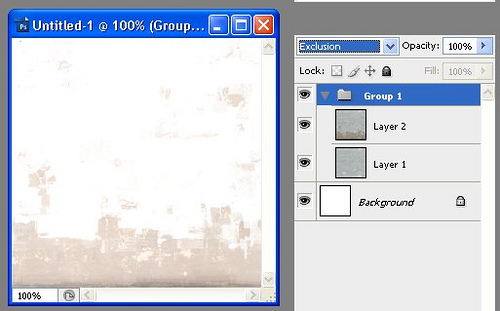
Change the render mode of the dirty texture to "Difference", and that of the group to "Exclusion". You'll end up with the dirt marks sitting on the white background, like this:
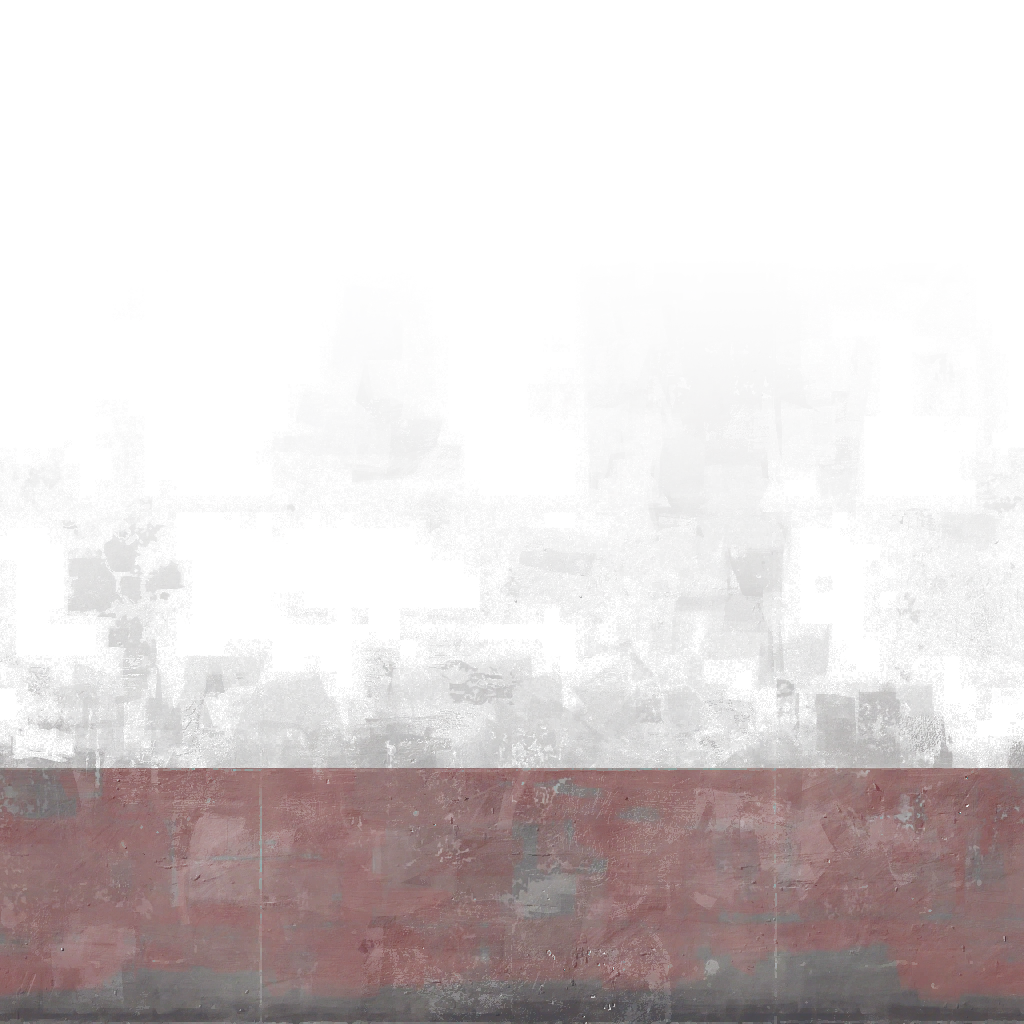
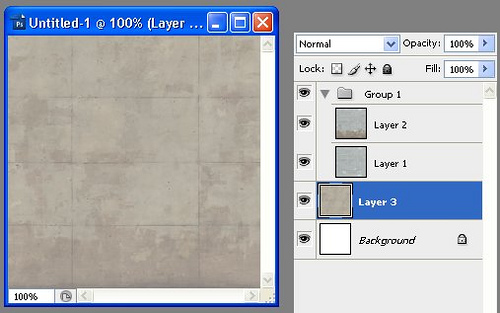
Select the background layer. Now open concretewall011.vtf, and drag its layer into your new image. Et voila! We now have a dirtified concrete wall:
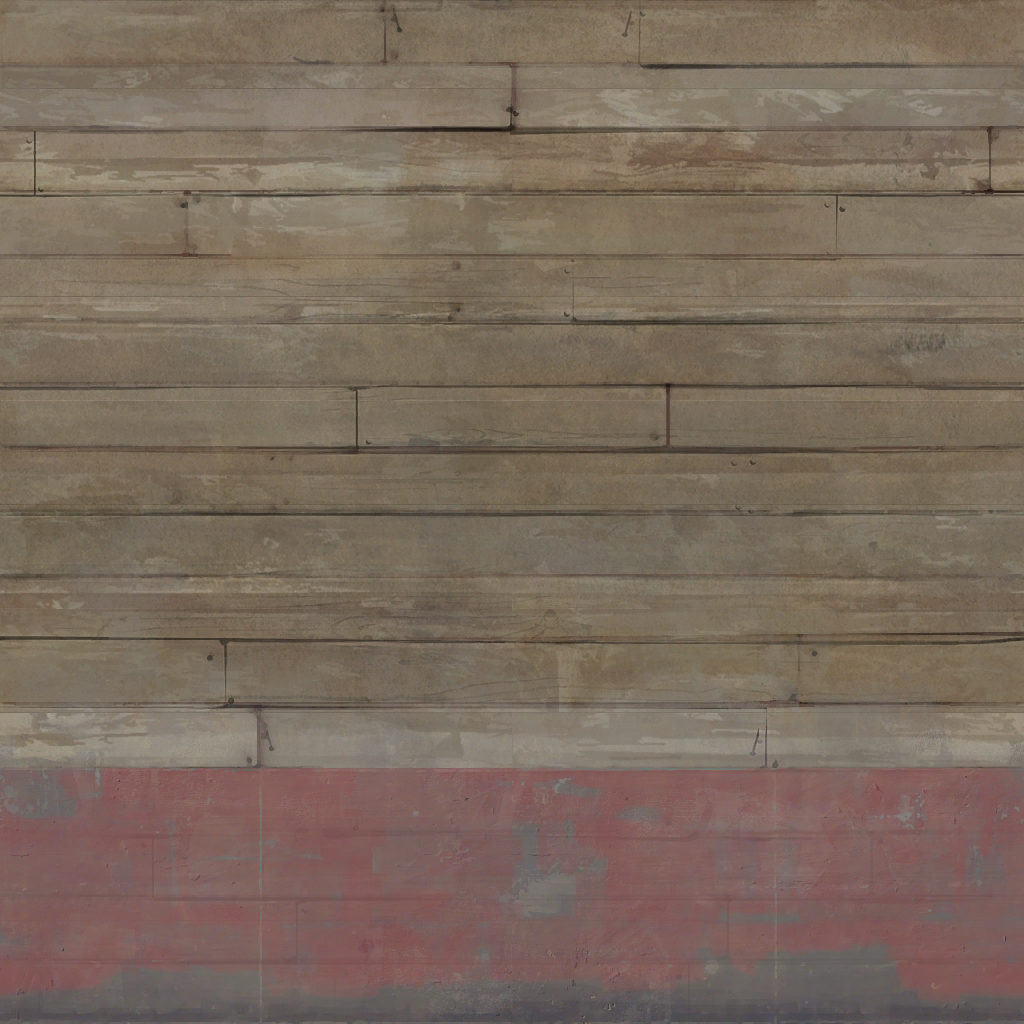
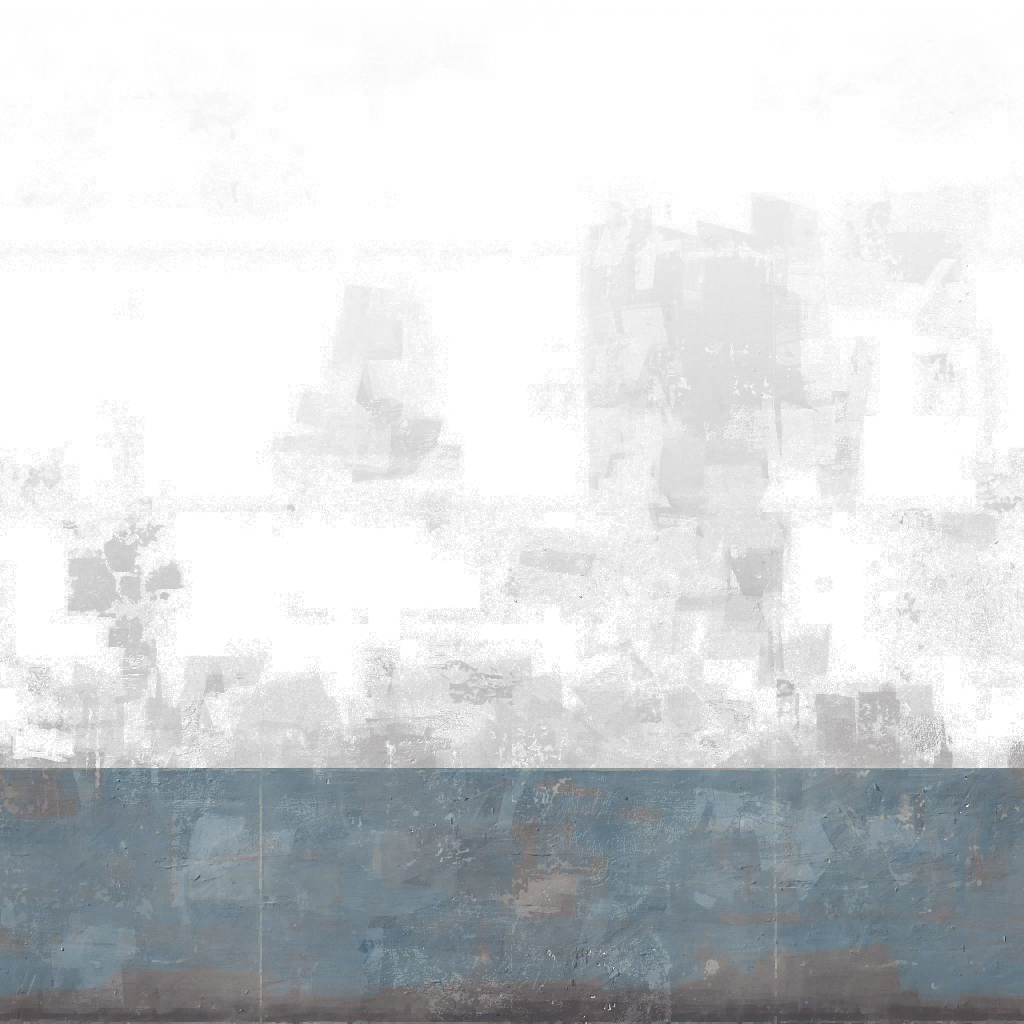
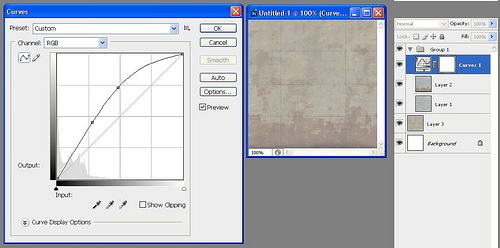
Finally, select the group, and add a Curves adjustment layer. This will let you easily adjust the darkness of the dirt layer for a good looking result:
Before and after:
We're going to steal the dirt marks that you can see on concretewall002b. This will work because apart from the dirt, the texture's identical to concretewall002:
concretewall002b
concretewall002
And put it on concretewall011, which lacks dirty variation. You could substitute your own texture here, too.
concretewall011
So let's start. Create a new image the size of the texture, 1024x1024, and create a new layer group. Make sure it's selected:
Using the VTF plugin (or loading the TGAs exported from VTFEdit if you don't have the plugin), we open concretewall002.vtf and concretewall002b.vtf. Selecting first the clean texture, then the dirty one, drag the background layer of each from the layers palette into your new image. They will end up in the group like this:
Change the render mode of the dirty texture to "Difference", and that of the group to "Exclusion". You'll end up with the dirt marks sitting on the white background, like this:
Select the background layer. Now open concretewall011.vtf, and drag its layer into your new image. Et voila! We now have a dirtified concrete wall:
Finally, select the group, and add a Curves adjustment layer. This will let you easily adjust the darkness of the dirt layer for a good looking result:
Before and after:


")