Snowplow and the tricks we used to create the Largest map in TF2*
A post-mortem on the things I learned that have made me a better level designer
Introduction:
Snowplow is huge. It's easily twice the size of hydro, with each stage being the equivalent of a full Hydro map. When you start making maps that are that large, the Source Engine, and by proxy, Hammer, start to have fits. Cordoning off sections of the map becomes your REALLY good friend, and you need to start getting creative with how things happen. Skybox creation, optimization, detailing and more all start to become a little bit harder due to sheer size. I don't expect another map the size of Snowplow to be made, but I'm going to write up some things that YM and I did to help anyone else in the future who may find themselves risking Sources Limits.
1. How big is Snowplow, really?
Take a look. This is the topdown view onto the hammer grid. There are not many sections of the map with really large out of bound areas. The largest one is the ravine next to Stage 1, CP 2. Everything else is actually pretty close to the skybox. This just helped with optimization and keeping things a bit smaller. We didn't want to get any closer to the edge of the map than we needed.
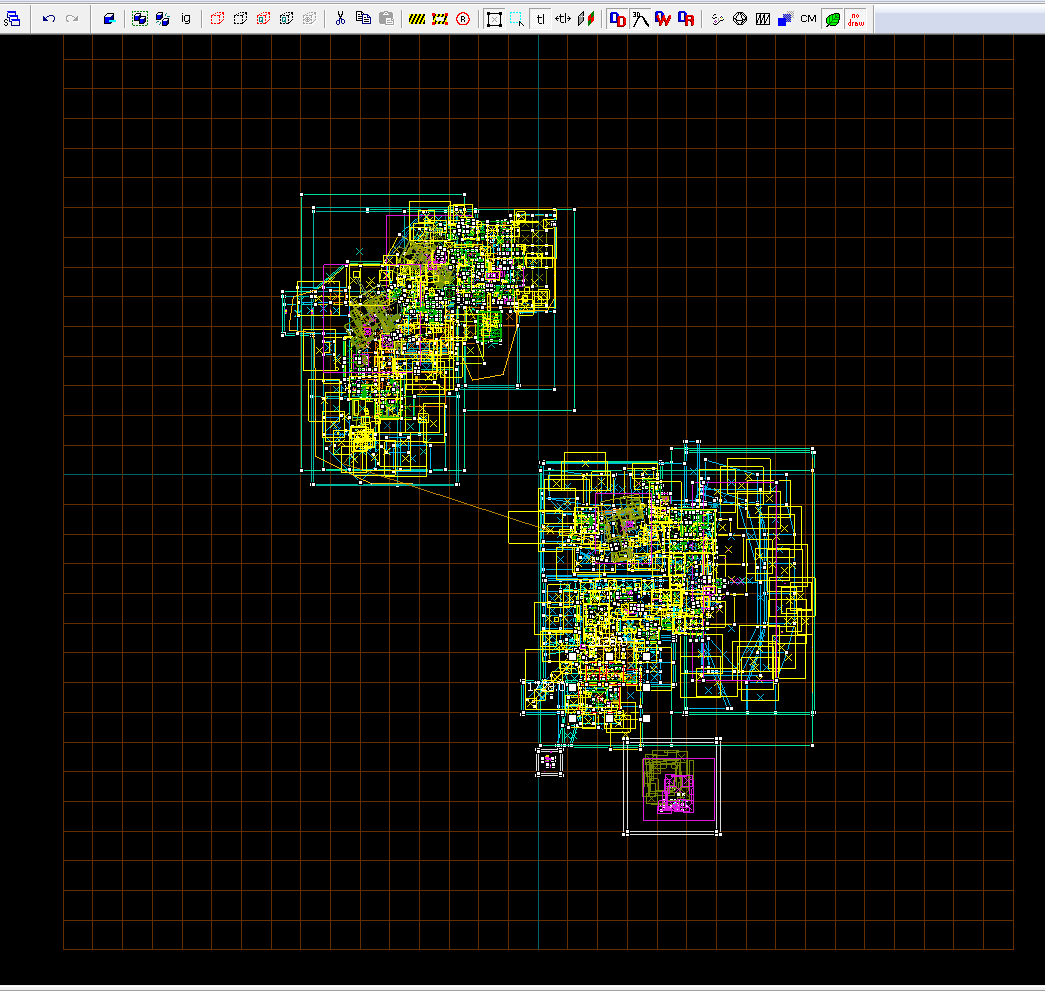
Fully zoomed out top-down view of Snowplow in hammer.
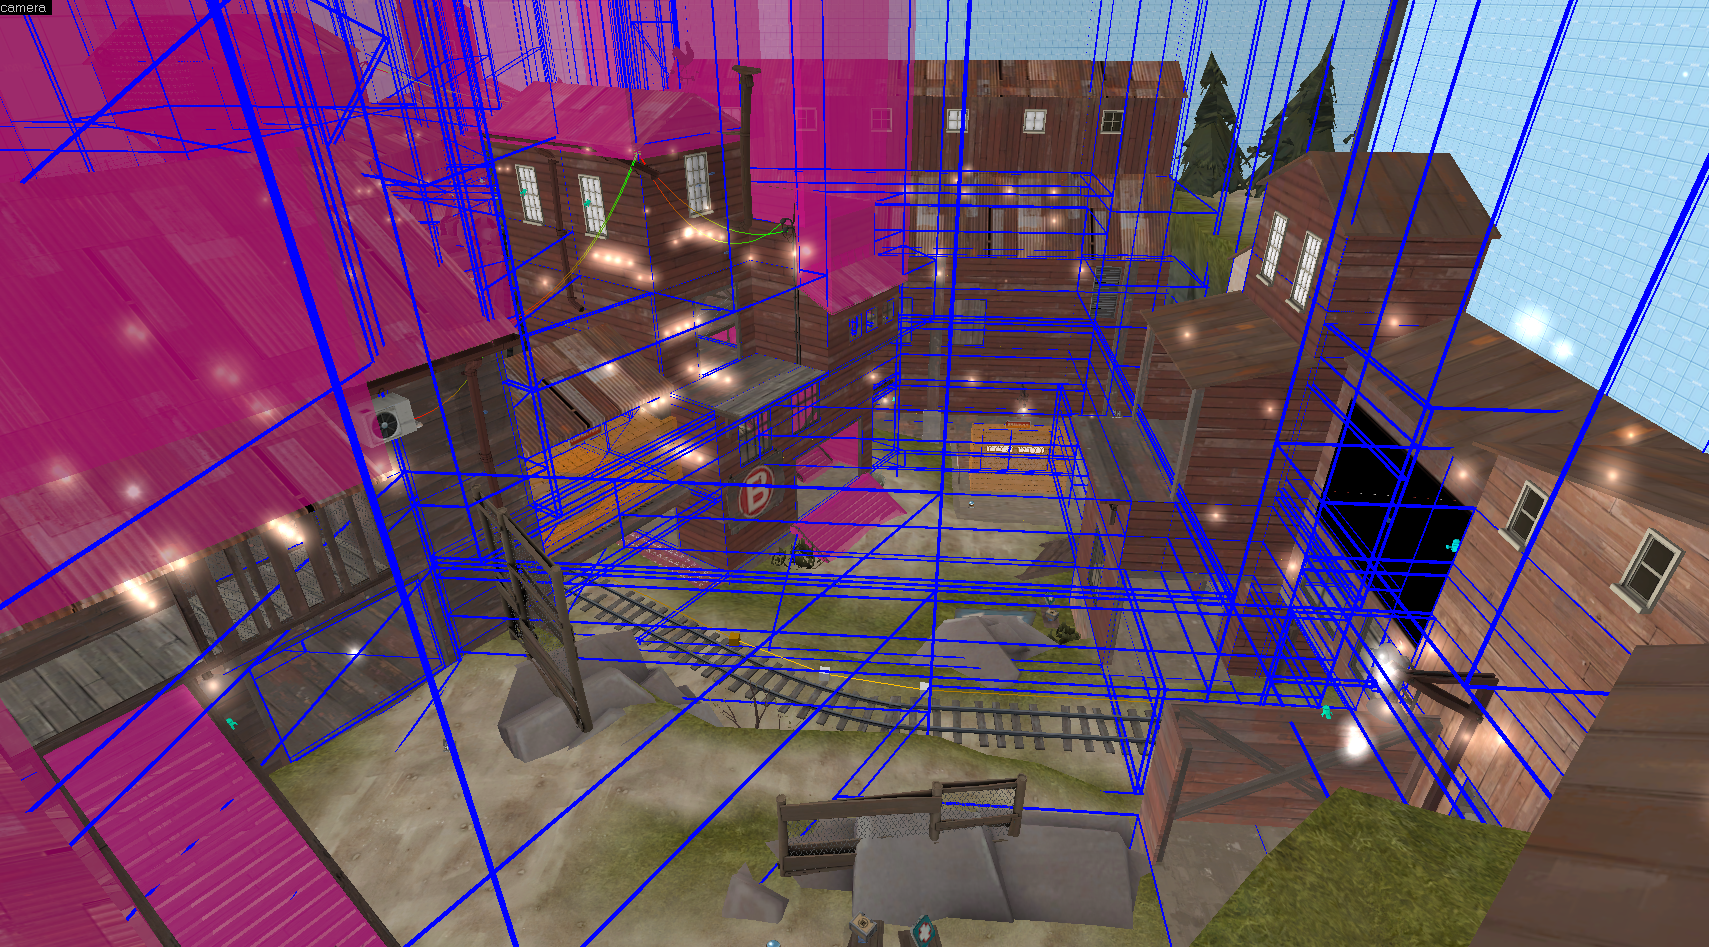
2. Skybox
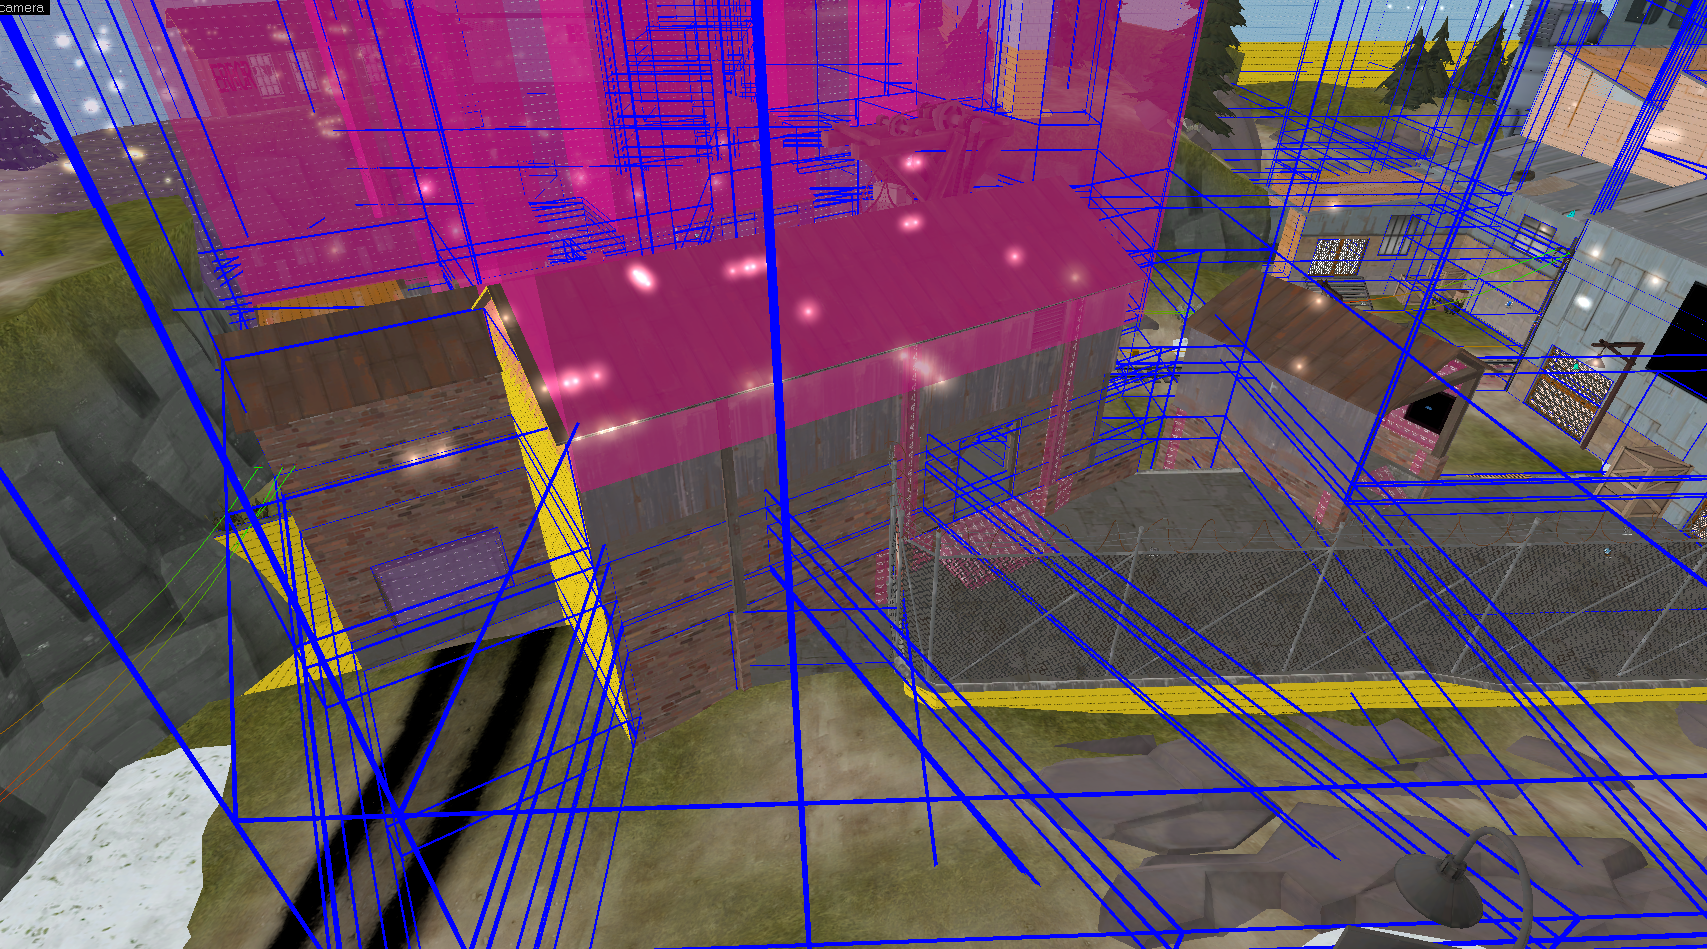
Another popular question is “What does the skybox look like?” Again, take a look. It's pretty messy and looks nothing like it does in game. Since Snowplow was so large, we couldn't get too close to the map edges and thus, we couldn't separate the stages in hammer enough to make sure the skyboxes didn't fight with each other. Additionally, both stages were two separate themes, so we couldn't use the same skybox to begin with.

You can see the overlapping skyboxes here. That spawn point is at the center of skybox clusters.
To remedy this, we separated the Stage 1 and Stage 2 skyboxes into their own dynamic prop clusters. They were then enabled/disabled during stage transition, to whatever stage was active at the moment. This allowed for us to use the same skybox space for both stages, which meant we could have bigger skyboxes in each stage.
I would suggest using this technique in any multistage map. It means that you can have much more detailed skyboxes at the cost of a higher dynamic proper count, which unless you're snowplow, shouldn't be a problem. Just make sure your edicts aren't super high.
3. Lighting
The skybox is the same, but the lighting styles feel different, what did you do? Nothing really. The Badlands environmental lighting is pretty awesome and can work in all environments, winter, alpine, desert, hell, throw it on the moon and you could probably make it work. Changing the physical environment and making your light entities just a different shade can do a lot to a map.
4. Collaboration
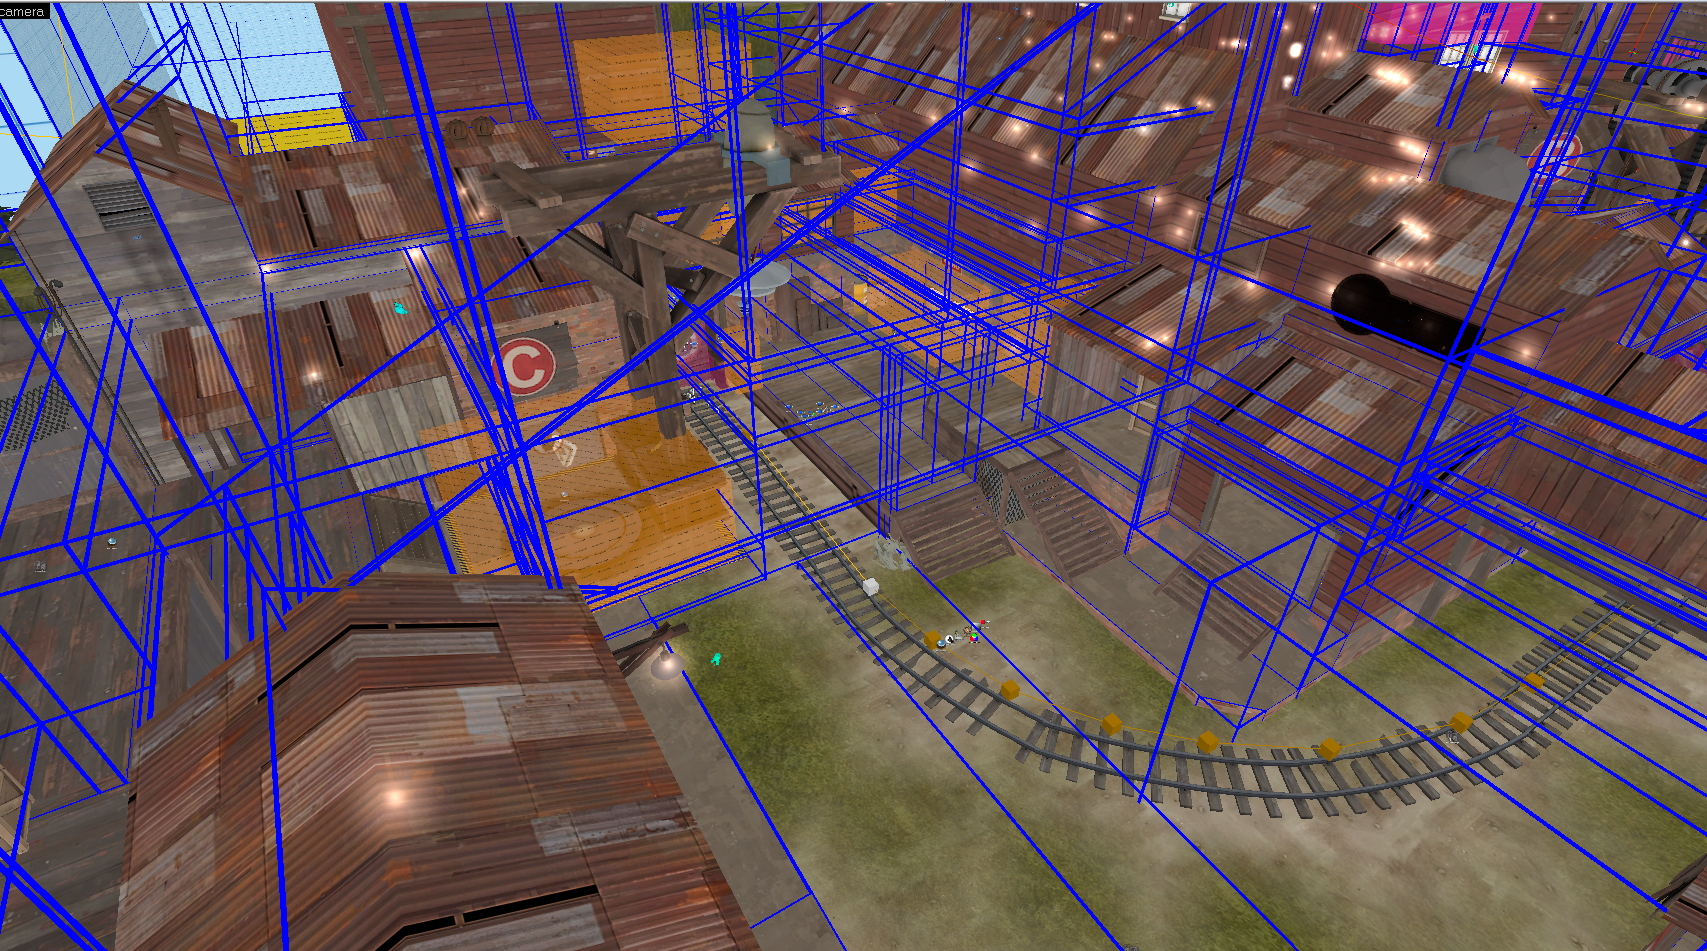
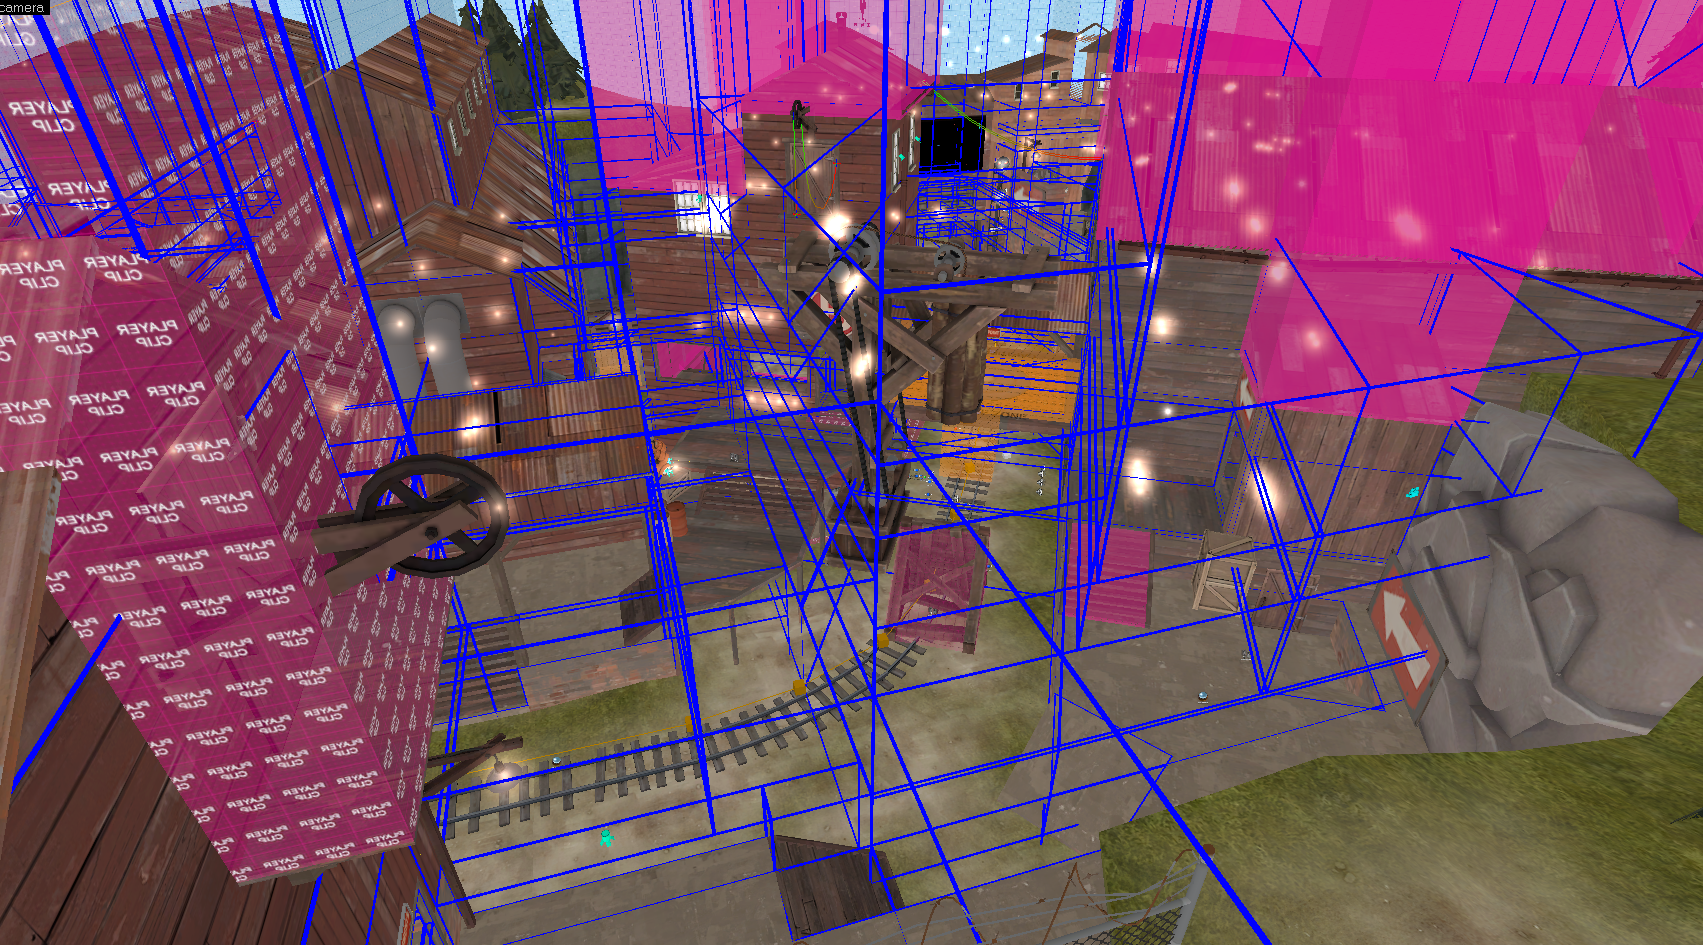
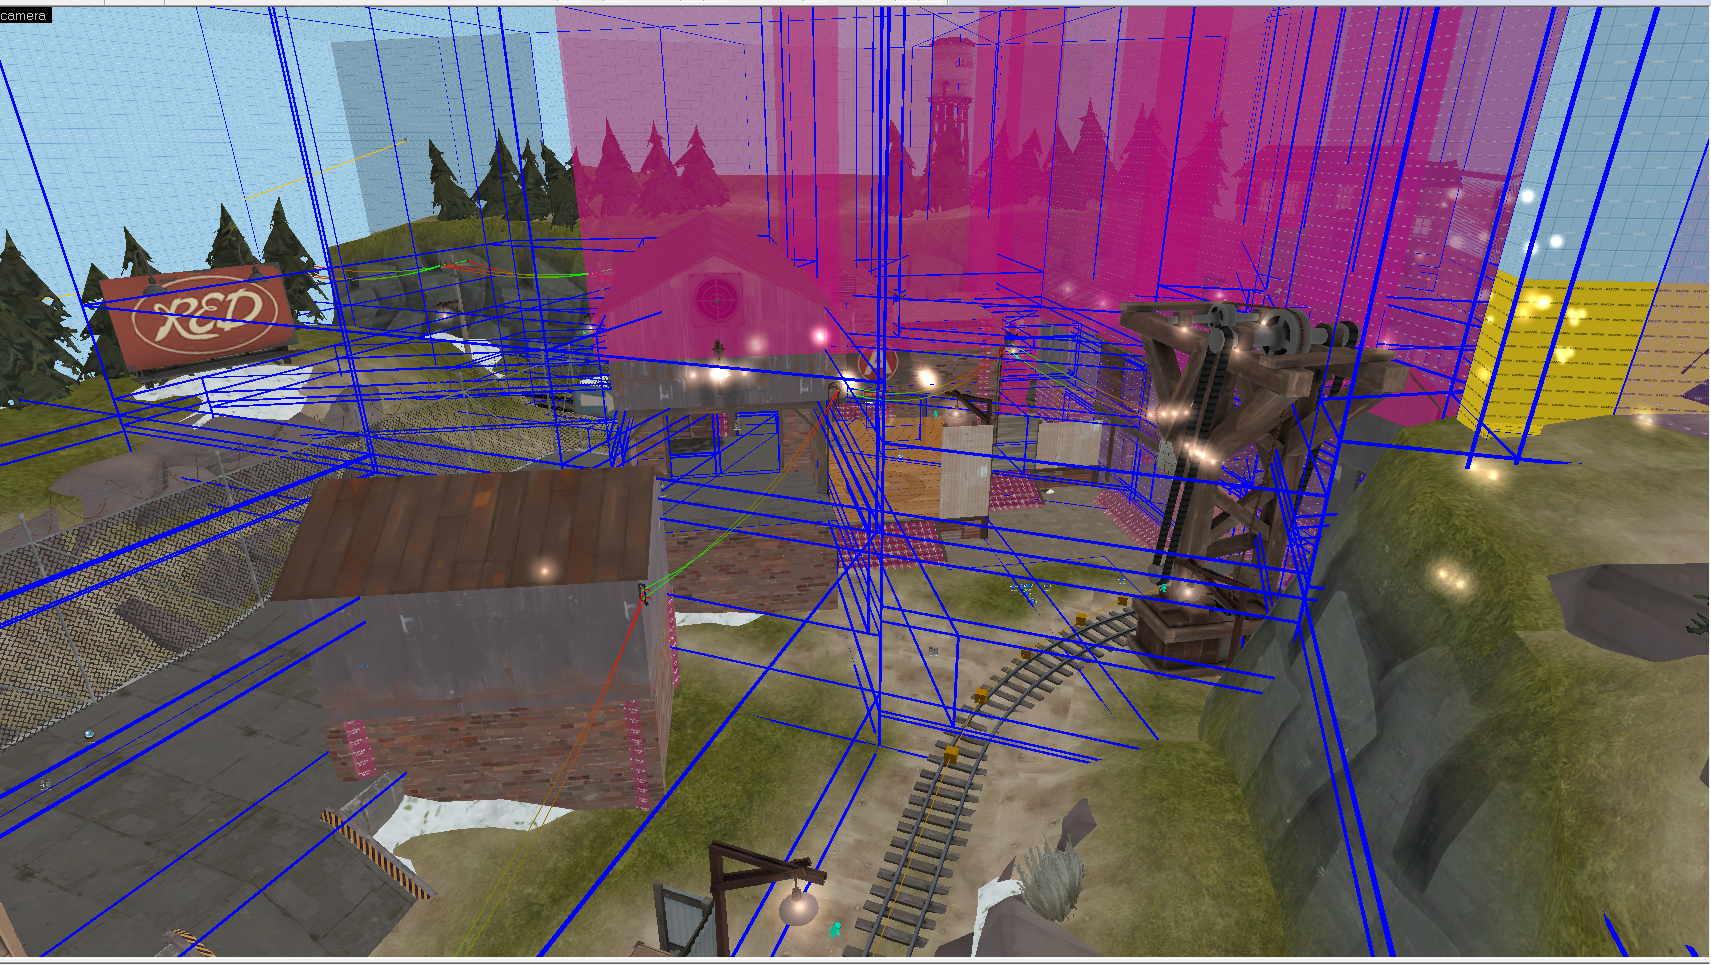
There were points when YM and I were working on the map at the same time. Hammer hates this, so how did we do it? When I was making snowplow, I was in LOVE with non-orthogonal geometry. This meant lots of weird-angled structures, like the entirety of Stage 2, CP 2. One of the best ways to do this in Source is through Instances. Instances are separate .vmf's where you can build whatever you want, then place it in your main map file. 90% of the stuff in an instance will work exactly like if it wasn't in an instance. What this means, is that you can build normal structures on grid in a separate .vmf and then put them into your map at whatever angle you want. Warning though, standard optimization/VVIS rules do apply here, so if it's a func_detail in the instance, it'll be a func_detail in the main file.
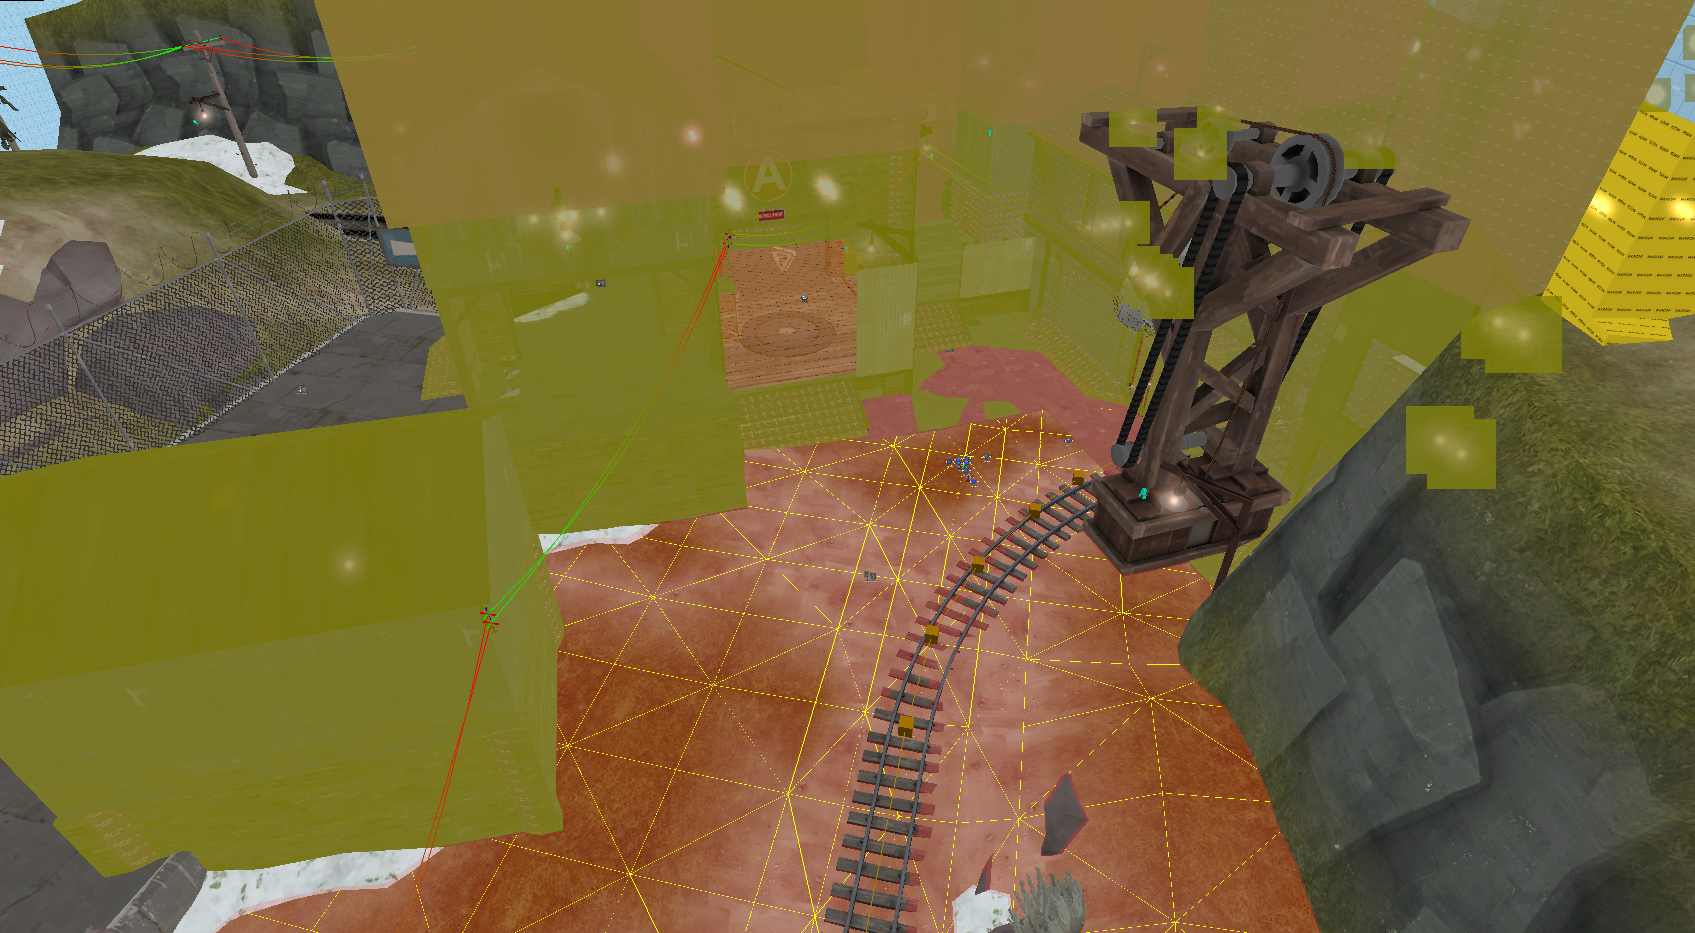
Stage 2, point 1 instance. This is actually two instances. The little hut on the left, then everything else.
Now, onto the important bit of this. Majority of Stage 2 was at one point, instances. I think Stage 2 at one point had 5 instances: The entire of point 1 and 2's structures, and full entirety of the finale. Displacements and all. This number is lower now as we've collapsed some of them down into the main file. So while YM was working on the main file and Stage 1, I could work on instanced sections of stage 2. Having all files synced through dropbox meant that just reloading the map always meant I had the most up-to-date save. This worked out rather well and I would recommend it to anyone else who is collaborating together on level design, or detailing. Warning though, make sure that you're both saving often and autosaves are turned on.
I suggest looking at the func_instance wiki page for more information. I'll see if I can do a tutorial on those for everyone. You can do a fair bit, and they're pretty neat.
5. Having to change up places you've already Artpassed.
This happened a couple times with Snowplow. We'd be testing, feeling pretty confident with an area, start detailing it, then discovering that it kind of sucks and we need to do a lot of changes. We were under a bit of time crunch, so we didn't want to hold on detailing for very long. Notably this happened around Stage 1, point 2 and 3, along with Stage 2, point 1 and 3. It's tough, but sometimes it just NEEDS to happen. The best advice I can give about this is to try and do your best with what you already have, and build around/from that. Tearing out a section though is something that you have to do. Block out the new section, test it and if you're confident with it, start to detail it while you test it more.
6. Optimization.
Surprisingly, wasn't too hard when you get the basic idea of whats going on. For my computer (which, admittedly, is built for compiling games/levels/etc), I could compile the shipped copy of snowplow in approx. 45 minutes. 35-36 of that being VRAD (Lighting). I don't want to go into optimization techniques right now, that's for another tutorial, but I will leave it with one example. Picture your map as a big cake. You want players to only have the smallest possible pieces of cake as they can. Design your map with that in mind, breaking it up with geometry so that players can only see the pieces you want them to see at a time. A big chunk of having an optimized map, is designing your map to be optimized. (Think about that for a minute).
Again, if I get some time I'll do a tutorial on VVIS and general optimization… and hopefully make it something that is easy to understand.
7. Testing
We had a special super-secret-but-not-really-testing-group-of-awesome we called upon whenever we needed to have testing done on Snowplow. We then went to public testing. There was LOADS of data that was there. With YM and I being scientists by education, we naturally did what we knew best. We recorded data and graphed it. We looked at standard deviation, we looked at it compared to previous versions, we set goals. We had excel spreadsheets (I'm not kidding) for a few versions to keep track of data. It was REALLY HELPFUL. Tie this in with the, at the time, recently released heatmaps.tf and we were able to locate trouble spots with relative ease. This, again, is a topic worthy of it's own article, which may or may not get written. Data analytics and statistical analysis though, are really fun and super useful in game development. (Honestly, this was the part that made me happy, bubbly and giggly the most. I LOVE DATA.)
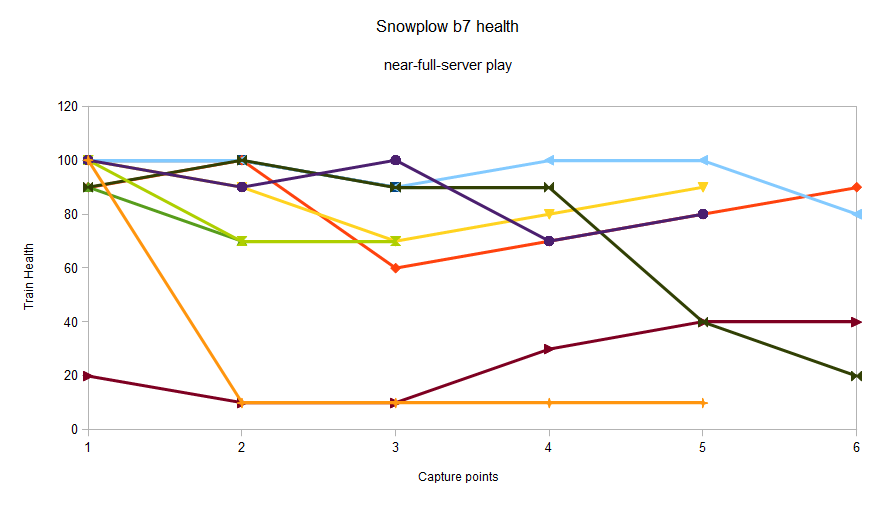
Graph of a select amount of runs of Snowplow with near-server play.
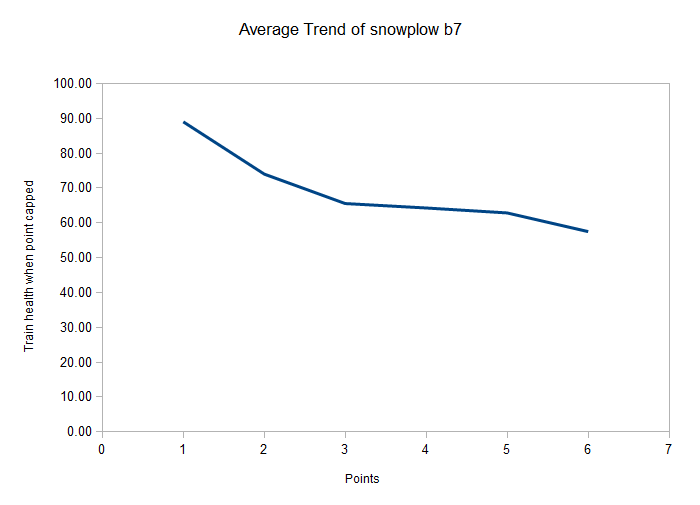
Average health of the train after leaving each point.
Conclusion:
Thats about it for now. Hopefully you picked something new up, or had a “Why didn't I think of that” moment. Maybe you already knew all this. Who knows! I just hoped you enjoyed the read… or the pretty pictures. Now, a lot of this is written from my perspective. YM may have more he could add, if he so chooses. If anyone has any additional questions, just ask 'em and I'll do my best to answer them.
Thanks everyone for the support during development!
---
*This fact not actually fact checked, so believe at your own disgression, but we're pretty sure we're the largest, or second largest TF2 Map ever made. Definitely the largest official map.
Last edited:
")