Ok, here's some guidelines on compiling the props for maps(and SFM if you wish).
It would be nice if you try to stick to these guidelines so every submission is properly compiled and have the same compile paths, all well organized.
If you have any questions don't hesitate to ask, if you feel something should be different, or have different ideas for compiling let us know.
Feel free to add your own VMT or QC commands, based on the provided templates, but make sure it all works fine ingame or in SFM.
Note that we will not judge the models based on these compiling guidelines, don't worry.
----------------------------------------------------------------------------------------------------------------------------------------------------
General guidelines
----------------------------------------------------------------------------------------------------------------------------------------------------
Compile paths
Ingame:
Code:
models/props_vehicles/vehicle_type/vehicle_name.mdl
materials/models/props_vehicles/
SFM
Code:
models/props_vehicles_sfm/vehicle_type/vehicle_name.mdl
materials/models/props_vehicles_sfm/
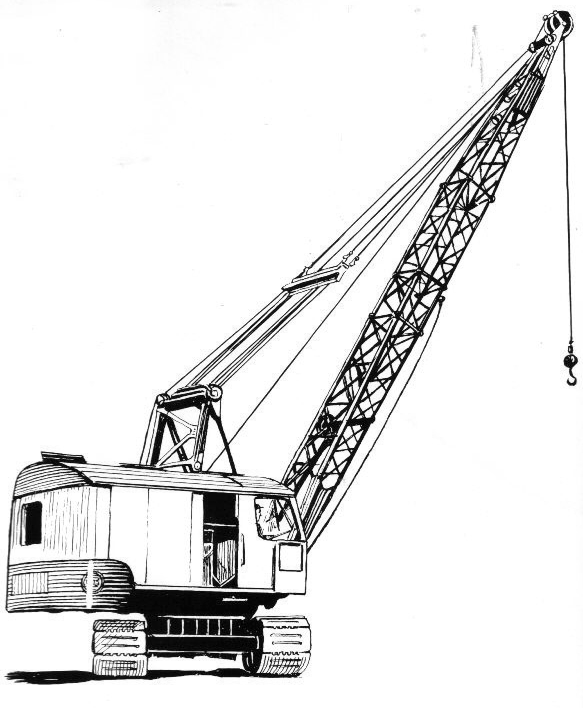
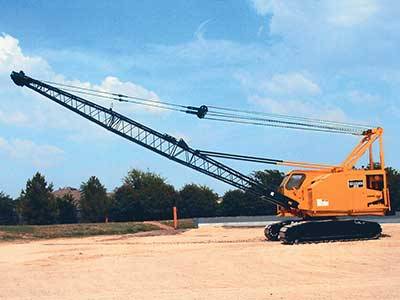
Replace "vehicle_type" by one of these categories:
SCALE
Make sure the scale is right by comparing it to TF2 characters and existing TF2 vehicles and landscapes.
Mesh
Max triangle budget: 10 000 triangles
Make sure the vehicle mesh is centered to the origin (XYZ = 0)
Make sure you are compiling on the proper axis rotation, compile and check in HLMV, press CTRL + G (to turn on the ground) the veicle should be aligned with the ground.
If not try using the QC command "$upaxis Y" (for Maya).
Materials & Textures
-No rim light
You may or may not use,
$phong,
$envmap, $lightwarp, if you use lightwarp, use the weapon lightwarp.
If you use cubemap reflections for your material, make sure to test it ingame in different location and in different maps to ensure it doesn't reflect too little or too much in certain areas of a map or gets over exposed.
Keep the phong and reflection subtle for ingame props, we don't need them to shine too much unless they need to draw attention for some reason.
For paintable materials the basetexture alpha is for the paint mask and the normal map alpha channel for the phong mask(specular map).
Most map props don't use phong, reflectivity or lightwarp, simply a diffuse texture, this is the simplest it can get:
Simple VMT:
Code:
"VertexLitGeneric"
{
	"$basetexture" "models/props_vehicles/vehicle_type/vehicle_name"
}
For paints use the $color2 command to set the paint color and make a vmt for each color variation.
You change the commands "$blendtintbybasealpha" "1" to zero and use "$blendtintcoloroverbase" "1" for a different paint mask/blending mode.
You can also blend both methods like so for instance: "$blendtintbybasealpha" "1" "$blendtintcoloroverbase" "0.5"
See what works best for you.
Paintable VMT + $phong + $envmap:
Code:
"VertexlitGeneric"
{
	"$baseTexture" "models/props_vehicles/vehicle_type/vehicle_name"
	"$bumpmap" "models/props_vehicles/vehicle_type/vehicle_name_normal"

 	"$blendtintbybasealpha" "1"
 	"$blendtintcoloroverbase" "0"

	"$color2" "{0 255 255}"

	"$phong" "1"
	"$phongexponent" "15"
	"$phongboost" ".75"
	"$lightwarptexture" "models\lightwarps\weapon_lightwarp"
	"$phongfresnelranges"	"[1 2 5]"
}
Paintable VMT + $phong + $envmap:
You can create a specular mask texture for the envmap so that you can control which parts reflect ($envmapmask)
Code:
"VertexlitGeneric"
{
	"$baseTexture" "models/props_vehicles/vehicle_type/vehicle_name"
	"$bumpmap" "models/props_vehicles/vehicle_type/vehicle_name_normal"

 	"$blendtintbybasealpha" "1"
 	"$blendtintcoloroverbase" "0"

	"$color2" "{0 255 255}"

	"$phong" "1"
	"$phongexponent" "15"
	"$phongboost" ".75"
	"$lightwarptexture" "models\lightwarps\weapon_lightwarp"
	"$phongfresnelranges"	"[1 2 5]"

	"$envmap" "env_cubemap"
	"$envmaptint" "[.35 .35 .35]"
	//"$envmap" "effects/saxxy/saxxy_gold"
	//$envmapmask "models/props_vehicles/vehicle_type/vehicle_name_envmask"
}
If possible, make use of symetric UV maps,
try to keep textures file size low, as mappers pack props within the map file, it can quickly increase the map file size, therefore longer/slower map download from the server.
Ideally stick to 1024* texture files, if absolutely needed 2048x2048, you can use 512 if you think it look good enough, for ingame.
baseTexture : try to keep it at 1024*1024 (doesn't need to have those proportions, it can be 1024x512 for example)
bumpmap : try to keep it at 256 or 512 (doesn't need to have those proportions, it can be 1024x512 for example)
You can use the ingame console command "mat_reloadmaterial your_material_name" to reload the model materials as you edit the VMT and/or VTF.
Color variations
If possible create color variations for your vehicle, you can use paints or textures, preferably paints as it requires less texture files, saves in file size.
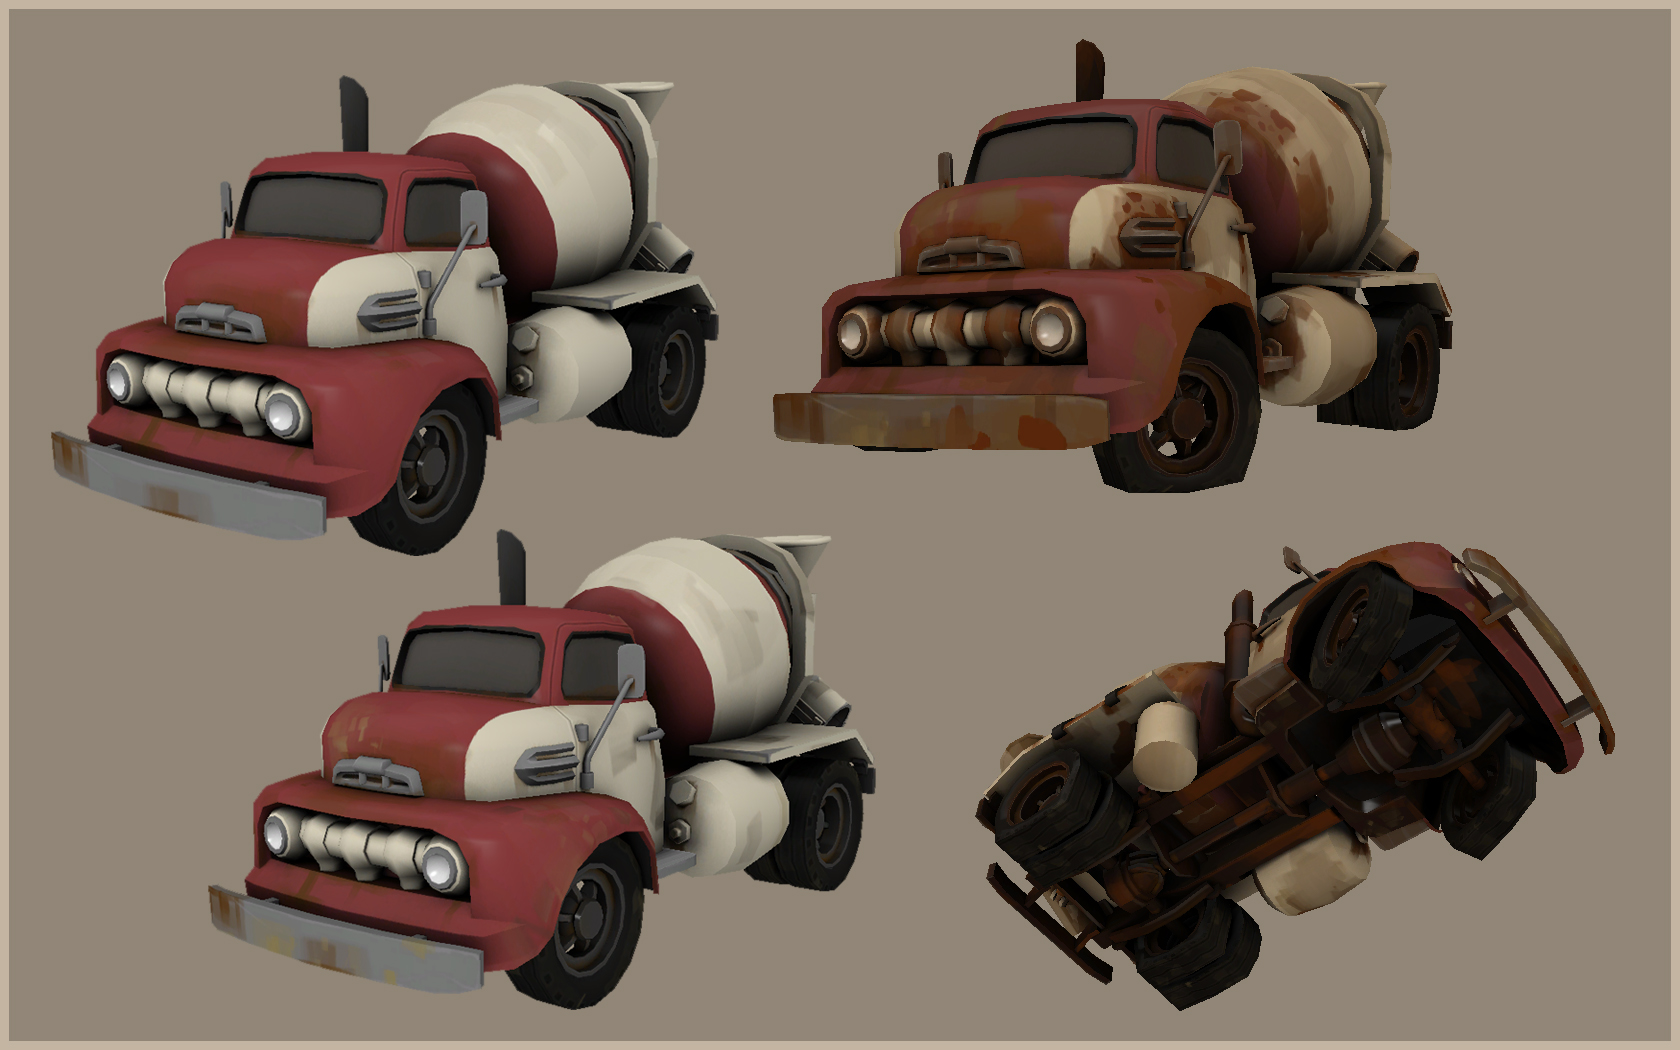
You can also make different versions of the texture if you wish, clean, dirty/used, destroyed etc
----------------------------------------------------------------------------------------------------------------------------------------------------
Ingame Model:
----------------------------------------------------------------------------------------------------------------------------------------------------
-3-4 LODS
-Shadow LOD
-No bones, unless your vehicles has an animation that can be used for the map
-Use the QC command "$collapsebones" to remove all bones but the root, automatically
-Use the QC command "$staticprop" its need for the ingame props, if they have no animations.
Collision model
Create a collision model for the vehicle.
There are two ways to do it, convex, or concave.
When the model compiler takes your collision model, by default it will generate a "convex hull" mesh based on the model you provide.
Its preferable to use $concave as you can achieve a more clean,precise and cheaper (less vertices/triangles) mesh for the collision model.
For the concave collision mesh it needs to be exported with full smoothing, no hard edges or anything.
Also make sure the mesh is closed!
The compiler generates a convex mesh based on the mesh you provide for the collision model.
Here's some examples so you can see the difference between a convex and using the $concave.
http://puu.sh/7gAR7/9207f8276a.png
[t]http://puu.sh/7gAR7/9207f8276a.png[/t]
As you can see by default (without $concave) it generates a "hull" mesh around the mesh you provide for the collision model, this isn't ideal and also not very clean if the base mesh you provide is too detailed, which is the case here.
The concave mesh is much cleaner and cheaper, it leaves space between the wheels and hood and the windshield unlike the convex hull.
For the concave mesh you can use disconnected pieces as you can see on the "exploded mesh" which shows the pieces, the compiler is still generating convex hull pieces, the difference is it will take each floating pieces individually instead of generating a hull over all the pieces when you use $concave.
Note that there is a limit to the number of concave pieces you can have, so try to keep it simple.
----------------------------------------------------------------------------------------------------------------------------------------------------
SFM Model
----------------------------------------------------------------------------------------------------------------------------------------------------
-No LODS.
-No collision model.
-You may make a rig if you wish so it can be manually animated in SFM, wheels, suspensions, doors, etc
For land vehicles, no Ambient Occlusion on the wheels/tires if its an object that can be animated.
Feel free to have a higher texture resolution if you think its needed.
For transparent materials in SFM
SFM has a glitch where the ambient Occlusion overlaps over the whole model if the model has a material with transparency(glass).
In order to fix this if your vehicle happens to use a material with transparency add the VMT command:
Add in the transparent VMT(s)
And in the QC add:
Template QCs
You can remove the comments (// and /* */) if you want, just try to keep things clean.
Map Prop QC:
Code:
// MODEL ///////////////////////////////////////////////////////////

	$modelname "props_vehicles/vehicle_type/vehicle_name.mdl"
	$body "vehicle_name" "vehicle_name.smd"

	//$upaxis "Y"
	$staticprop
	$collapsebones

// LODS ///////////////////////////////////////////////////////////

	$lod 20
	{
		replacemodel "vehicle_name" "lod1_vehicle_name"
	}

	$lod 40
	{
		replacemodel "vehicle_name" "lod2_vehicle_name"
	}

	$lod 80
	{
		replacemodel "vehicle_name" "lod3_vehicle_name"
	}


	//Create a shadowlow mesh named "vehicle_name_shadowlod.smd"
	//Or use the lowest LOD instead (lod3_vehicle_name)
	$shadowlod //Used to generate cheap render-to-texture shadows (not shadow maps)
	{
		replacemodel "vehicle_name" "lod3_vehicle_name"
	}

// MATERIALS ///////////////////////////////////////////////////////

	$cdmaterials  "models/props_vehicles/"

	//material names should be:
	//vehicle_name_red .. vehicle_name_blue etc

	$texturegroup skins
	{
		{ "vehicle_name_red"  }
		{ "vehicle_name_blue" }
		/*
		{ "vehicle_name_yellow" }
		{ "vehicle_name_orange" }
		{ "vehicle_name_green" }
		*/
	}

// COLLISION ///////////////////////////////////////////////////////

	$surfaceprop "metal"

	$collisionmodel	"vehicle_name_collision"
	{
		$automass
		$concave
	}

// ANIMATION ///////////////////////////////////////////////////////

$sequence ref "vehicle_name"
SFM QC:
Code:
// MODEL ///////////////////////////////////////////////////////////

	$modelname "props_vehicles_sfm/vehicle_type/vehicle_name.mdl"
	$body "vehicle_name" "vehicle_name.smd"

	//$upaxis "Y"

// MATERIALS ///////////////////////////////////////////////////////

	$mostlyopaque

	$cdmaterials  "models/props_vehicles_sfm/"

	$texturegroup skins
	{
		{ "vehicle_name_red"  }
		{ "vehicle_name_blue" }
		/*
		{ "vehicle_name_yellow" }
		{ "vehicle_name_orange" }
		{ "vehicle_name_green" }
		*/
	}

// ANIMATION ///////////////////////////////////////////////////////

	$sequence ref "vehicle_name"


