[TUTORIAL] The Complete Guide To Implementing Custom Skybox Textures And Env Lighting
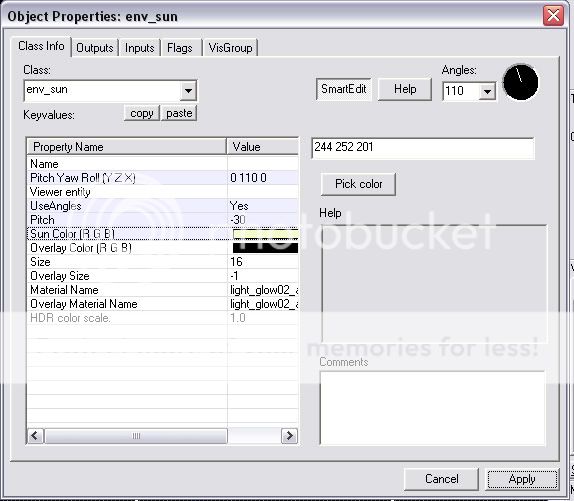
This tutorial will take you through the complete process for creating custom skybox textures, using them in your map, configuring the correct light_environment, implementing accurate shadows with shadow_control, and (optional depending on your choice of skybox texture) env_sun settings.
Please keep in mind this tutorial assumes the following:
• You understand the basics of map creation and compiling.
• You understand how to create custom materials and understand the basics of .vtf and .vmt files.
• You understand the concept of 2-D vs. 3-D skybox.
• You understand how to extract stock skybox textures using gcfscape (optional)
• You understand how to use Terragen (optional)
Conception:
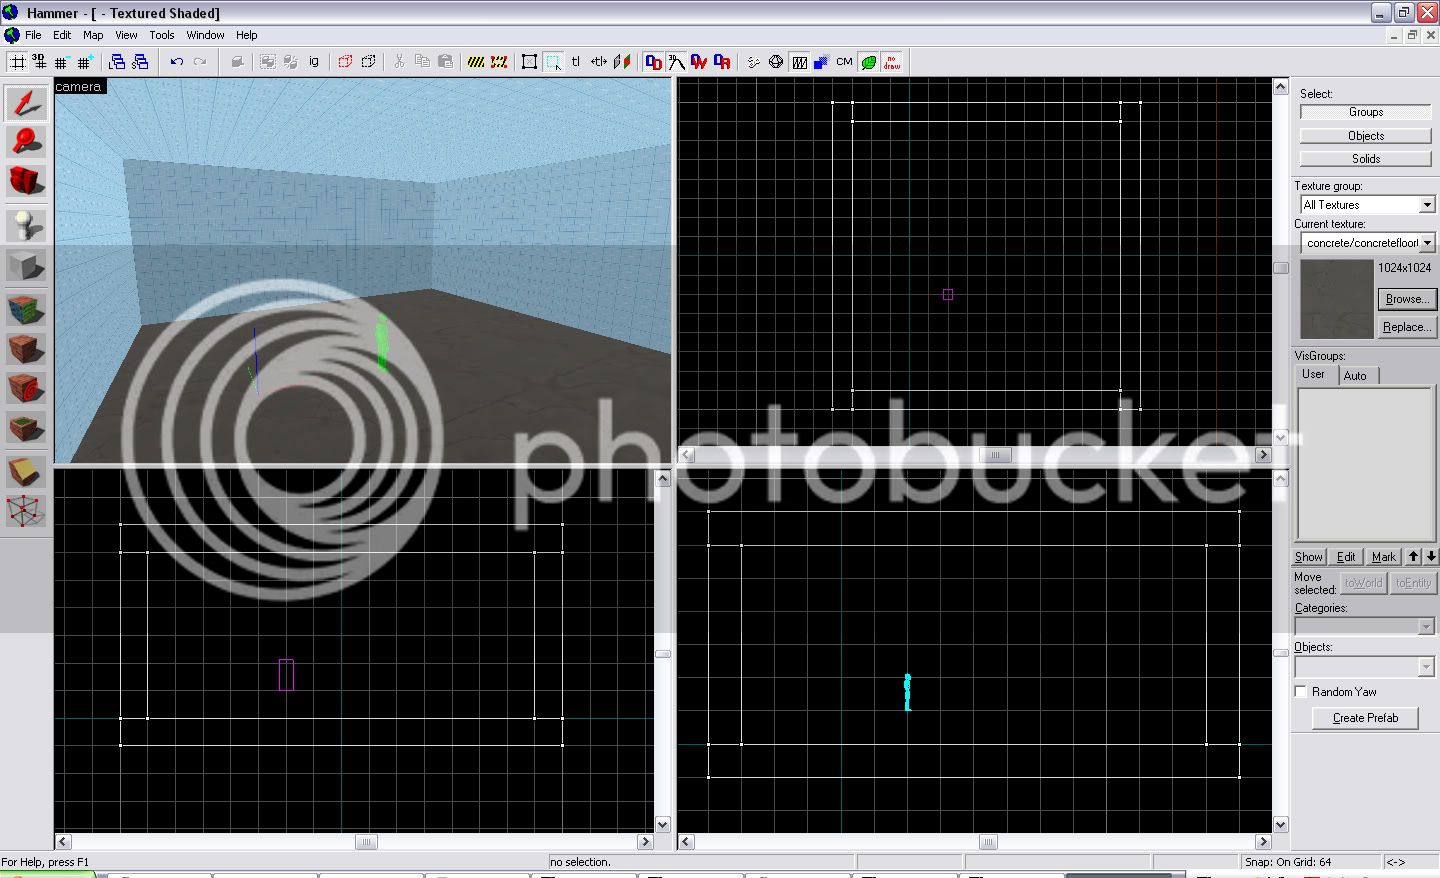
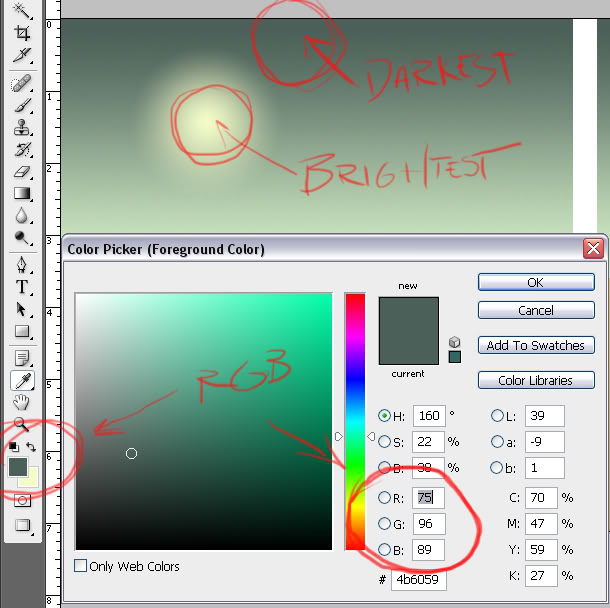
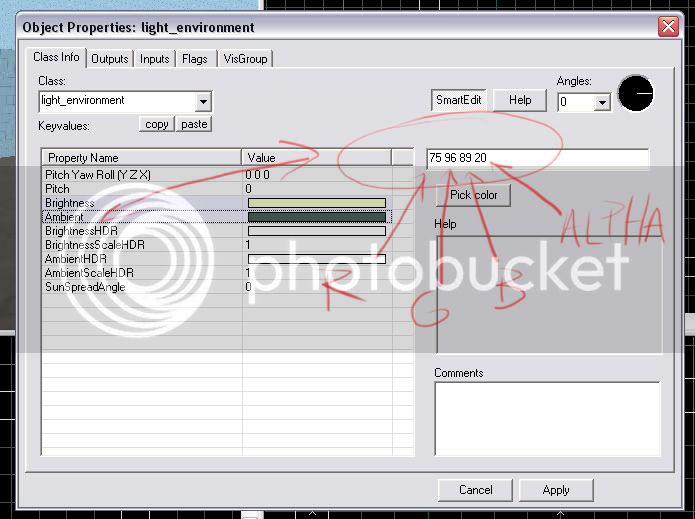
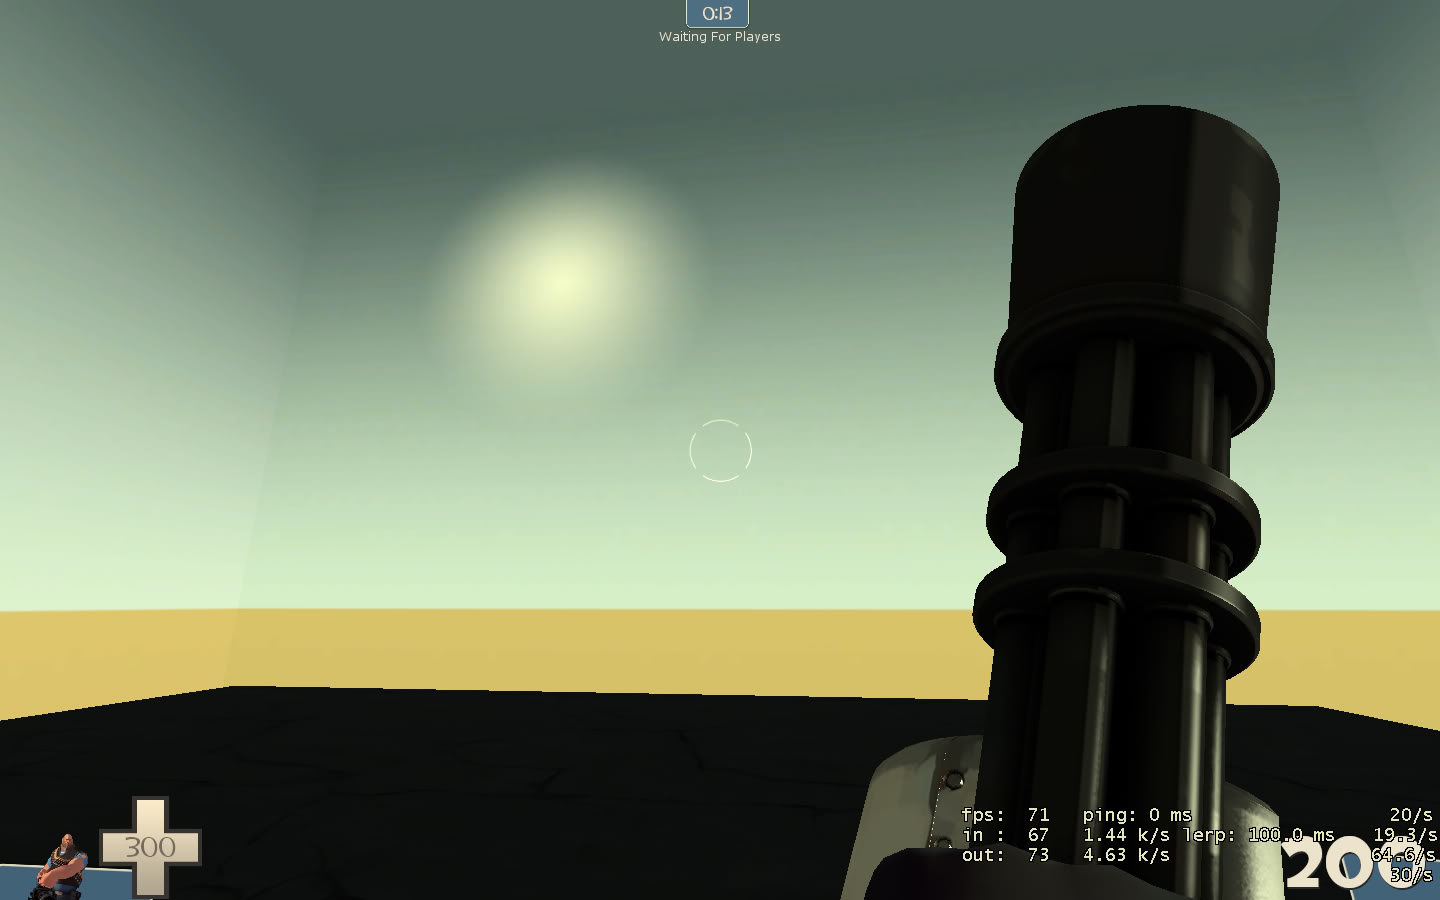
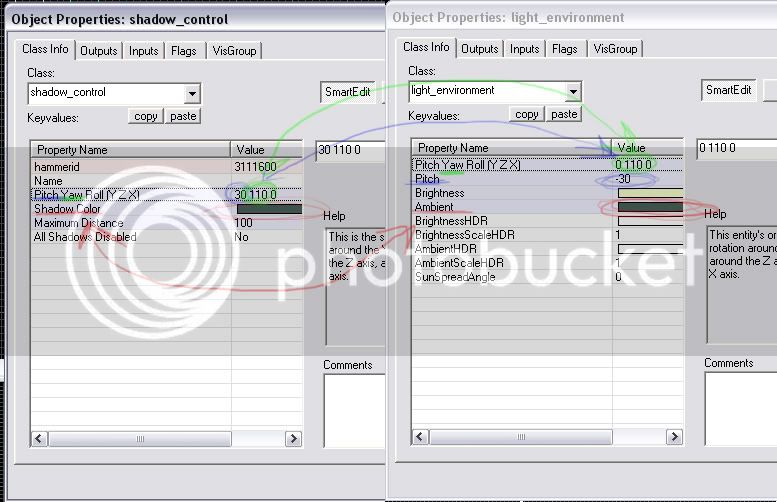
The first thing to plan out is your map’s conception. What do you want your map to look like? The skybox texture will have a massive impact on the appearance of your map. Setting the light_environment will change the whole color of your map, and that includes visibility.
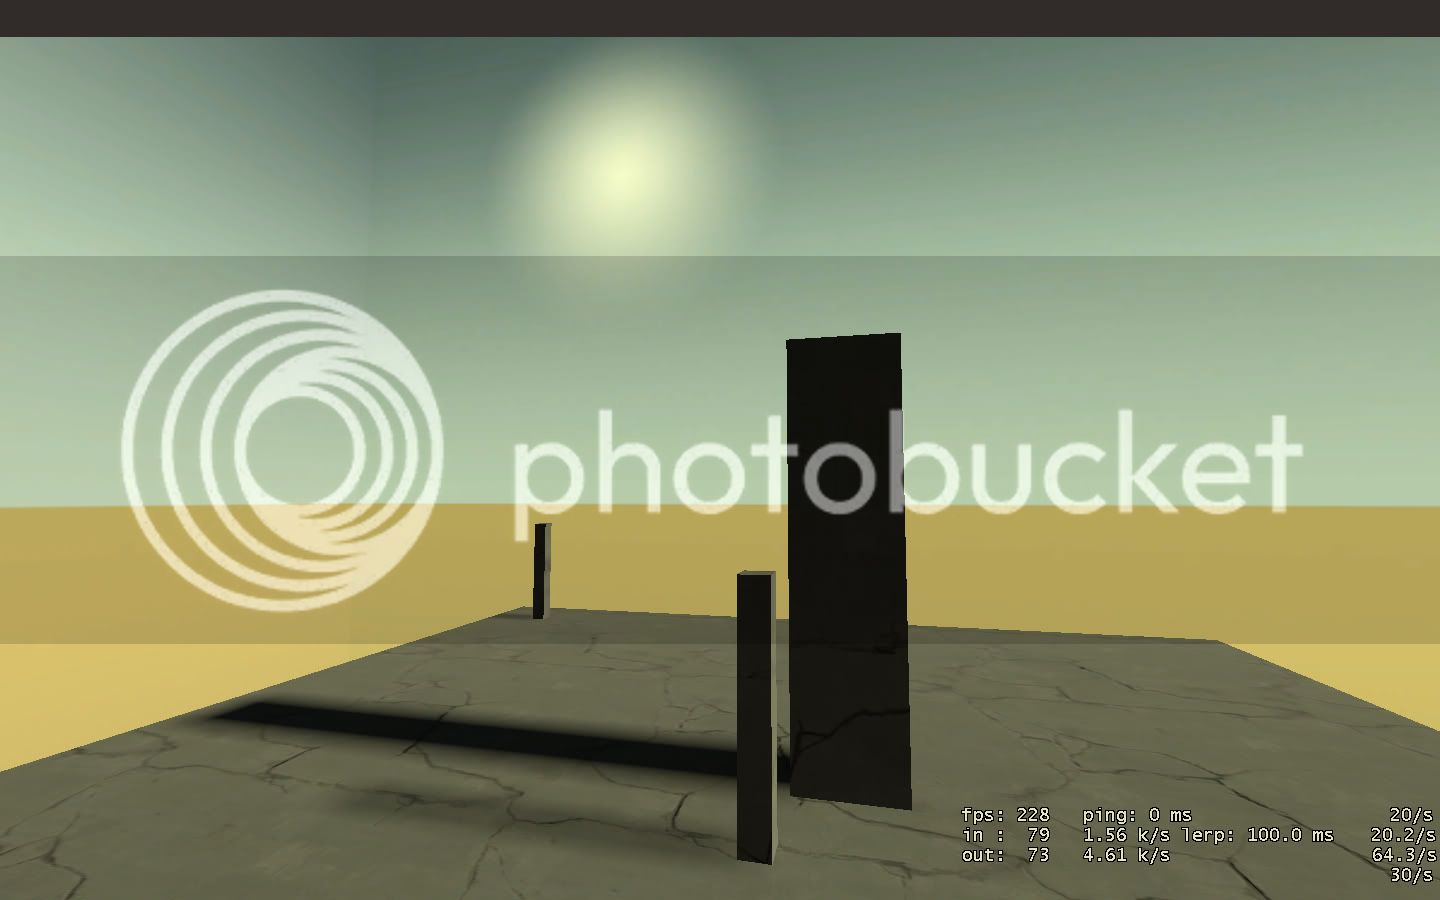
Take a look at the following screenshots of a map in early development. The first two screenshots use a goldrush skybox and light_environment settings; the second two use the Alpine theme and skybox texture. Notice how the visibility differs between the two:
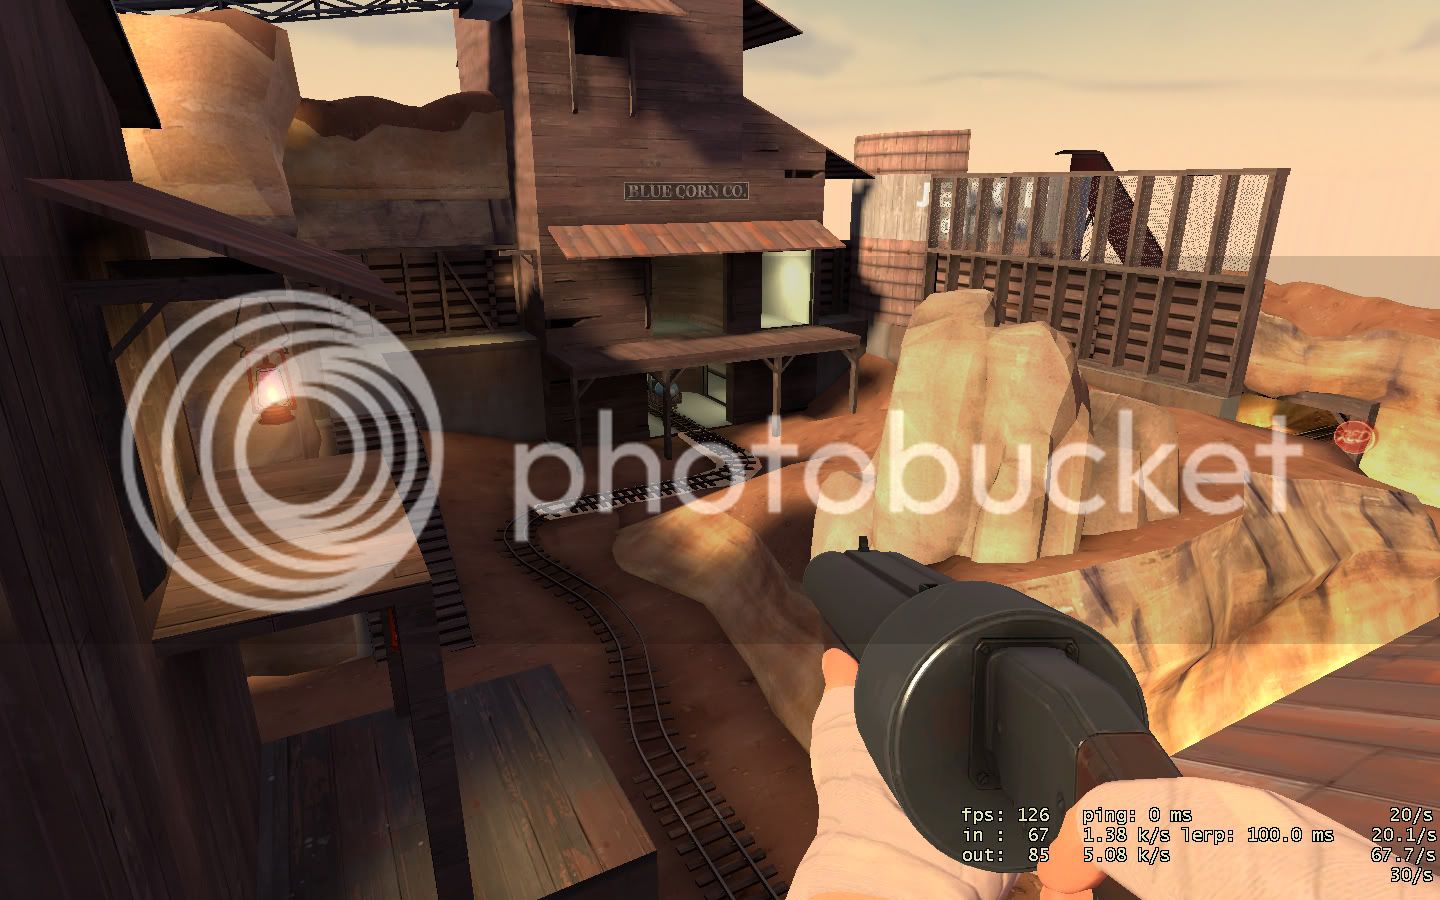
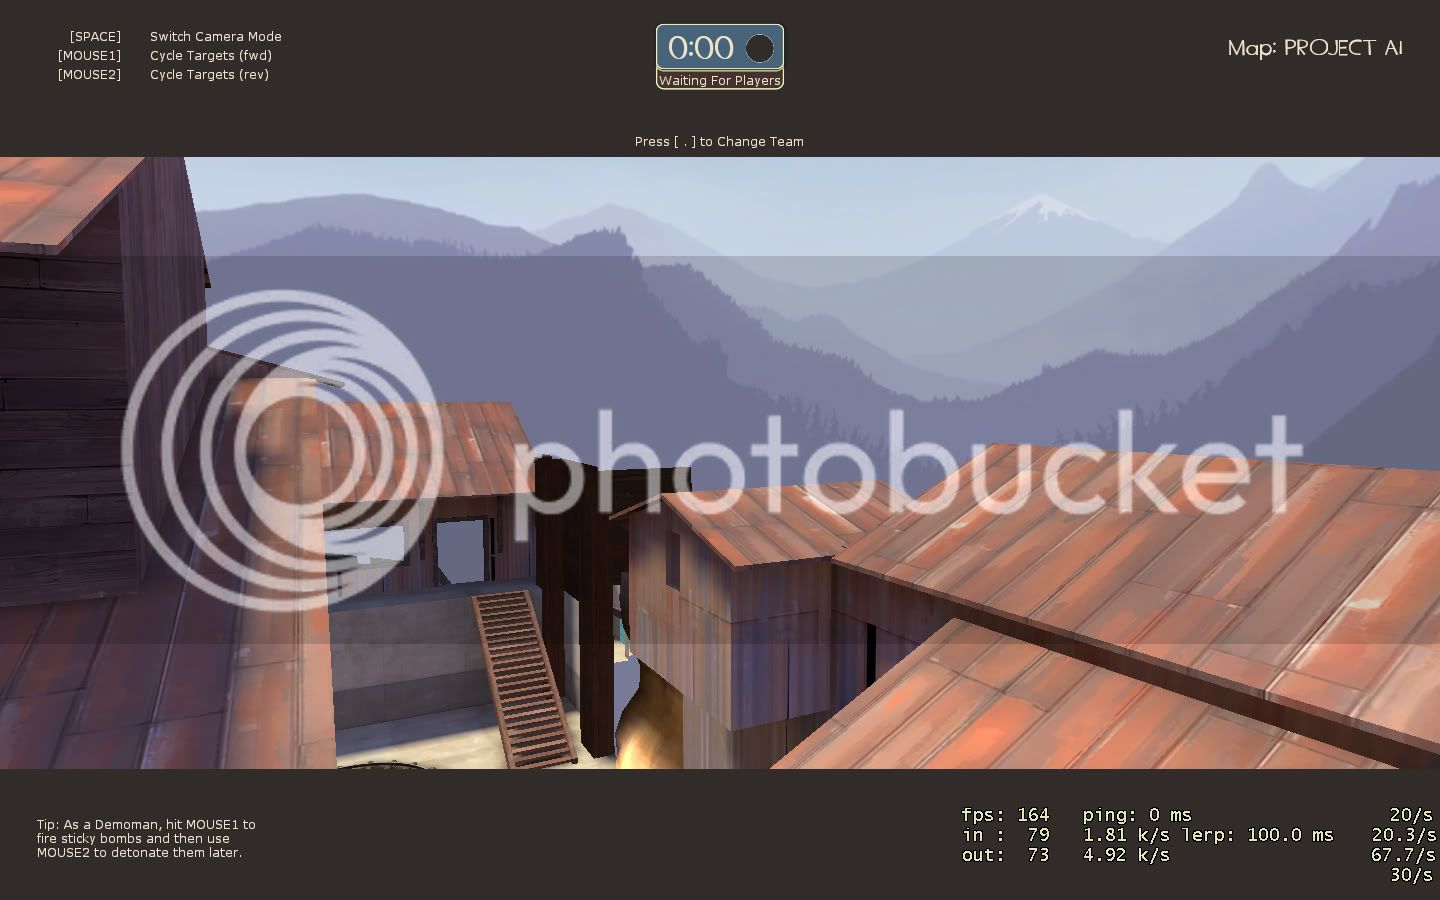

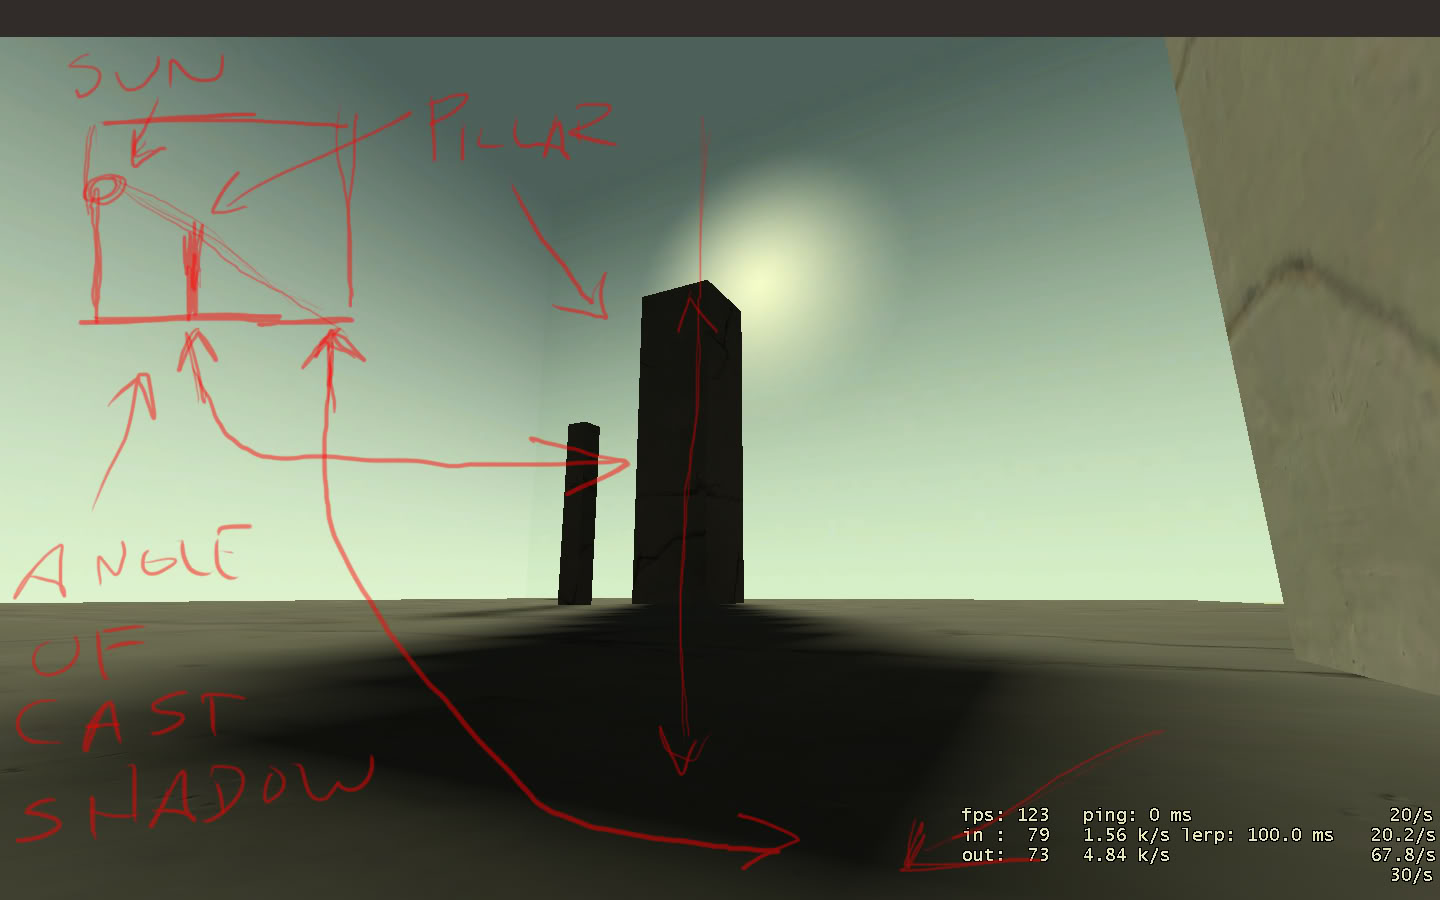
The color choices drastically affect the mood and feel of the map. Also note the positioning of shadows as a result of differentiated light_environment settings.
Take a look at this next example:
pl_cashworks:
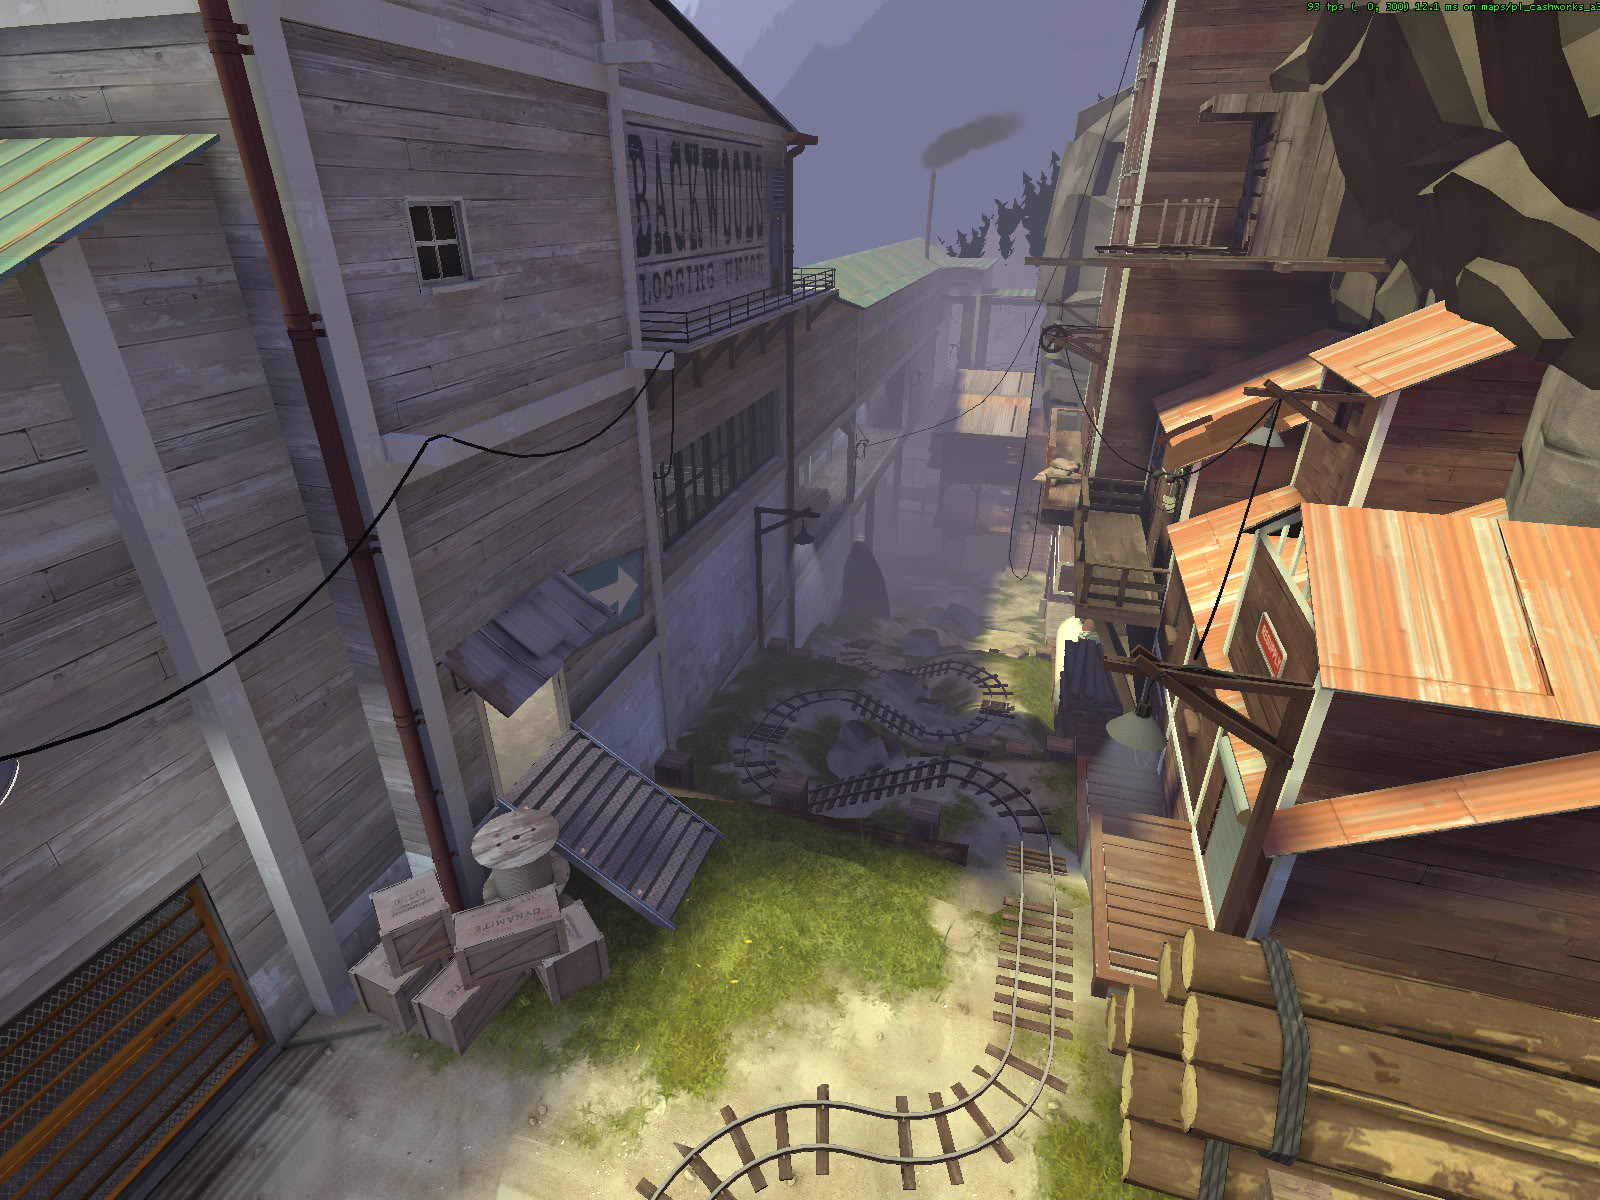

See how the use of the alpine theme with the chosen texture choices affect the mood of the map? A second shameless example:
pl_zig:
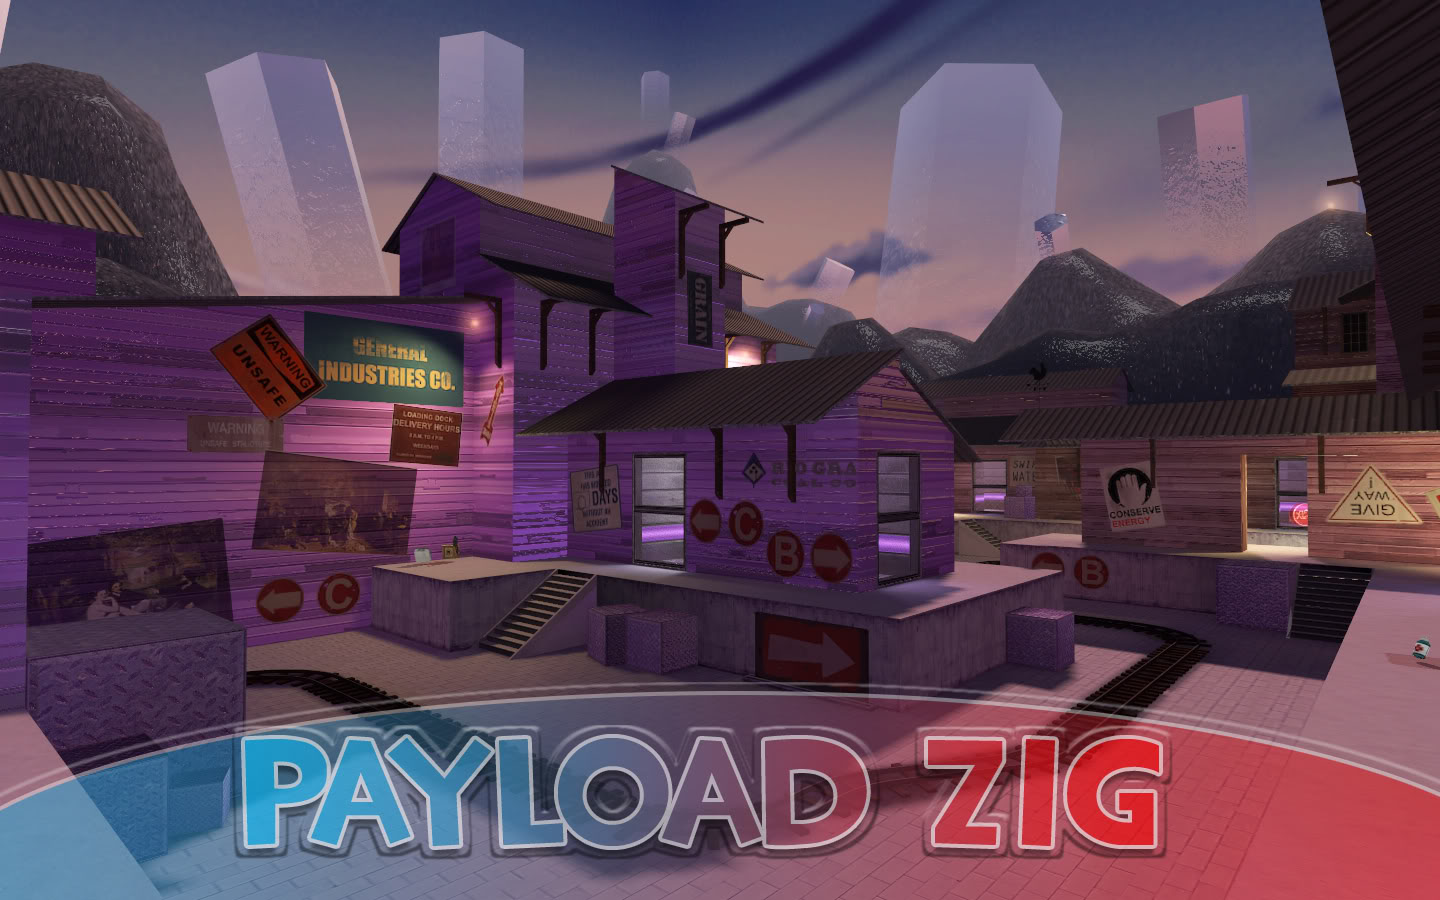

The choices in your light_environment are severely going to affect the saturation of colors in your map, at least in the outside sections.
As well, take a look at this map in development that is taking this issue to heart:
cp_furnace:
1st pass

2nd pass

Youme and Nineaxis are concerned with the overall lighting in cp_furnace. A light_environment setting that is too saturated or bright in one color will cause confusion, darkness and overall irritability amongst players. The idea is to make players want to play your map—not drive them away. Making your map adequately lit will encourage fair play and a pleasant atmosphere. It’s a constant struggle to balance design and functionality all at once.
Getting Started:
After you have either picked a TF2 theme to work with, or conceptualized your own, it’s time to get down to business. You’ll need one of the following ways to get your hands on raw materials:
A.) Images to create your own skybox texture with. You can take your own, and put them together seamlessly in a photo editor, or you can find some online. There are some great one here: http://www.cgtextures.com/
B.) A premade custom skybox texture set. There are LOTS around on the internet, and in particular FPSBanana.com.
C.) Extracted stock skybox materials from Valve using GCF Scape. These can then be altered in terms of color, contrast and brightness (and any other way you’d like to do it!) Youme and Nineaxis have done this for cp_furnace:

As you can see, they’ve used the Goldrush skybox and changed the color considerably to make the image appear as they wanted it to look. Be creative!
D.) Terragen. Terragen is a 3-D tool that can generate a 360 landscape by set parameters from the user. It’s a very powerful tool, however requires knowledge to use the software, and generates photorealistic images—images that wouldn’t fit the TF2 theme. We’ll cover some work arounds later for this problem. You can get Terragen here: http://www.planetside.co.uk/terragen/
The Layout:
However you acquire your images, you’ll have to deal with strict formatting and naming issues that will tell the engine how to place each of the 6 images you’ll use for your skybox texture. You’ll have to edit your photos to make sure they combine seamlessly.
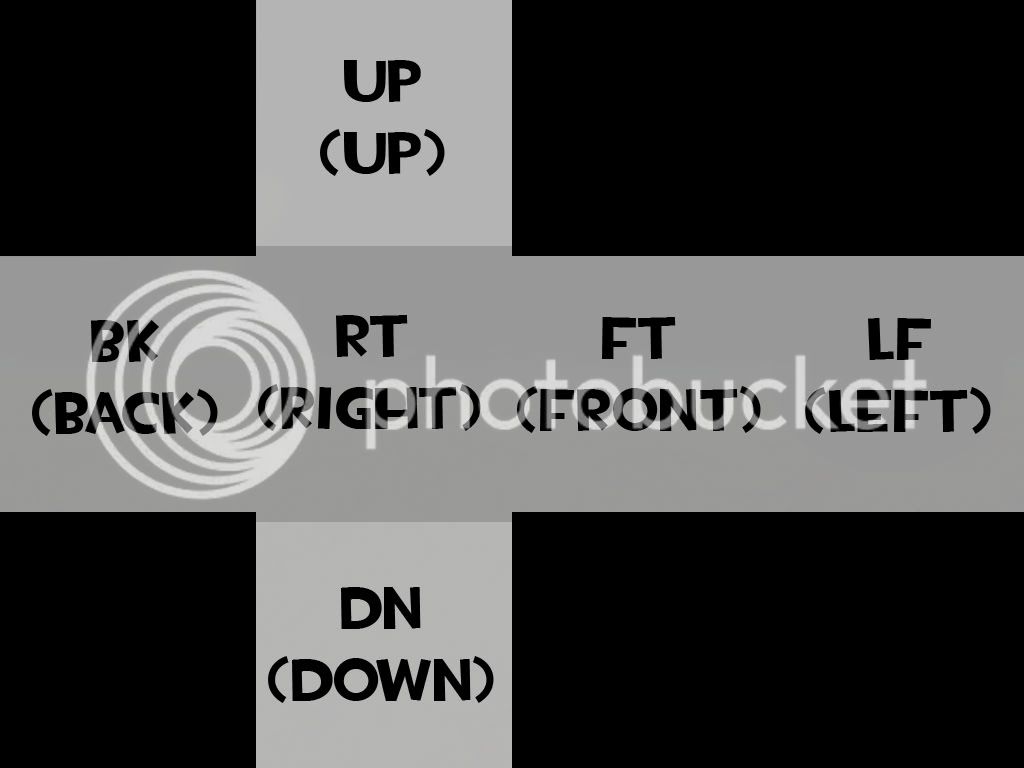
If you were to take each of your 6 images and lay them out in a manner that the engine understands, it would look like this:
 ’
’
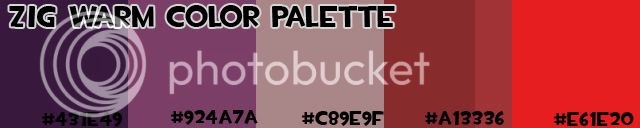
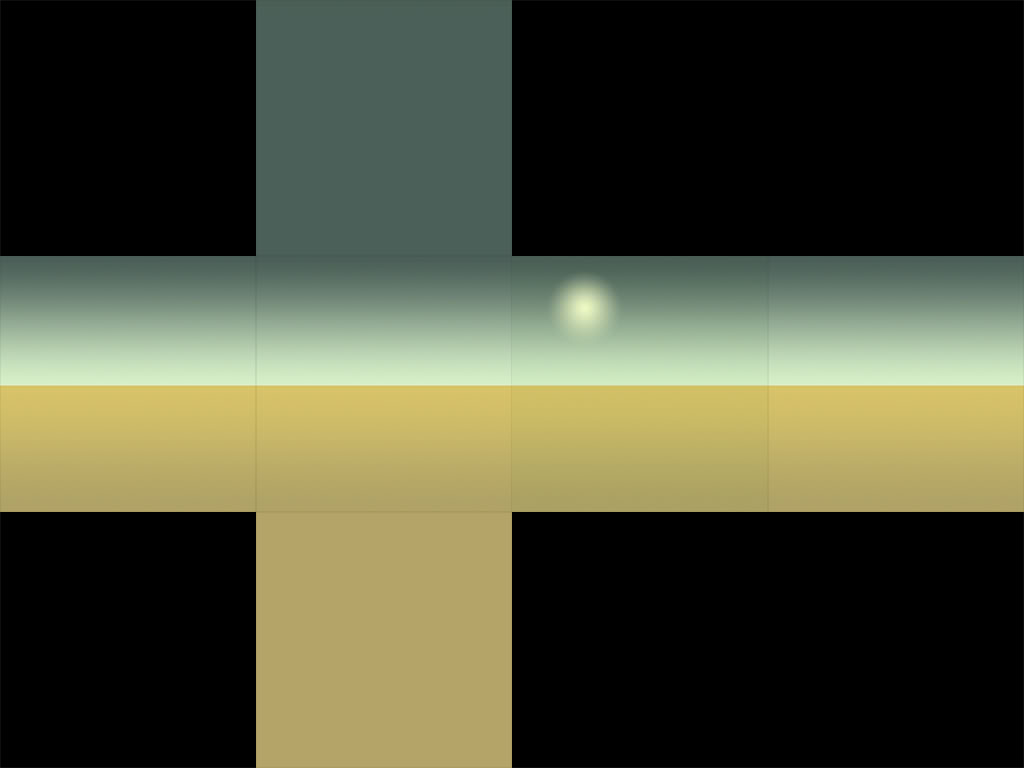
Note the use the two letter abbreviation for each. This is how the engine interprets your 6 images so that they can be placed inside the map. For this tutorial, I’ll make a very simple skybox setup using gradients. Know that in actuality this is much too plain; you’ll want to work out your own setup that works for your map, and for the style of TF2.
Here are the individual .vtf for each part of the skybox:

And here they are in the layout cross-box, seamless (or not so well, as you can see I haven’t done the best job in the world):
After I’ve saved these 6 images to 6 different .vtf files (I’m using the photoshop .vtf plugin, makes life great!), you can see our results:
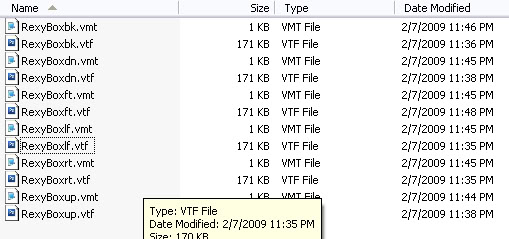
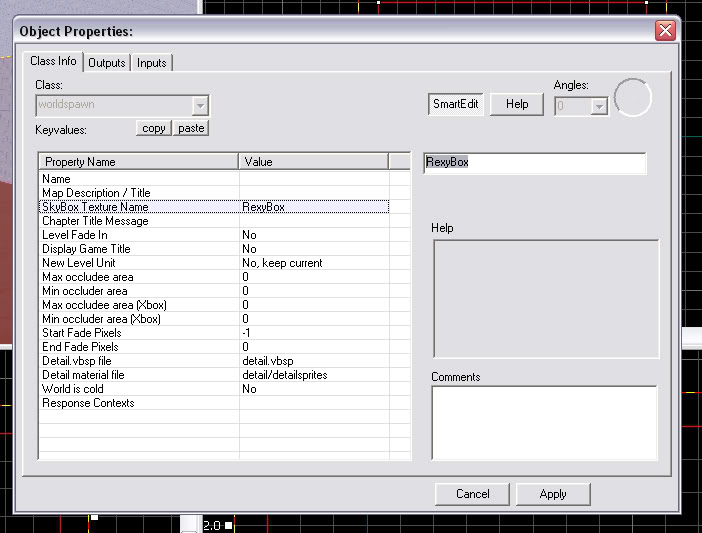
You can see the naming scheme for each file. As discussed earlier, the RexyBoxft.vtf and .vmt correspond to the image that will appear in the front of the skybox. The same are true for the rest of the files. You’ll have to name your files with the abbreviated letters at the end of each of your new .vtf files if you are making your own skybox texture.
Now let’s set our .vmt parameters. Create a new .vmt (textpad) and examine the following:
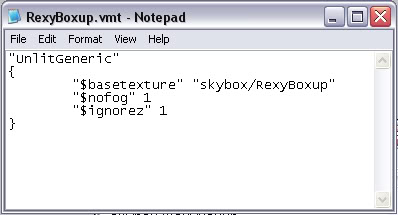
The “$nofog” 1 and “$ignorez”1 are typical of skybox textures because they should be immune to fog and resolution settings (meaning they should scale to fit the environment parnoramically, 360). Also note the “skybox/RexyBoxup” directory setting. The engine will ONLY grab custom skybox textures that are in team fortress 2\tf\materials\skybox. Add the corresponding parameters for your skybox texture files, save those files up for each .vmt, and place them in that team fortress 2\tf\materials\skybox directory.
This tutorial will take you through the complete process for creating custom skybox textures, using them in your map, configuring the correct light_environment, implementing accurate shadows with shadow_control, and (optional depending on your choice of skybox texture) env_sun settings.
Please keep in mind this tutorial assumes the following:
• You understand the basics of map creation and compiling.
• You understand how to create custom materials and understand the basics of .vtf and .vmt files.
• You understand the concept of 2-D vs. 3-D skybox.
• You understand how to extract stock skybox textures using gcfscape (optional)
• You understand how to use Terragen (optional)
Conception:
The first thing to plan out is your map’s conception. What do you want your map to look like? The skybox texture will have a massive impact on the appearance of your map. Setting the light_environment will change the whole color of your map, and that includes visibility.
Take a look at the following screenshots of a map in early development. The first two screenshots use a goldrush skybox and light_environment settings; the second two use the Alpine theme and skybox texture. Notice how the visibility differs between the two:
The color choices drastically affect the mood and feel of the map. Also note the positioning of shadows as a result of differentiated light_environment settings.
Take a look at this next example:
pl_cashworks:
See how the use of the alpine theme with the chosen texture choices affect the mood of the map? A second shameless example:
pl_zig:
The choices in your light_environment are severely going to affect the saturation of colors in your map, at least in the outside sections.
As well, take a look at this map in development that is taking this issue to heart:
cp_furnace:
1st pass
2nd pass
Youme and Nineaxis are concerned with the overall lighting in cp_furnace. A light_environment setting that is too saturated or bright in one color will cause confusion, darkness and overall irritability amongst players. The idea is to make players want to play your map—not drive them away. Making your map adequately lit will encourage fair play and a pleasant atmosphere. It’s a constant struggle to balance design and functionality all at once.
Getting Started:
After you have either picked a TF2 theme to work with, or conceptualized your own, it’s time to get down to business. You’ll need one of the following ways to get your hands on raw materials:
A.) Images to create your own skybox texture with. You can take your own, and put them together seamlessly in a photo editor, or you can find some online. There are some great one here: http://www.cgtextures.com/
B.) A premade custom skybox texture set. There are LOTS around on the internet, and in particular FPSBanana.com.
C.) Extracted stock skybox materials from Valve using GCF Scape. These can then be altered in terms of color, contrast and brightness (and any other way you’d like to do it!) Youme and Nineaxis have done this for cp_furnace:
As you can see, they’ve used the Goldrush skybox and changed the color considerably to make the image appear as they wanted it to look. Be creative!
D.) Terragen. Terragen is a 3-D tool that can generate a 360 landscape by set parameters from the user. It’s a very powerful tool, however requires knowledge to use the software, and generates photorealistic images—images that wouldn’t fit the TF2 theme. We’ll cover some work arounds later for this problem. You can get Terragen here: http://www.planetside.co.uk/terragen/
The Layout:
However you acquire your images, you’ll have to deal with strict formatting and naming issues that will tell the engine how to place each of the 6 images you’ll use for your skybox texture. You’ll have to edit your photos to make sure they combine seamlessly.
If you were to take each of your 6 images and lay them out in a manner that the engine understands, it would look like this:
Note the use the two letter abbreviation for each. This is how the engine interprets your 6 images so that they can be placed inside the map. For this tutorial, I’ll make a very simple skybox setup using gradients. Know that in actuality this is much too plain; you’ll want to work out your own setup that works for your map, and for the style of TF2.
Here are the individual .vtf for each part of the skybox:
And here they are in the layout cross-box, seamless (or not so well, as you can see I haven’t done the best job in the world):
After I’ve saved these 6 images to 6 different .vtf files (I’m using the photoshop .vtf plugin, makes life great!), you can see our results:
You can see the naming scheme for each file. As discussed earlier, the RexyBoxft.vtf and .vmt correspond to the image that will appear in the front of the skybox. The same are true for the rest of the files. You’ll have to name your files with the abbreviated letters at the end of each of your new .vtf files if you are making your own skybox texture.
Now let’s set our .vmt parameters. Create a new .vmt (textpad) and examine the following:
The “$nofog” 1 and “$ignorez”1 are typical of skybox textures because they should be immune to fog and resolution settings (meaning they should scale to fit the environment parnoramically, 360). Also note the “skybox/RexyBoxup” directory setting. The engine will ONLY grab custom skybox textures that are in team fortress 2\tf\materials\skybox. Add the corresponding parameters for your skybox texture files, save those files up for each .vmt, and place them in that team fortress 2\tf\materials\skybox directory.
Last edited: