- Dec 25, 2007
- 566
- 441
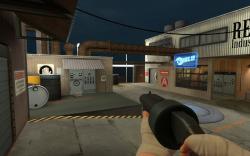
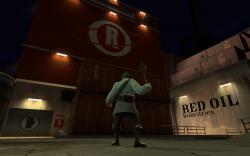
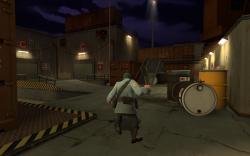
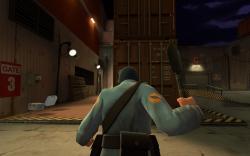
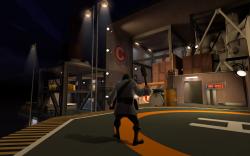
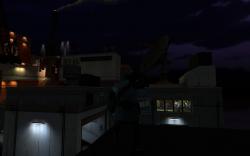
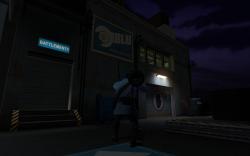
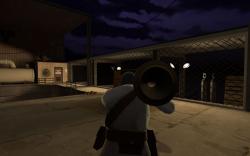
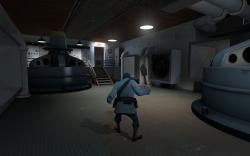
Great work on the detail! This is a very nice-looking map. I particularly like the gloomy darkness outside (though a touch of fog would improve the atmosphere I think). Unlike most dark maps, the playable areas in this are well lit.
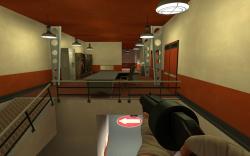
I did get hopelessly lost the first time I played (as defence): coming out of spawn, there was no obvious sign to point A, so I stayed upstairs and went toward point C, figuring I could find my way back to A from C, but the maze of twisty little passages (all different) got me confused for a full five minutes. Not fun. (and it wasn't the last time, either. See below).
Then later, as an attacking team, we also had a lot of difficulty taking point A (in fact, we failed altogether). One thing that no doubt contributed to this is that while the attackers have a long walk to get to point A from spawn, the defenders don't have far to go at all (if they don't get lost ). Also, the long stairs that the attackers take up to point A is too straight; it's very easy for a soldier or demoman to close that route off to attackers completely.
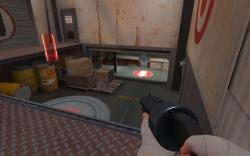
However, in the UK game day, we played again, and this time did better. While as defence we managed to hold of the opponents from gaining A again, as attackers we managed to capture it (and B) quite quickly. Point C however was quite confusing; even getting there was not obvious. We found we could enter the door to the spawn that the defenders had had for point A, and use the resupply cabinets there, but still not spawn in there (hence a long trip for most attackers, although I built a teleport to help). Also, just before you exit from there through the door that exits near the big freight elevator, there's a door on the left that goes to a resupply room. For some reason after we went through it, it seemed to get stuck and not open properly, so I was stuck with a teleport exit and dispenser in a dead-end room. It did seem to open for the enemies though, so I got out eventually. And we capped point C in the end.
One final point I found confusing -- there's a back door to the attackers spawn, that leads out to a platform from which you can see parts of the oil rig; this area seems pretty pointless, even for a sniper, as there aren't any capture points in view from there. The little platform a bit closer to the oilrig made a nice place from which to sticky-jump to between A and B (and the defenders were saying "how was he attacking from there?". The first time I tried that to attack point A tho, I turned left instead of right, and somehow ended up lost in all the little tunnels at C again.
Unfortunately I forgot to start recording a demo for the Sunday game; so if you're not sure which areas I'm talking about, I'll load up the map and put in some screenshots for you.
I did get hopelessly lost the first time I played (as defence): coming out of spawn, there was no obvious sign to point A, so I stayed upstairs and went toward point C, figuring I could find my way back to A from C, but the maze of twisty little passages (all different) got me confused for a full five minutes. Not fun. (and it wasn't the last time, either. See below).
Then later, as an attacking team, we also had a lot of difficulty taking point A (in fact, we failed altogether). One thing that no doubt contributed to this is that while the attackers have a long walk to get to point A from spawn, the defenders don't have far to go at all (if they don't get lost
However, in the UK game day, we played again, and this time did better. While as defence we managed to hold of the opponents from gaining A again, as attackers we managed to capture it (and B) quite quickly. Point C however was quite confusing; even getting there was not obvious. We found we could enter the door to the spawn that the defenders had had for point A, and use the resupply cabinets there, but still not spawn in there (hence a long trip for most attackers, although I built a teleport to help). Also, just before you exit from there through the door that exits near the big freight elevator, there's a door on the left that goes to a resupply room. For some reason after we went through it, it seemed to get stuck and not open properly, so I was stuck with a teleport exit and dispenser in a dead-end room. It did seem to open for the enemies though, so I got out eventually. And we capped point C in the end.
One final point I found confusing -- there's a back door to the attackers spawn, that leads out to a platform from which you can see parts of the oil rig; this area seems pretty pointless, even for a sniper, as there aren't any capture points in view from there. The little platform a bit closer to the oilrig made a nice place from which to sticky-jump to between A and B (and the defenders were saying "how was he attacking from there?". The first time I tried that to attack point A tho, I turned left instead of right, and somehow ended up lost in all the little tunnels at C again.
Unfortunately I forgot to start recording a demo for the Sunday game; so if you're not sure which areas I'm talking about, I'll load up the map and put in some screenshots for you.

