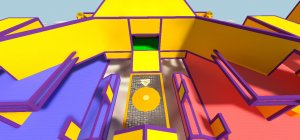
Overview of the control point, from above the shack. Red on the right, Blu on the left. The control point platform opens up on each capture, dropping players. The platform also opens every 60 seconds the point is not captured.
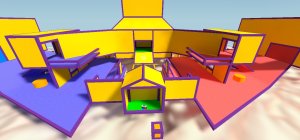
Zoomed out, giving a wider view and a look behind the shack. Red on the right, Blu on the left. The small box at the bottom moves back and forth between Red and Blu's side, giving access to the large health pack behind the shed.
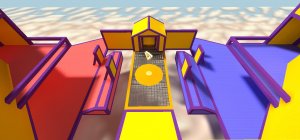
Overview of the control point, from the other side. Red on the left, Blu on the right.
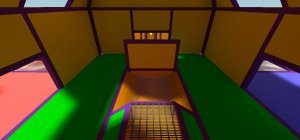
Inside the building next to the control point. Standing in the water will slowly push you towards the waterfall. Red on the left, Blu on the right.
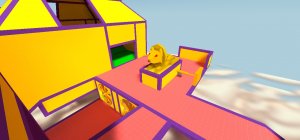
Outside the building, Red's side. The piston has a 1 in 4 chance of pushing players off every time the medium health pack behind the statue is picked up, and the piston also activates every 60 secs it is idle.
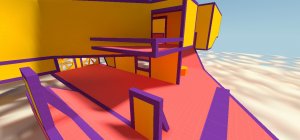
A closer view of Red's side of the control point. The fans on the left activate randomly every 60 to 90 seconds, blowing players off the map.
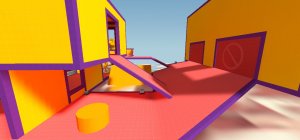
Right outside Red's landing zone. A medium health pack rests underneath the ramp. One medium ammo pack rests on the far side of Red's spawn, while another is up against the window on the left. Attacking the orange cylinder in the bottom left corner causes it to push players away. The orange platform in the rear rotates, causing players to fall off if they stand on it for more than a few seconds.

Inside Red's landing zone, where Red lands after taking the launchpad to get to the sky. The resupply locker, made of dev-textured brushes, rests between Red's two spawn doors.
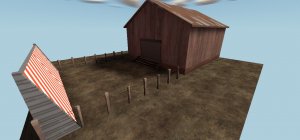
Red's spawn, on the ground. The launchpad on the left launches players into the sky.
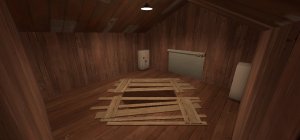
Inside Red's spawn.
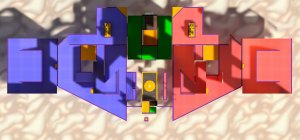
An overview of the map. Red on the right, Blu on the left.