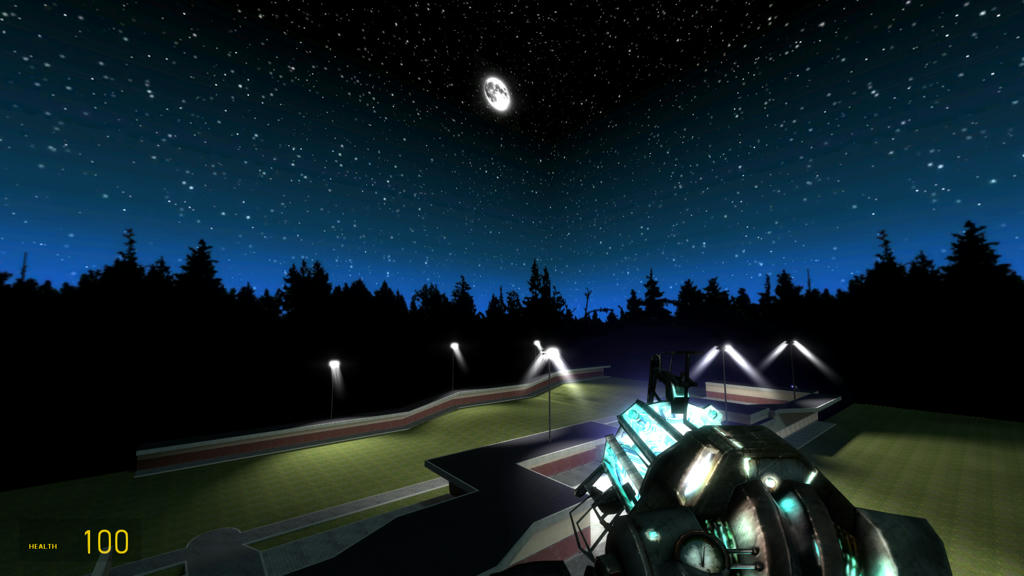
Today I’m going to teach you one of the methods I used to make a custom skybox from scratch, without just changing the brightness or saturation of an existing skybox texture. In order to do this, you’ll need to know a bit of the basics about using a 3d modeling program. I use Blender, but the process should be applicable to any program.
What we will be doing is basically making a texture and mapping it to a sphere, then capturing the view of each side from within the sphere and saving it as a set of 6 images. This will provide us with the correct perspective for our skybox, so it doesn’t look like an obvious cube like this:
You will need:
Setting up the Texture
First we have to get a texture to map to our sphere. You can either find one online (look for sphere mapped panoramas) or draw your own. There are a few things to keep in mind:
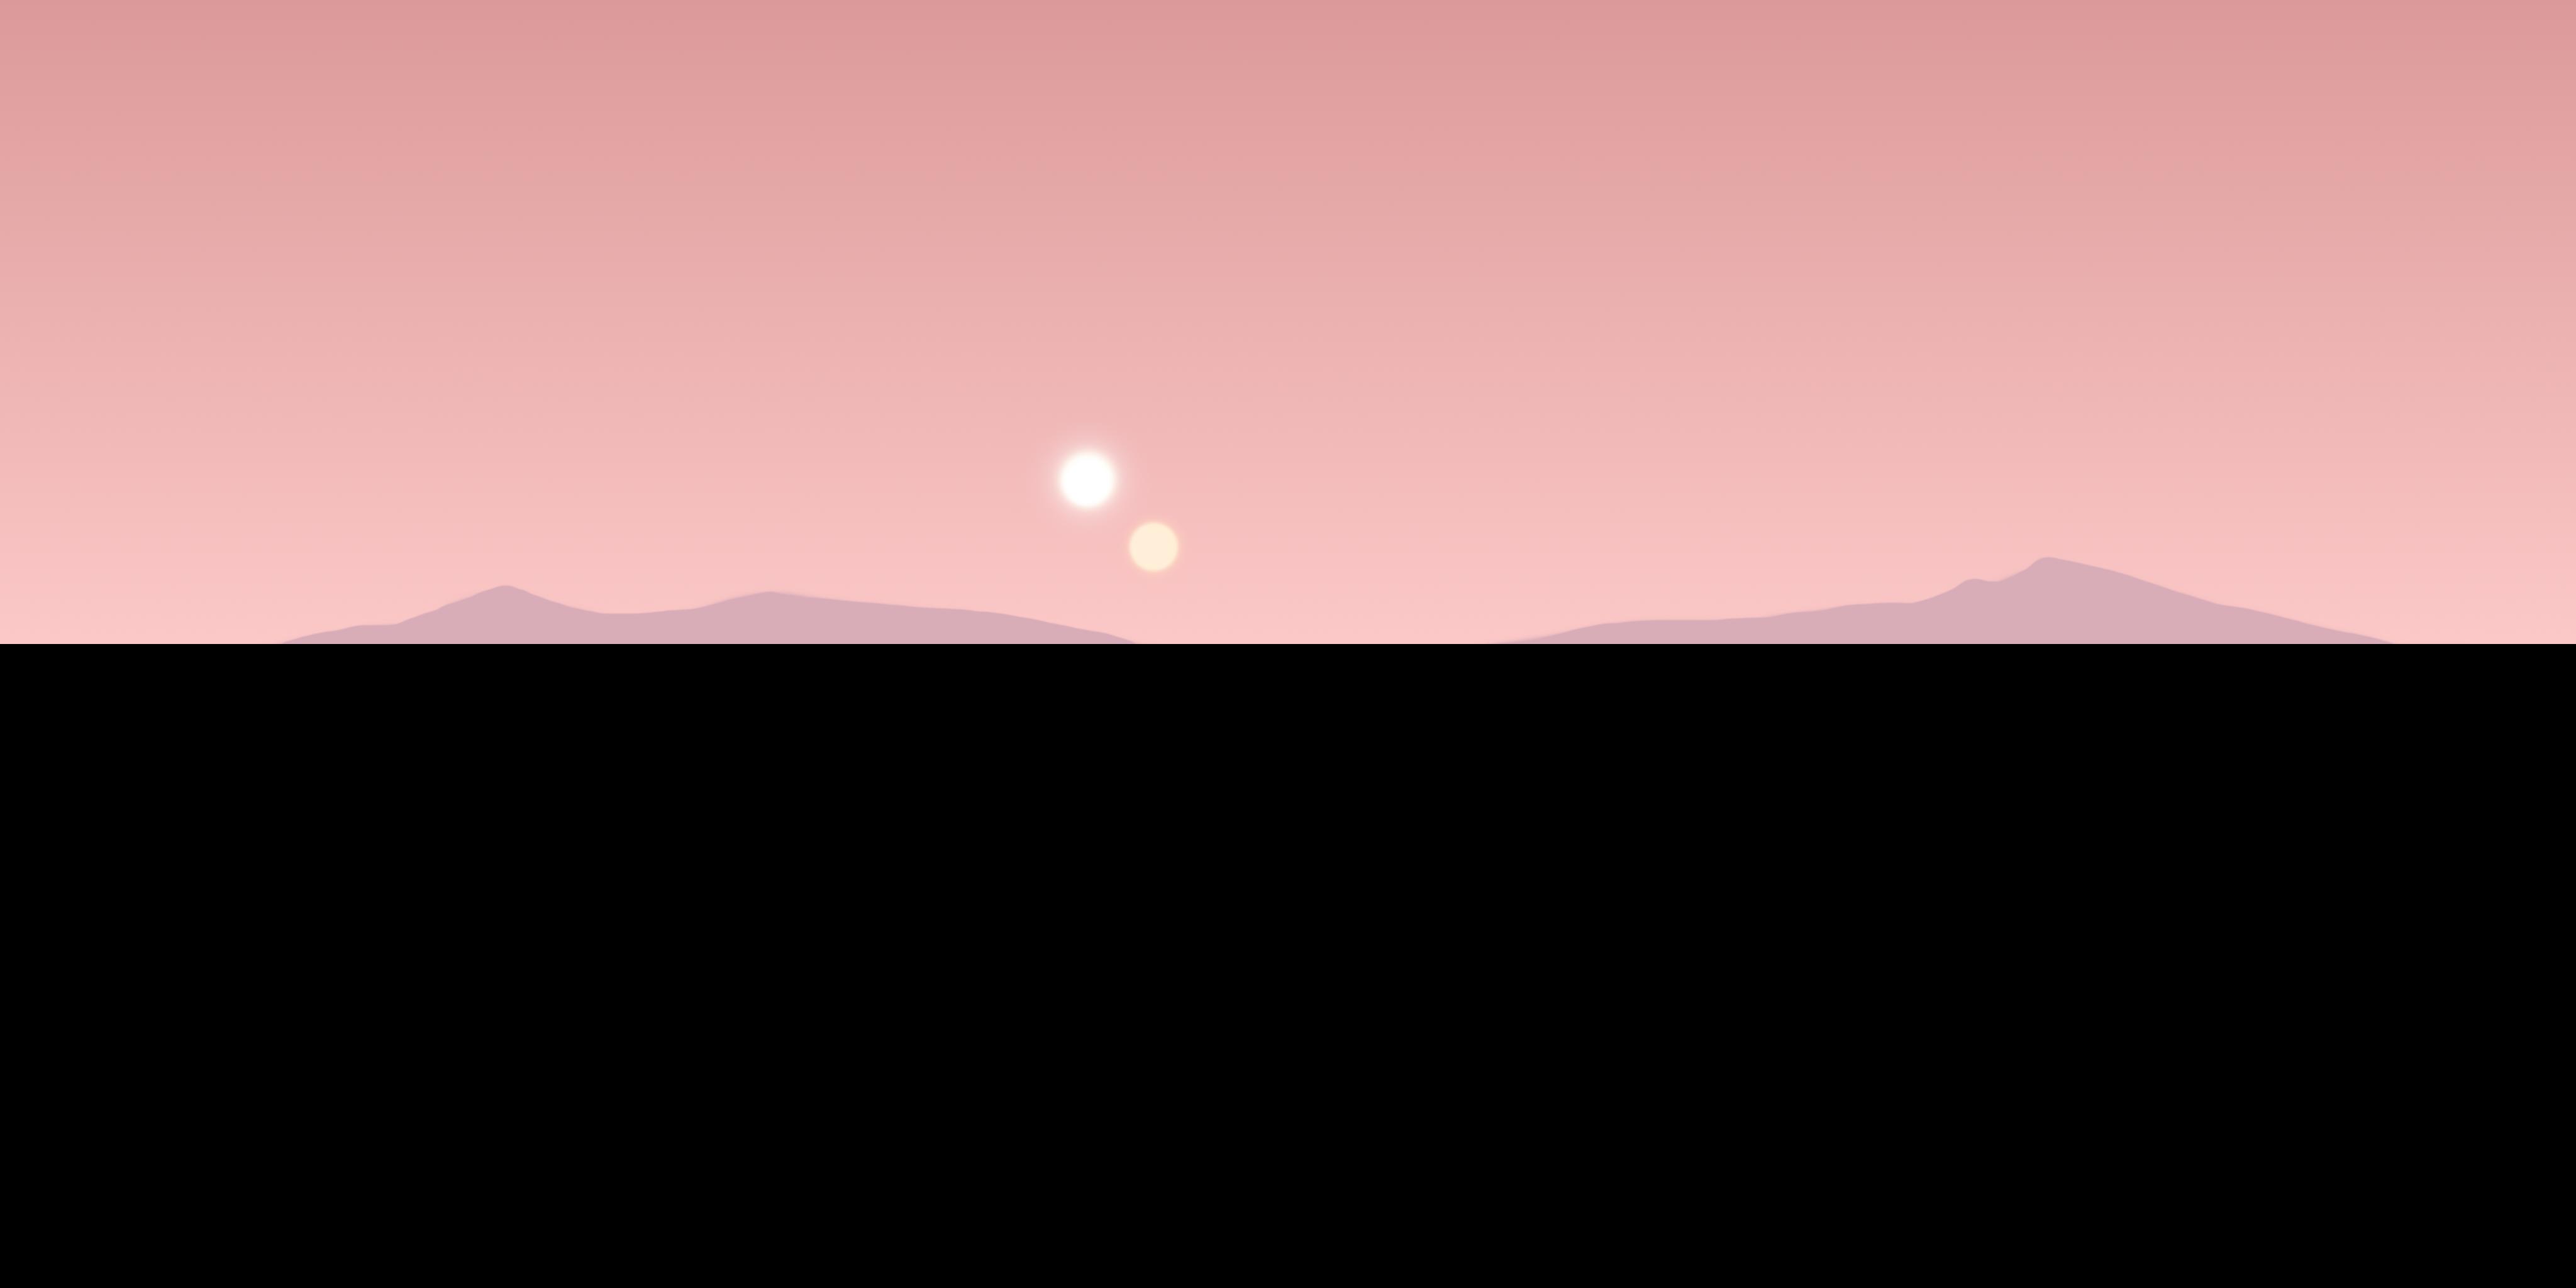
Save your image as something like “sky_yoursky_spheremap”.
Setting up the Scene in Blender
If you’ve never used Blender before, here is a list of some basic controls.
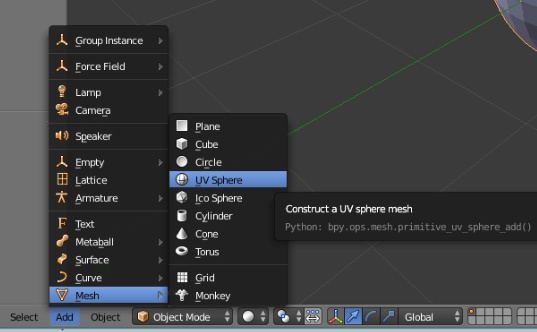
Blender will give you a default scene with a cube, a camera, and a light source. Press A to select everything and delete it. Then go to Add > Mesh > UV Sphere.
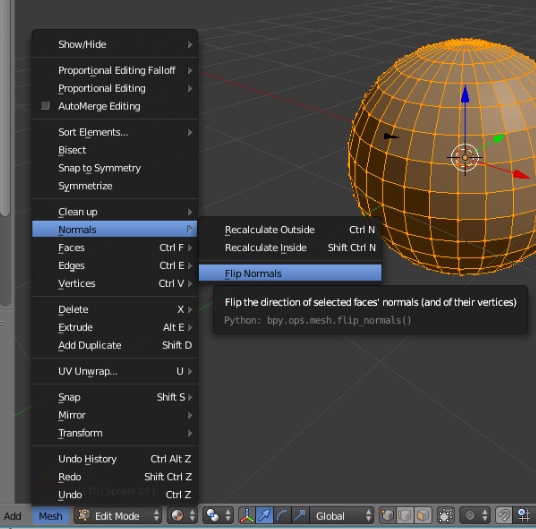
With the sphere selected, press tab to go into edit mode. Then select Mesh > Normals > Flip Normals. This will make sure our texture is rendered on the inside of the sphere, and not the outside.
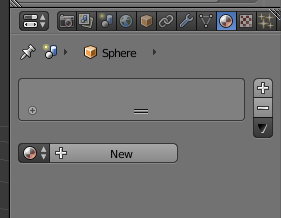
On the panel on the right, click on the Material tab (the checkered sphere) and press the “+ New” button to add a new material.
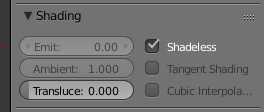
Scroll down to the Shading section and check “Shadeless”. This will make sure there will not be shadows cast on the inside of the sphere.
Then click on the Texture tab (the checkered square) and press “+ New”. Scroll down to the Image section and press “Open” to load your image.

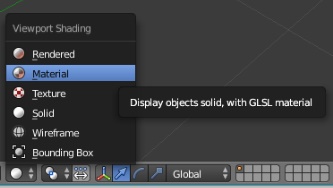
Navigate to where you saved your image and select it. You should now see your image in the preview window. If you click on Viewport Shading in the bottom toolbar and select “Material”, you should be able to see the texture on the sphere.
However, the texture probably isn’t mapped correctly. With the sphere selected, go into edit mode (you can toggle between edit mode and object mode by pressing tab). Then, on the numpad, press 5 then 1 to change to 2D view. The screen should now look like this:
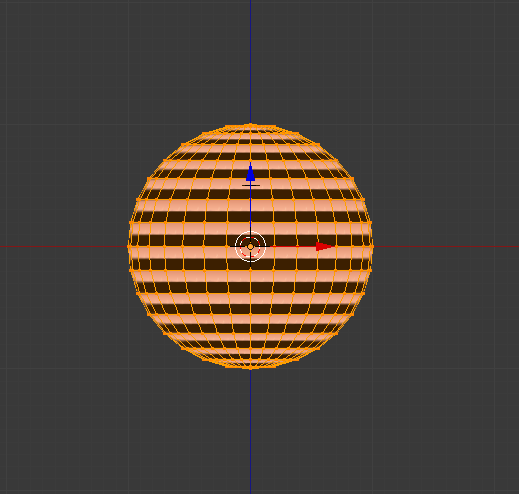
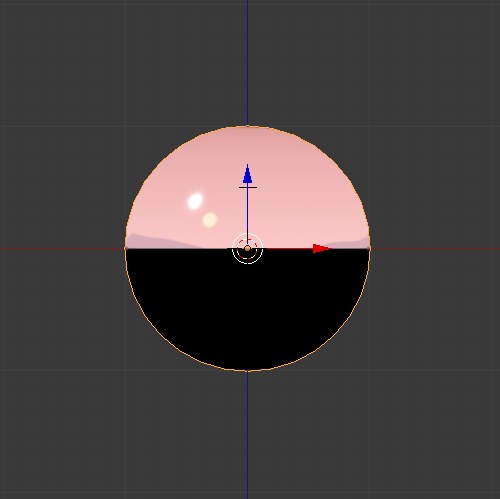
Press U, and select “Sphere Projection”. Things should now look a lot better.
Note: If you want to have complex elements like clouds or planets in your skybox, I recommend making them separate meshes inside the sphere instead of drawing them as part of the sphere's texture. For example, if you want a layer of clouds directly overhead, create a flat plane inside the sphere and texture it with clouds. This will prevent them from becoming distorted when the texture is "pinched" at the top and bottom of the sphere. For the simple gradient in this example, however, it doesn't matter.
Getting the Images
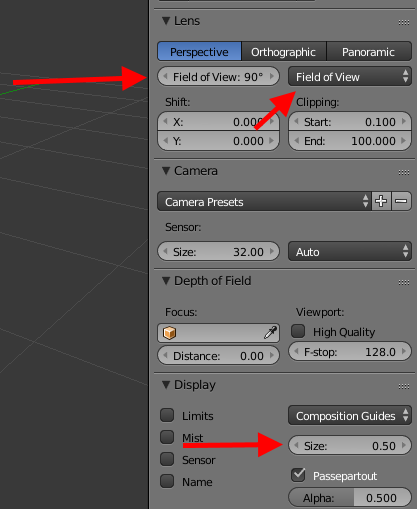
Next we need to capture the view of each side. To do this, we’ll use a camera. In object mode, go to Add > Camera. In the panel on the right, change “Millimeters” to “Field of View”, set the field of view to 90, and set the size to 0.5.
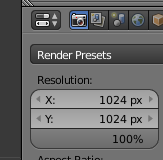
Next, go to this tab and make sure the resolution is set to 1024 x 1024.
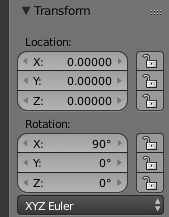
Press N to open up an extra panel. At the top you will see a section that says Rotation. Make sure X is set to 90, Y is 0, and Z is 0 (While you're at it, make sure the Location values are all set to 0).
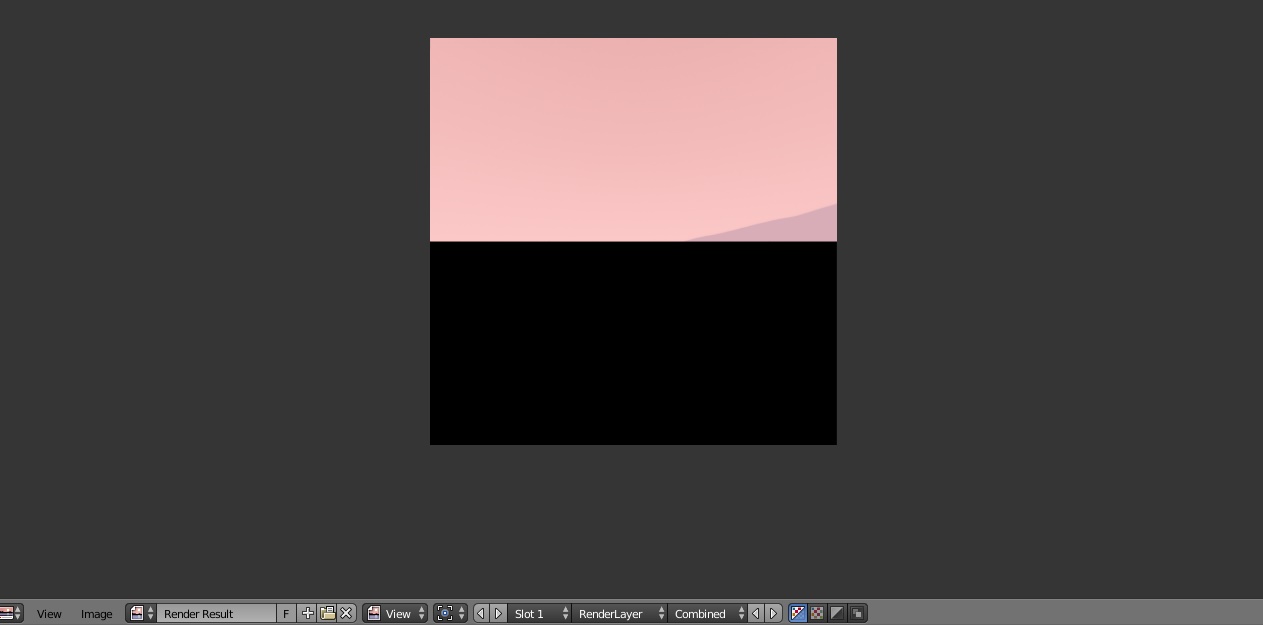
Then press F12 and like magic, Blender will show you what the camera sees. Press F3 to save the image somewhere. Name it “sky_yoursky_01ft” (where "yoursky" is the sky name). The "ft" in this case means front.
Click the icon in the bottom left to return to the 3D view. Repeat this process 3 more times, with the Z value set to 90, 180, and 270. Name these images with the suffixes “lf”, “bk”, and “rt”. For the top image, set X to 180 and Z to 270. Name this one ending in “up”. For the bottom image, set X to 0 and Z to 270, ending the name with “dn”. (For most skyboxes, the bottom face won't be visable, so it can really be anything.)
Now we should have a nice set of 6 images like this:

Making the Textures Usable
Now we need to convert these images into vtfs and create vmts for them.
IMPORTANT: Ingame, the textures will get flipped around (for whatever reason). Therefore, you must mirror each of them in an image editor before you convert them to vtfs.
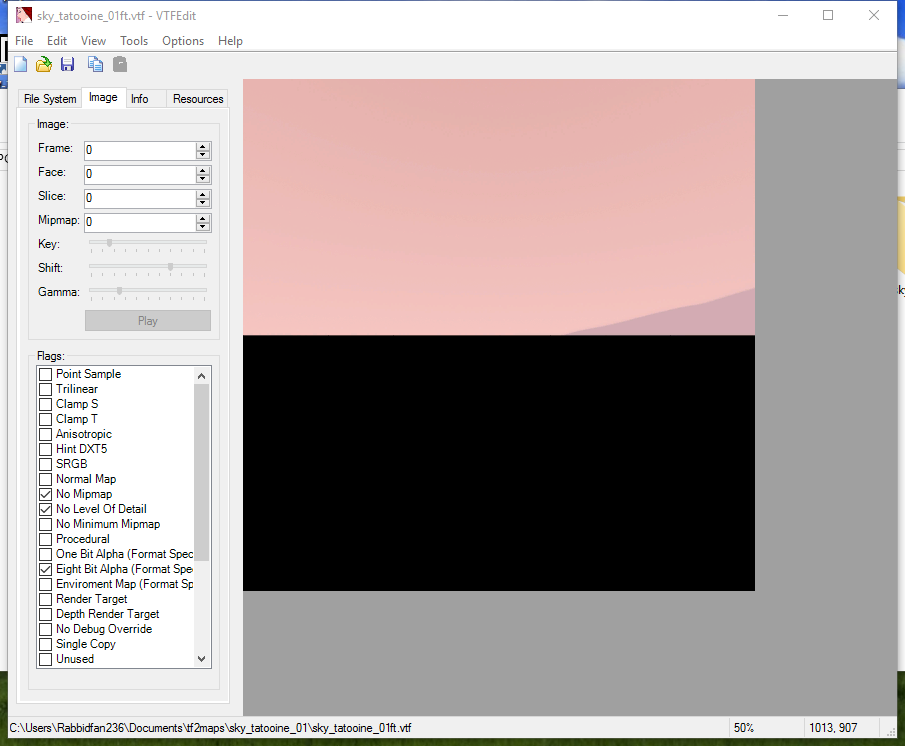
Open VTFedit and choose File > Import to open an image. Save it as a .vtf with the same name.
Now go to Tools > Create VMT file. Change the entry for "Base Texture 1" to "skybox/(your texture)" and click create.
Open up the new vmt and change the parameters to this:
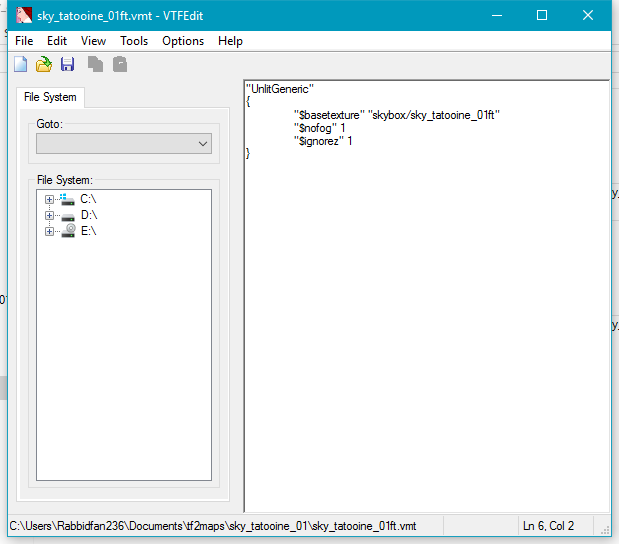
Repeat this for the other 5 textures, the only difference being the appropriate texture name in the "$basetexture" parameter.
Now take all the vtfs and vmts and drop them in your tf/materials/skybox folder (or wherever you keep your skybox textures).
And there you go! Your skybox should be ready to use in hammer and should show up ingame (as long as you packed your bsp correctly).
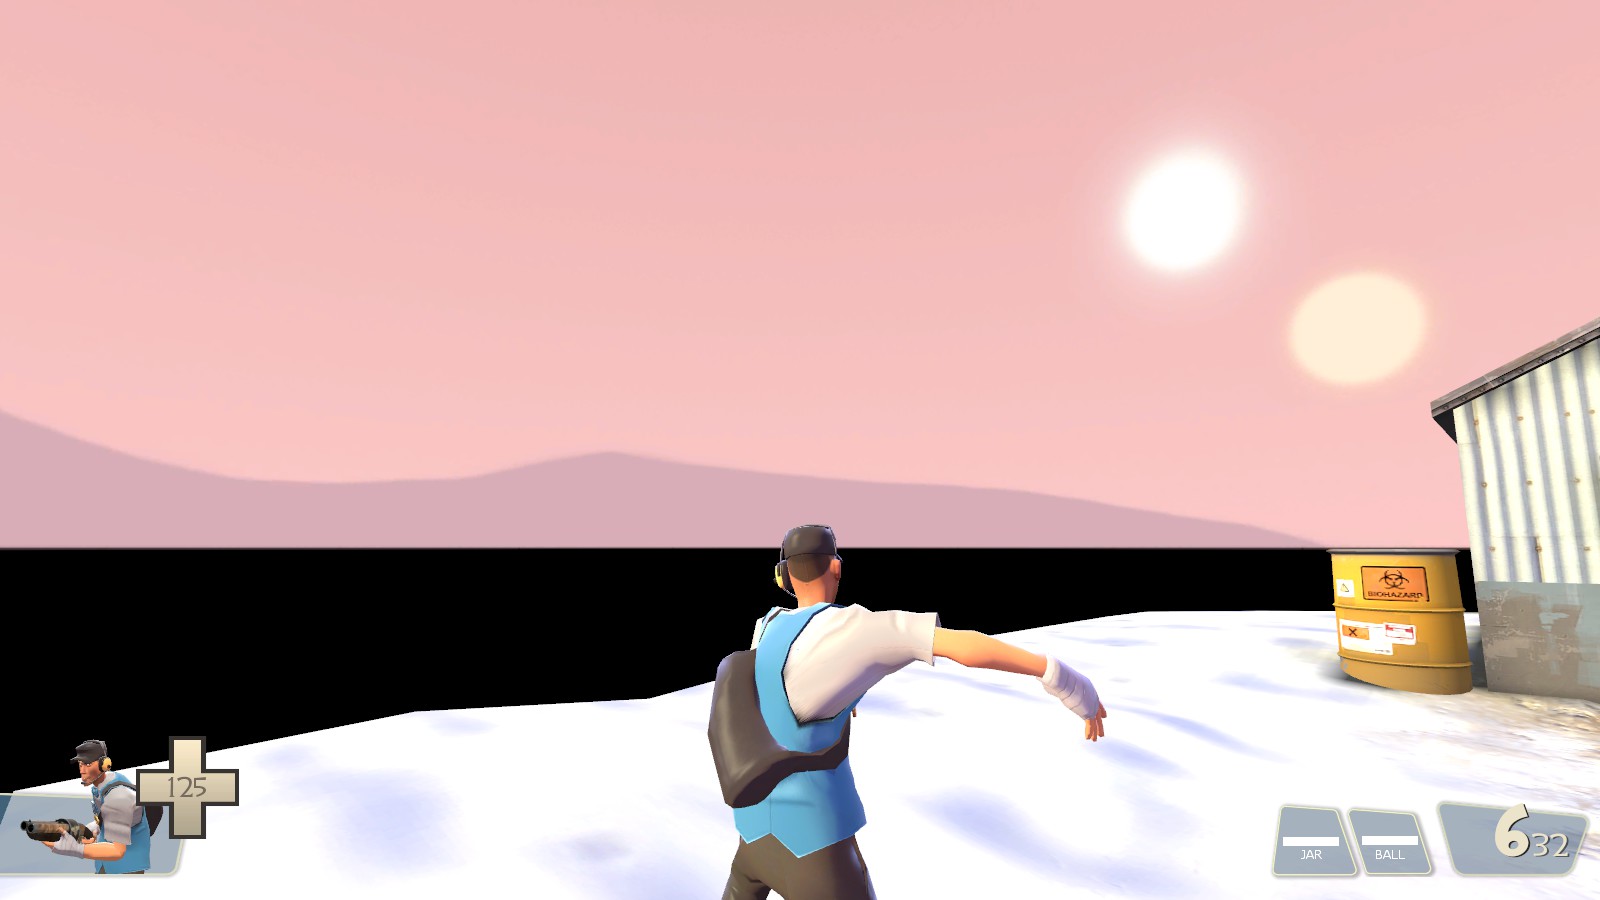
What we will be doing is basically making a texture and mapping it to a sphere, then capturing the view of each side from within the sphere and saving it as a set of 6 images. This will provide us with the correct perspective for our skybox, so it doesn’t look like an obvious cube like this:

You will need:
Setting up the Texture
First we have to get a texture to map to our sphere. You can either find one online (look for sphere mapped panoramas) or draw your own. There are a few things to keep in mind:
- The horizon will be in the middle of the image, so you can leave the lower half blank if you want (unless you’re making some sort of outer space skybox).
- The texture needs to tile horizontally, or else there will be a very obvious seam in your skybox.
- Don’t draw anything too close to the top or bottom of the image, or else it will become distorted when we map it to the sphere (I’ll go into other ways to do this later).

Save your image as something like “sky_yoursky_spheremap”.
Setting up the Scene in Blender
If you’ve never used Blender before, here is a list of some basic controls.
Blender will give you a default scene with a cube, a camera, and a light source. Press A to select everything and delete it. Then go to Add > Mesh > UV Sphere.

With the sphere selected, press tab to go into edit mode. Then select Mesh > Normals > Flip Normals. This will make sure our texture is rendered on the inside of the sphere, and not the outside.

On the panel on the right, click on the Material tab (the checkered sphere) and press the “+ New” button to add a new material.

Scroll down to the Shading section and check “Shadeless”. This will make sure there will not be shadows cast on the inside of the sphere.

Then click on the Texture tab (the checkered square) and press “+ New”. Scroll down to the Image section and press “Open” to load your image.

Navigate to where you saved your image and select it. You should now see your image in the preview window. If you click on Viewport Shading in the bottom toolbar and select “Material”, you should be able to see the texture on the sphere.

However, the texture probably isn’t mapped correctly. With the sphere selected, go into edit mode (you can toggle between edit mode and object mode by pressing tab). Then, on the numpad, press 5 then 1 to change to 2D view. The screen should now look like this:

Press U, and select “Sphere Projection”. Things should now look a lot better.

If the texture still seems a bit stretched or misaligned, you may need to tweak the UV map. Click on the cube icon in the bottom left corner and select “UV / Image editor”.
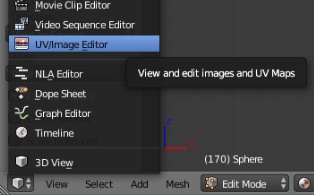
Press “Open” on the bottom toolbar next to the folder icon, and find your image just like before. You should now see something like this:
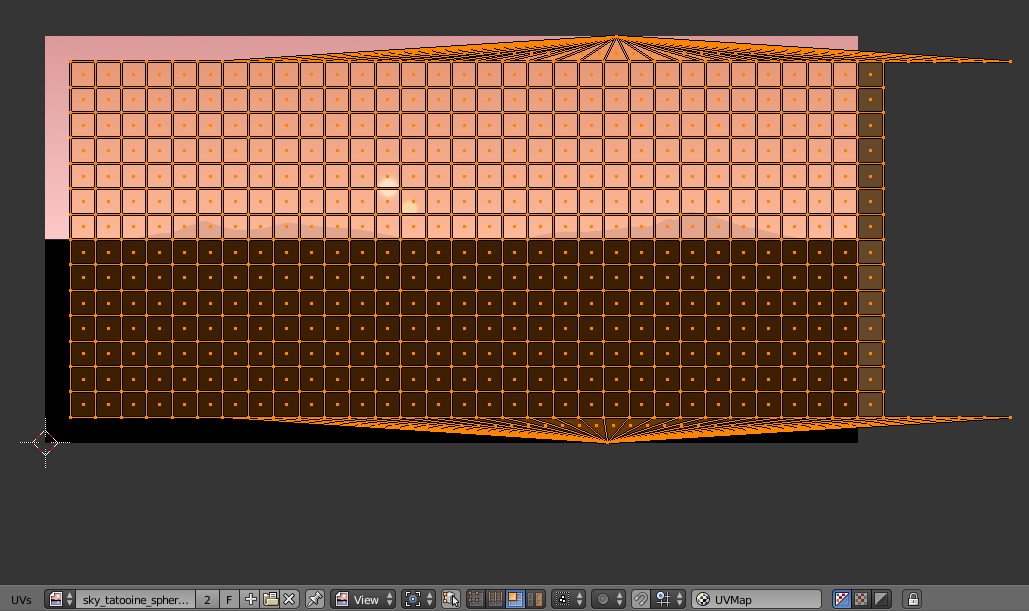
You can now adjust the map so it fits cleanly over the image. In this case I pressed G to slide it over a bit to the left. Make sure the vertices line up so the UV map tiles and there are no seams on the sphere.

Press “Open” on the bottom toolbar next to the folder icon, and find your image just like before. You should now see something like this:

You can now adjust the map so it fits cleanly over the image. In this case I pressed G to slide it over a bit to the left. Make sure the vertices line up so the UV map tiles and there are no seams on the sphere.
Note: If you want to have complex elements like clouds or planets in your skybox, I recommend making them separate meshes inside the sphere instead of drawing them as part of the sphere's texture. For example, if you want a layer of clouds directly overhead, create a flat plane inside the sphere and texture it with clouds. This will prevent them from becoming distorted when the texture is "pinched" at the top and bottom of the sphere. For the simple gradient in this example, however, it doesn't matter.
Getting the Images
Next we need to capture the view of each side. To do this, we’ll use a camera. In object mode, go to Add > Camera. In the panel on the right, change “Millimeters” to “Field of View”, set the field of view to 90, and set the size to 0.5.

Next, go to this tab and make sure the resolution is set to 1024 x 1024.

Press N to open up an extra panel. At the top you will see a section that says Rotation. Make sure X is set to 90, Y is 0, and Z is 0 (While you're at it, make sure the Location values are all set to 0).

Then press F12 and like magic, Blender will show you what the camera sees. Press F3 to save the image somewhere. Name it “sky_yoursky_01ft” (where "yoursky" is the sky name). The "ft" in this case means front.

Click the icon in the bottom left to return to the 3D view. Repeat this process 3 more times, with the Z value set to 90, 180, and 270. Name these images with the suffixes “lf”, “bk”, and “rt”. For the top image, set X to 180 and Z to 270. Name this one ending in “up”. For the bottom image, set X to 0 and Z to 270, ending the name with “dn”. (For most skyboxes, the bottom face won't be visable, so it can really be anything.)
Now we should have a nice set of 6 images like this:

Making the Textures Usable
Now we need to convert these images into vtfs and create vmts for them.
IMPORTANT: Ingame, the textures will get flipped around (for whatever reason). Therefore, you must mirror each of them in an image editor before you convert them to vtfs.
Open VTFedit and choose File > Import to open an image. Save it as a .vtf with the same name.

Now go to Tools > Create VMT file. Change the entry for "Base Texture 1" to "skybox/(your texture)" and click create.
Open up the new vmt and change the parameters to this:
Code:
"UnlitGeneric"
{
    "$basetexture" "skybox/(your texture)"
    "$nofog" 1
    "$ignorez" 1
}
Repeat this for the other 5 textures, the only difference being the appropriate texture name in the "$basetexture" parameter.
Now take all the vtfs and vmts and drop them in your tf/materials/skybox folder (or wherever you keep your skybox textures).
And there you go! Your skybox should be ready to use in hammer and should show up ingame (as long as you packed your bsp correctly).

Last edited:


