
You may have seen some models with their shiny point specular and thought "I got to get me some of that!" Excitedly you open up notepad, slam down the commands "phong 1" and "phongfresenal ranges "[ .2 .5 1]" and quickly boot up the game, only to see that it does not work on "LightmappedGeneric" surfaces. In a fit of rage you are about to throw your gamer pc off a cliff. Worry Not! I have come in a cloud of light to deliver you the good news that you can achieve phong on a lightmappedgeneric surface!* (*Using models)
This is a fairly simple operation; however it requires a few things
=========================================================================
A modelling editor package (Propper will work)
A map
A normal map
=========================================================================
First thing you want to do is duplicate your ideal brushes in some form or fashion to another vmf. From there, you tesselate it and use either propper or your software editing package (In my case I use wallworm and 3DS max to edit things) to export it to an smd format. if you have propper you can auto compile it, if you have 3DS max, you'll need to export it and use crowbar or wallworm's compile tools to compile it into a mdl file.
Now for the textures. I suggest making a subdirectory for your phong textures. E.G. models/phongtextures/texturename.vmt The only new texture you'll need is a black 256x256 texture. You can generate it in nearly all programs. (doesn't have to be 256x256 but works best with that) Once you have that, you just duplicate the vmt that your brush uses and make a few changes.
Original materials/tile/floor_tile_001a
=========================================================================
"LightmappedGeneric"
{
"$baseTexture" "Tile/floor_tile_001a"
"$envmap" "env_cubemap"
"$envmapcontrast" 1
"$envmapsaturation" 1
"$envmaptint" "[ .75 .75 .75]"
"$normalmapalphaenvmapmask" 1
"$bumpmap" "Tile/floor_tile_001a_normal"
"%keywords" "tf"
}
=========================================================================
New materials/models/phongtextures/floor_tile_001a
=========================================================================
"VertexlitGeneric"
{
"$baseTexture" "models/phongtextures/black"
"$additive" 1
"$bumpmap" "Tile/floor_tile_001a_normal"
"$phong" 1
"$phongexponent" 60
"$phongfresnelranges" "[ .2 .5 1]"
"$phongboost" 3
"%keywords" "tf"
}
=========================================================================
You'll notice a few changes
I changed LightmappedGeneric to VertexlitGeneric
I ditched the envmap because phong does the main work.
My base texture is the newly created black texture.
I added phong commands
And most importantly, there's this new command
"$additive" 1
What does this do? exactly what it says. It adds the colors of the textures together, and this is my base texture is black. 1+0 = 1 Black will show up invisible in-game, however the specular highlight from $phong will not. Thus replicating the holy grail effect.
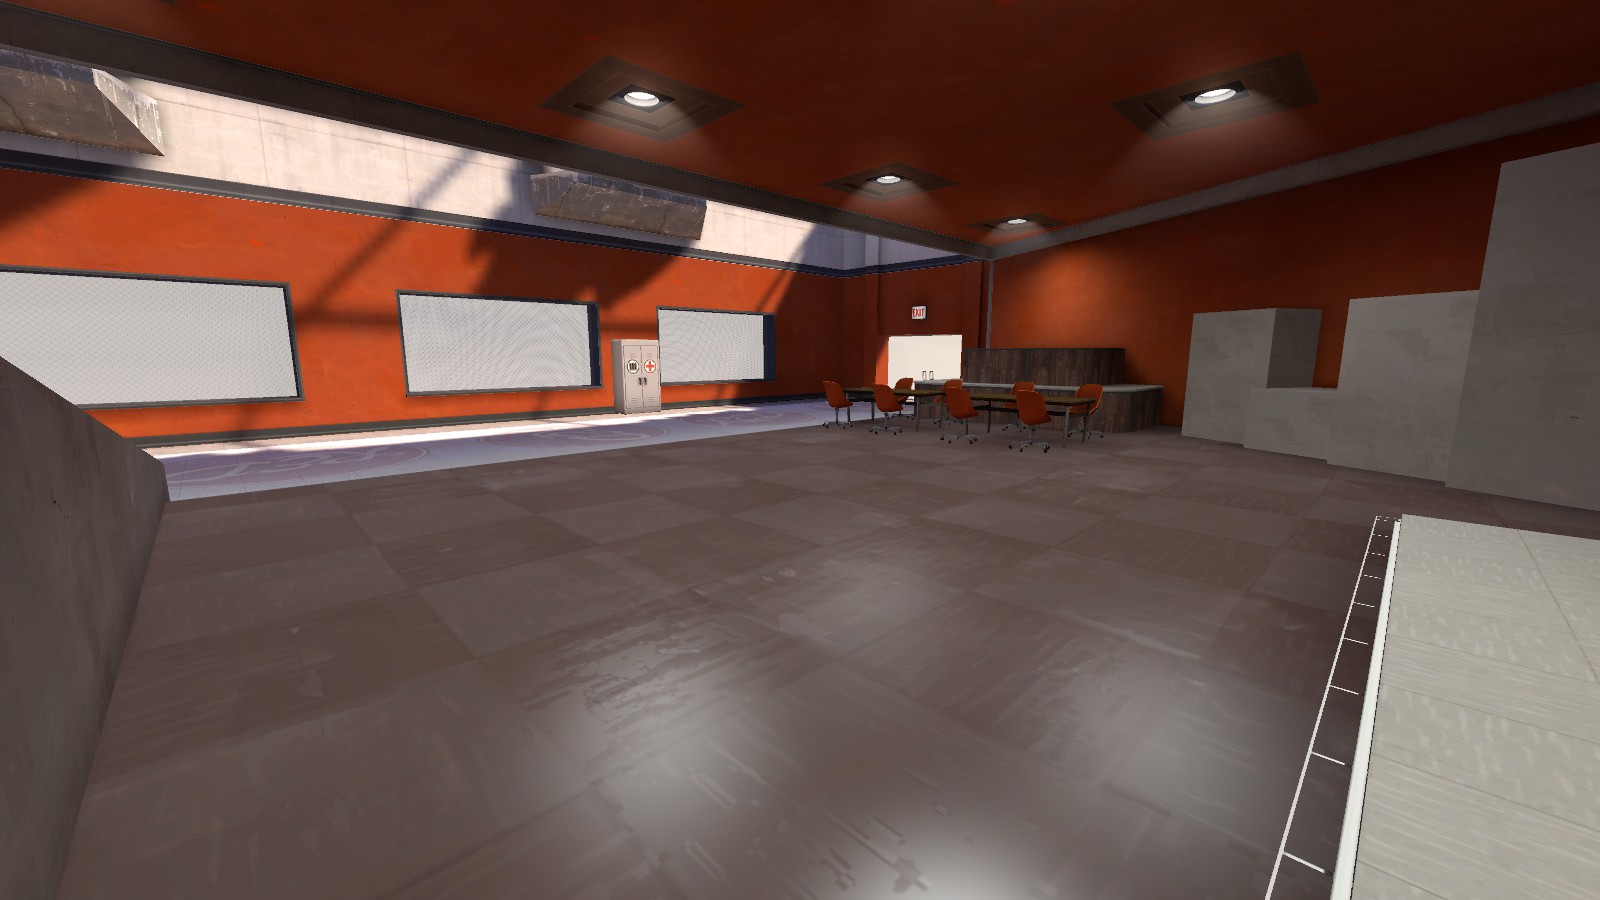
In hammer you simply place this in your map just ever so slightly above the brush (1 unit looks fine)
Bam!
Phong.
This is a fairly simple operation; however it requires a few things
=========================================================================
A modelling editor package (Propper will work)
A map
A normal map
=========================================================================
First thing you want to do is duplicate your ideal brushes in some form or fashion to another vmf. From there, you tesselate it and use either propper or your software editing package (In my case I use wallworm and 3DS max to edit things) to export it to an smd format. if you have propper you can auto compile it, if you have 3DS max, you'll need to export it and use crowbar or wallworm's compile tools to compile it into a mdl file.
Now for the textures. I suggest making a subdirectory for your phong textures. E.G. models/phongtextures/texturename.vmt The only new texture you'll need is a black 256x256 texture. You can generate it in nearly all programs. (doesn't have to be 256x256 but works best with that) Once you have that, you just duplicate the vmt that your brush uses and make a few changes.
Original materials/tile/floor_tile_001a
=========================================================================
"LightmappedGeneric"
{
"$baseTexture" "Tile/floor_tile_001a"
"$envmap" "env_cubemap"
"$envmapcontrast" 1
"$envmapsaturation" 1
"$envmaptint" "[ .75 .75 .75]"
"$normalmapalphaenvmapmask" 1
"$bumpmap" "Tile/floor_tile_001a_normal"
"%keywords" "tf"
}
=========================================================================
New materials/models/phongtextures/floor_tile_001a
=========================================================================
"VertexlitGeneric"
{
"$baseTexture" "models/phongtextures/black"
"$additive" 1
"$bumpmap" "Tile/floor_tile_001a_normal"
"$phong" 1
"$phongexponent" 60
"$phongfresnelranges" "[ .2 .5 1]"
"$phongboost" 3
"%keywords" "tf"
}
=========================================================================
You'll notice a few changes
I changed LightmappedGeneric to VertexlitGeneric
I ditched the envmap because phong does the main work.
My base texture is the newly created black texture.
I added phong commands
And most importantly, there's this new command
"$additive" 1
What does this do? exactly what it says. It adds the colors of the textures together, and this is my base texture is black. 1+0 = 1 Black will show up invisible in-game, however the specular highlight from $phong will not. Thus replicating the holy grail effect.
In hammer you simply place this in your map just ever so slightly above the brush (1 unit looks fine)
Bam!
Phong.
Last edited:

