How to add custom content to your map with pakrat.
This question pops up every few weeks in the chatroom and I figured that instead of telling each person the same story over and over, it's much quicker to just hand them a url to this page right here! If you already use pakrat in your releases I doubt you will learn much from this read. I'm not even sure if this kind of article is needed, most people seems to have managed without it for this long
And as usual with my tutorials, excuse the swedish interface/button texts in some screenshots.
And please correct me if I make mistakes!
Pakrat:
A really old java application that is used to pack files into the .bsp (map file), it has not been updated in years and as a result of this it needs input from the user to catch everything. Pakrat is not the only option for packing things into your map, but it's the most common one by far and a lot of people seems to have problems with it, luckily I'm here to help.
Download: http://www.bagthorpe.org/bob/cofrdrbob/pakrat.html
I've made a small box filled with all kinds of custom content for this tutorial.
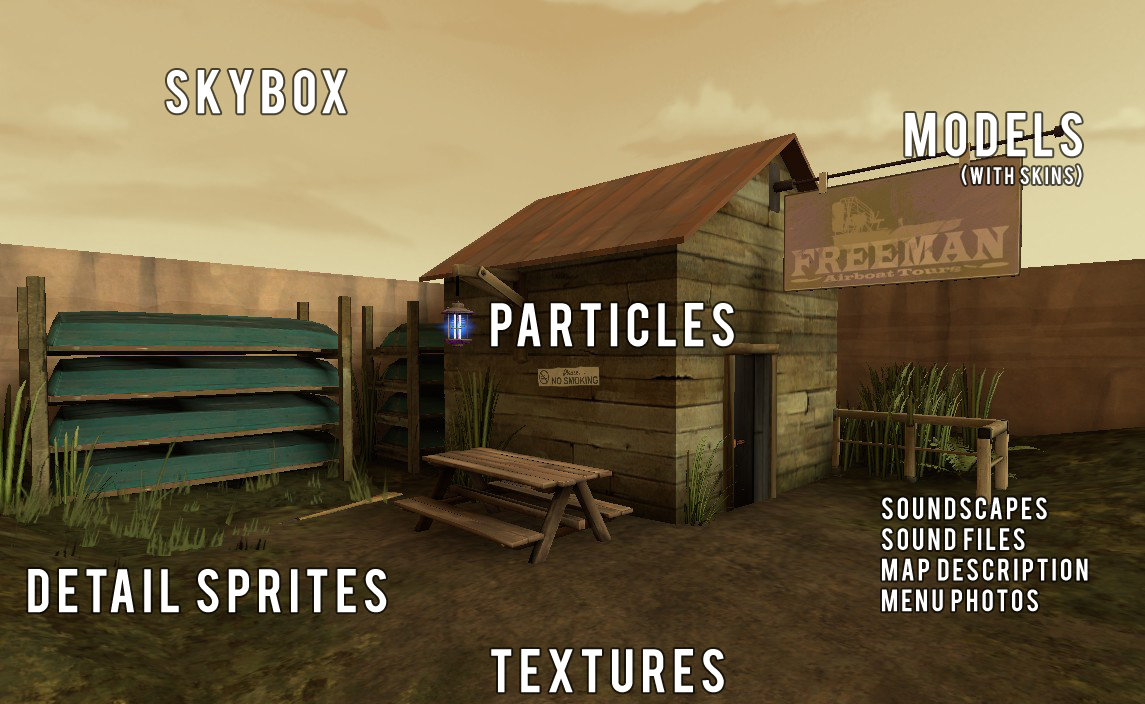
I'm showing off how to pack a lot of different files here, all in the same tutorial. It's almost certain that you won't have all of these types of custom items in the same map (unless you really try to), if I'm talking about something you don't have (like menu photos for example), just skim over that part.
------
Open pakrat.jar.
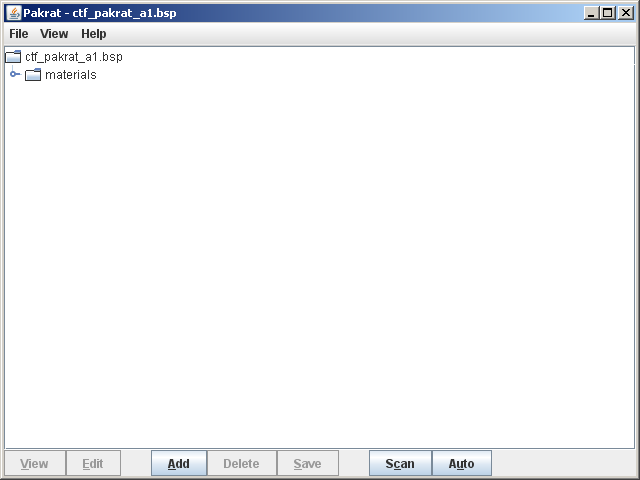
Browse to your map and open it, you will get a list of all the files in your bsp, it's mostly empty except for a few things that were added during compile.
Here you have an option, you can choose to view the files as a tree structure ("View -> As Tree" or ctrl+T) or not. Personally I prefer the tree view so that's how it's going to look in the rest of the tutorial.
------
Pakrat is a simple application so we'll only use the "Edit", "Add and "Scan" functions for this entire tutorial.
In short, there's really only 2 steps to the whole process:
1. Automatic scan + Edit file paths
2. Add missing items + Edit file paths
------
Step 1:
We will start with actually using pakrat's built in Scan function. So hit the little "Scan" button in the bottom right.
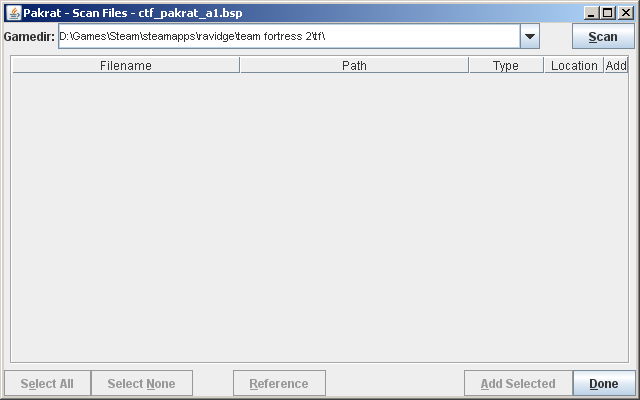
Here you need to add the gamedir. This should point at your base tf folder, once that is in order press "Scan".
Soon enough you will have a huge list of materials and other files.
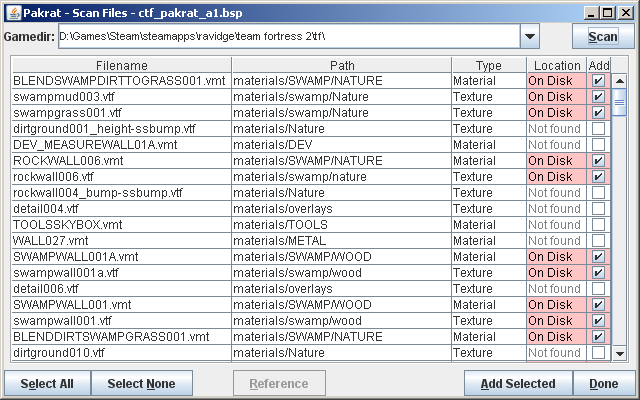
Go ahead and press "Add Selected", It most likely will ask you if you want to fix-up a bunch of filepaths and you definitely want to do that, press "Yes to All" (Always! This dialouge box will pop up from time to time).
You can now go back to the scan window (it should still be open) and press "Done".
A few files are misplaced though and have to be tweaked by hand.
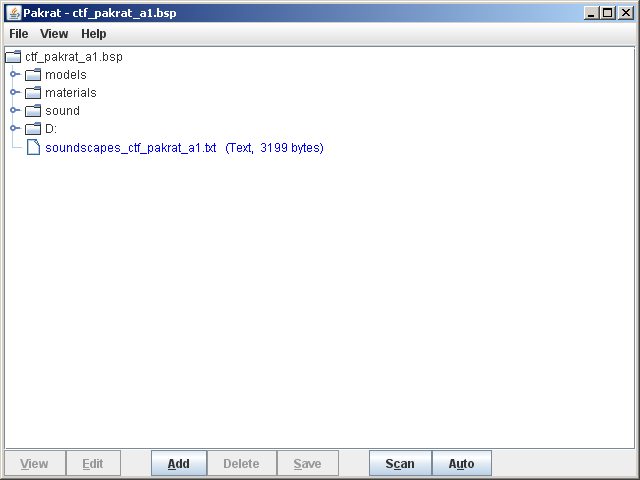
Use the Edit button to correct the paths of individual files.
Map description .txt files goes in the "maps" folder (image)
Soundscape .txt files go in the "scripts" folder (image)
------
That was easy, since it was all automatic and we've made some huge progress.
Things that are successfully packed at this point:
Textures + overlays
Skybox
Soundfiles (.wav)
Model meshes
Soundscape
Map description
A lot is still missing in my example map though! (But if your map's custom content all fall into the above categories, you'd be done now (but remember to watch out for missing model textures! Continue reading))
------
Step 2:
If you have custom models in your map, you need to pack their textures manually otherwise they will show up as purple/black checkers ingame.
Just press the "Add" button and select the files you require (ctrl/shift click to select multiple) and add them. (.../tf/materials/models/props_swamp/ in my example)
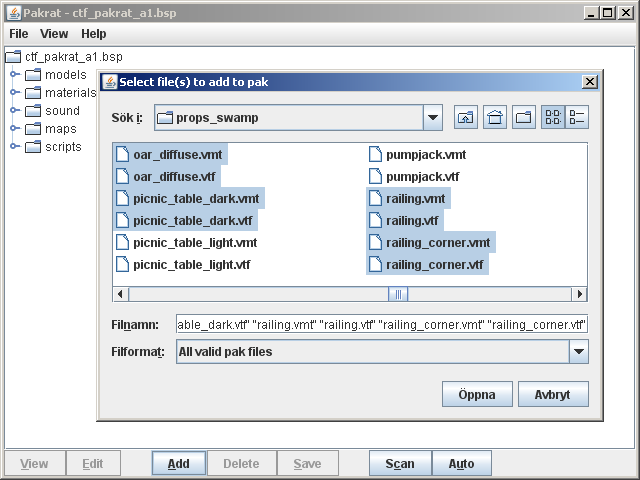
I have a picnic table in my map, and it has 2 skins, one dark and one light variant. When packing notice how I don't pack the "picnic_table_light" textures! All my tables use the dark skin, so there is no point to adding the secondary skin to the .bsp (avoid adding unused skins as much as possible, it adds to the filesize).
Just keep adding the stuff you have in your map.
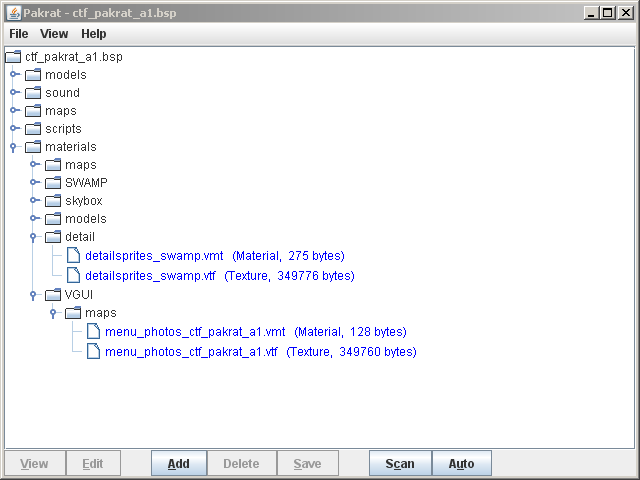
Last item on the list is particles. Your .pcf (particle system) files are in the tf/particles folder, which appears empty if you don't change pakrat to display "All files" instead of "All valid pak files".
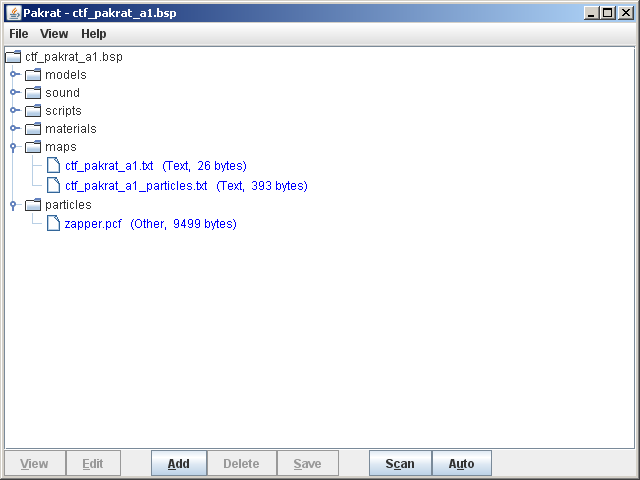
Add your pcfs and you need your particles.txt too! (in tf/maps) (image)
Edit those paths to something like this
------
We're done, packed: (Green = added in step 1. DarkRed = added in step 2.)
Textures + overlays
Skybox
Soundfiles (.wav)
Model meshes
map description
soundscapes
model textures/skins
menu photo
detail sprites
particles
Go ahead and Save the new packed bsp. ("File -> Save BSP" or ctrl+S)
The end.
This question pops up every few weeks in the chatroom and I figured that instead of telling each person the same story over and over, it's much quicker to just hand them a url to this page right here! If you already use pakrat in your releases I doubt you will learn much from this read. I'm not even sure if this kind of article is needed, most people seems to have managed without it for this long
And as usual with my tutorials, excuse the swedish interface/button texts in some screenshots.
And please correct me if I make mistakes!
Pakrat:
A really old java application that is used to pack files into the .bsp (map file), it has not been updated in years and as a result of this it needs input from the user to catch everything. Pakrat is not the only option for packing things into your map, but it's the most common one by far and a lot of people seems to have problems with it, luckily I'm here to help.
Download: http://www.bagthorpe.org/bob/cofrdrbob/pakrat.html
I've made a small box filled with all kinds of custom content for this tutorial.

I'm showing off how to pack a lot of different files here, all in the same tutorial. It's almost certain that you won't have all of these types of custom items in the same map (unless you really try to), if I'm talking about something you don't have (like menu photos for example), just skim over that part.
------
Open pakrat.jar.
Browse to your map and open it, you will get a list of all the files in your bsp, it's mostly empty except for a few things that were added during compile.
Here you have an option, you can choose to view the files as a tree structure ("View -> As Tree" or ctrl+T) or not. Personally I prefer the tree view so that's how it's going to look in the rest of the tutorial.

------
Pakrat is a simple application so we'll only use the "Edit", "Add and "Scan" functions for this entire tutorial.
In short, there's really only 2 steps to the whole process:
1. Automatic scan + Edit file paths
2. Add missing items + Edit file paths
------
Step 1:
We will start with actually using pakrat's built in Scan function. So hit the little "Scan" button in the bottom right.

Here you need to add the gamedir. This should point at your base tf folder, once that is in order press "Scan".
Soon enough you will have a huge list of materials and other files.

Go ahead and press "Add Selected", It most likely will ask you if you want to fix-up a bunch of filepaths and you definitely want to do that, press "Yes to All" (Always! This dialouge box will pop up from time to time).
You can now go back to the scan window (it should still be open) and press "Done".
A few files are misplaced though and have to be tweaked by hand.

Use the Edit button to correct the paths of individual files.
Map description .txt files goes in the "maps" folder (image)
Soundscape .txt files go in the "scripts" folder (image)
------
That was easy, since it was all automatic and we've made some huge progress.
Things that are successfully packed at this point:
Textures + overlays
Skybox
Soundfiles (.wav)
Model meshes
Soundscape
Map description
A lot is still missing in my example map though! (But if your map's custom content all fall into the above categories, you'd be done now (but remember to watch out for missing model textures! Continue reading))
------
Step 2:
If you have custom models in your map, you need to pack their textures manually otherwise they will show up as purple/black checkers ingame.
Just press the "Add" button and select the files you require (ctrl/shift click to select multiple) and add them. (.../tf/materials/models/props_swamp/ in my example)

I have a picnic table in my map, and it has 2 skins, one dark and one light variant. When packing notice how I don't pack the "picnic_table_light" textures! All my tables use the dark skin, so there is no point to adding the secondary skin to the .bsp (avoid adding unused skins as much as possible, it adds to the filesize).
Just keep adding the stuff you have in your map.

Last item on the list is particles. Your .pcf (particle system) files are in the tf/particles folder, which appears empty if you don't change pakrat to display "All files" instead of "All valid pak files".
Add your pcfs and you need your particles.txt too! (in tf/maps) (image)
Edit those paths to something like this

------
We're done, packed: (Green = added in step 1. DarkRed = added in step 2.)
Textures + overlays
Skybox
Soundfiles (.wav)
Model meshes
map description
soundscapes
model textures/skins
menu photo
detail sprites
particles
Go ahead and Save the new packed bsp. ("File -> Save BSP" or ctrl+S)
The end.
Last edited:


