Hello, i recently saw your thread musing about the annoyances you had with the tests this map had, and while i feel like there are some fair points there, i must disagree with the maps issues being caused by imbalanced teams. These issues I am about to talk about are no stranger to this map through it's iterations.
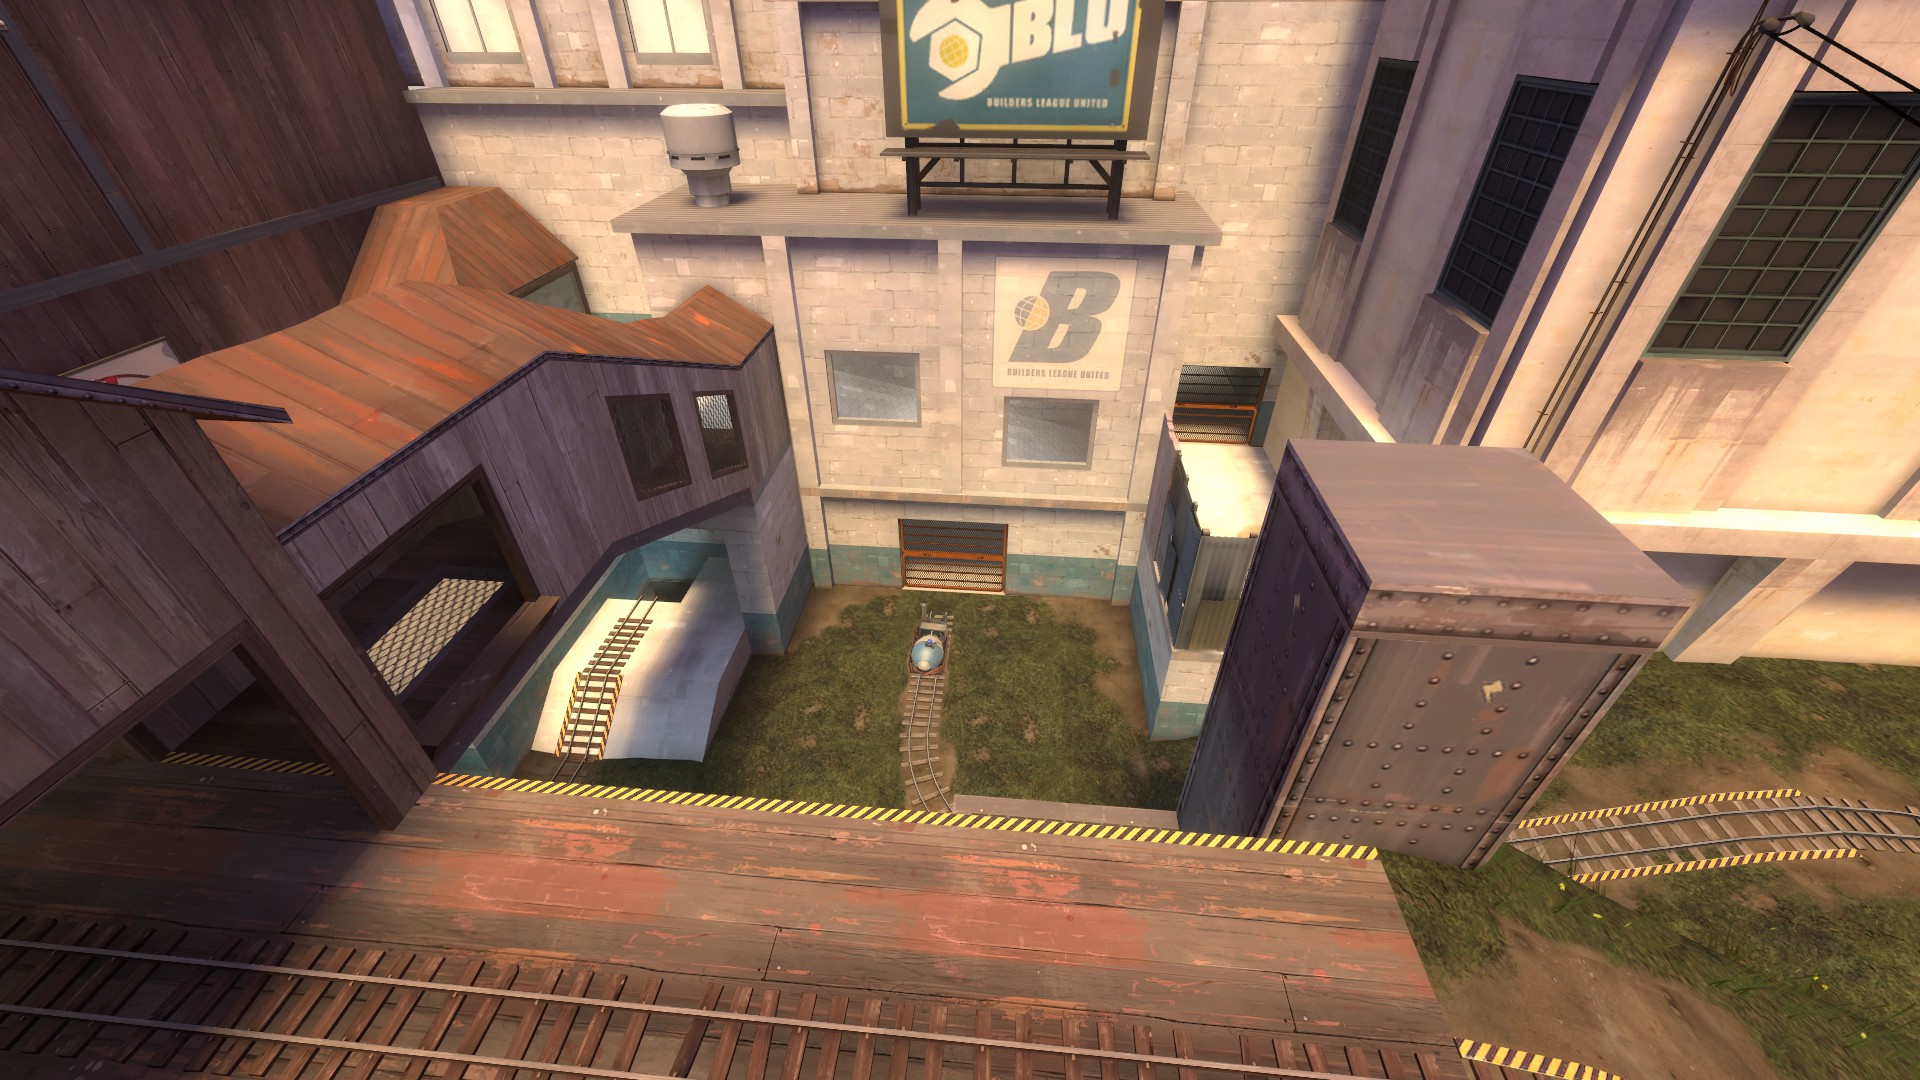
Now, this is the spot soldiers and heavies were using to hold losing team in spawn and let me tell you. This spot is absolutely godly once you get hold of the area, you have perfect view and high ground of the two main spawn exits. On top of this there is a medium health back and ammo bit to the right, where the low ground has absolutely nothing besides one small. One which you need to cross this death zone to get to. You also said that you were annoyed, that people didn't notice the alternate exit to the side. I have to say, it was less the case of people not always noticing it and more case of it being not very helpful. The direct path to the high ground from the said exit is very cramped hallway with a window you can shoot through. The other route from the said exit is a long path around, that takes you to the enemy side and not in any way ideal position to deal with this spot.
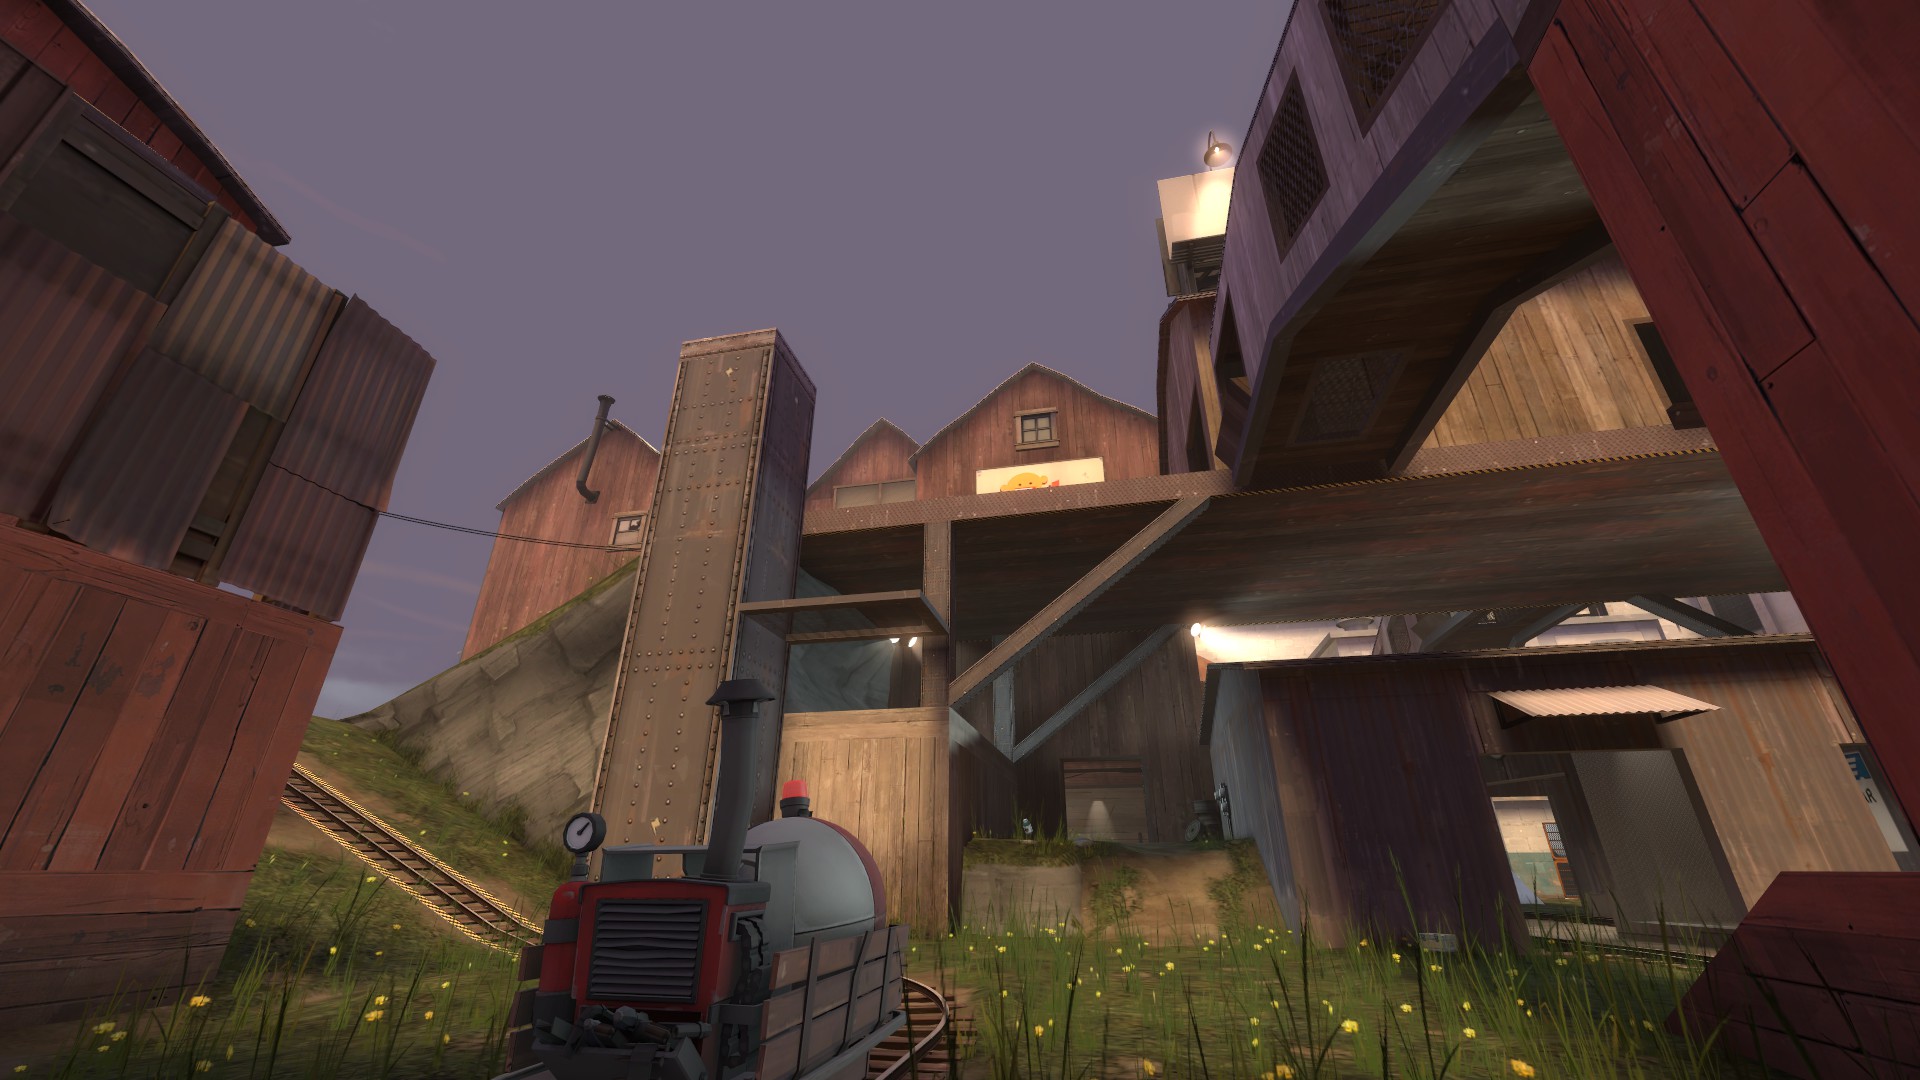
This is not the only major issue with the map, i feel like these stompy results are because the map scales backwards. Further you get your cart, easier pushing it becomes. Let's see.
Now soon as the map starts, like in many Hightower style maps, two things happen. Good portion of the players push the cart and rest split off to stop the enemy cart. Now this is where the spot from above becomes even bigger issue. Once a certain team halts control of the upper area and gets their own cart past this spot. It is very rare for the losing team ever get further than this. Not to mention, due to the massive high ground difference, it is very easy to kill off the first wave of people trying to get the cart going.
Now let's keep following the track.
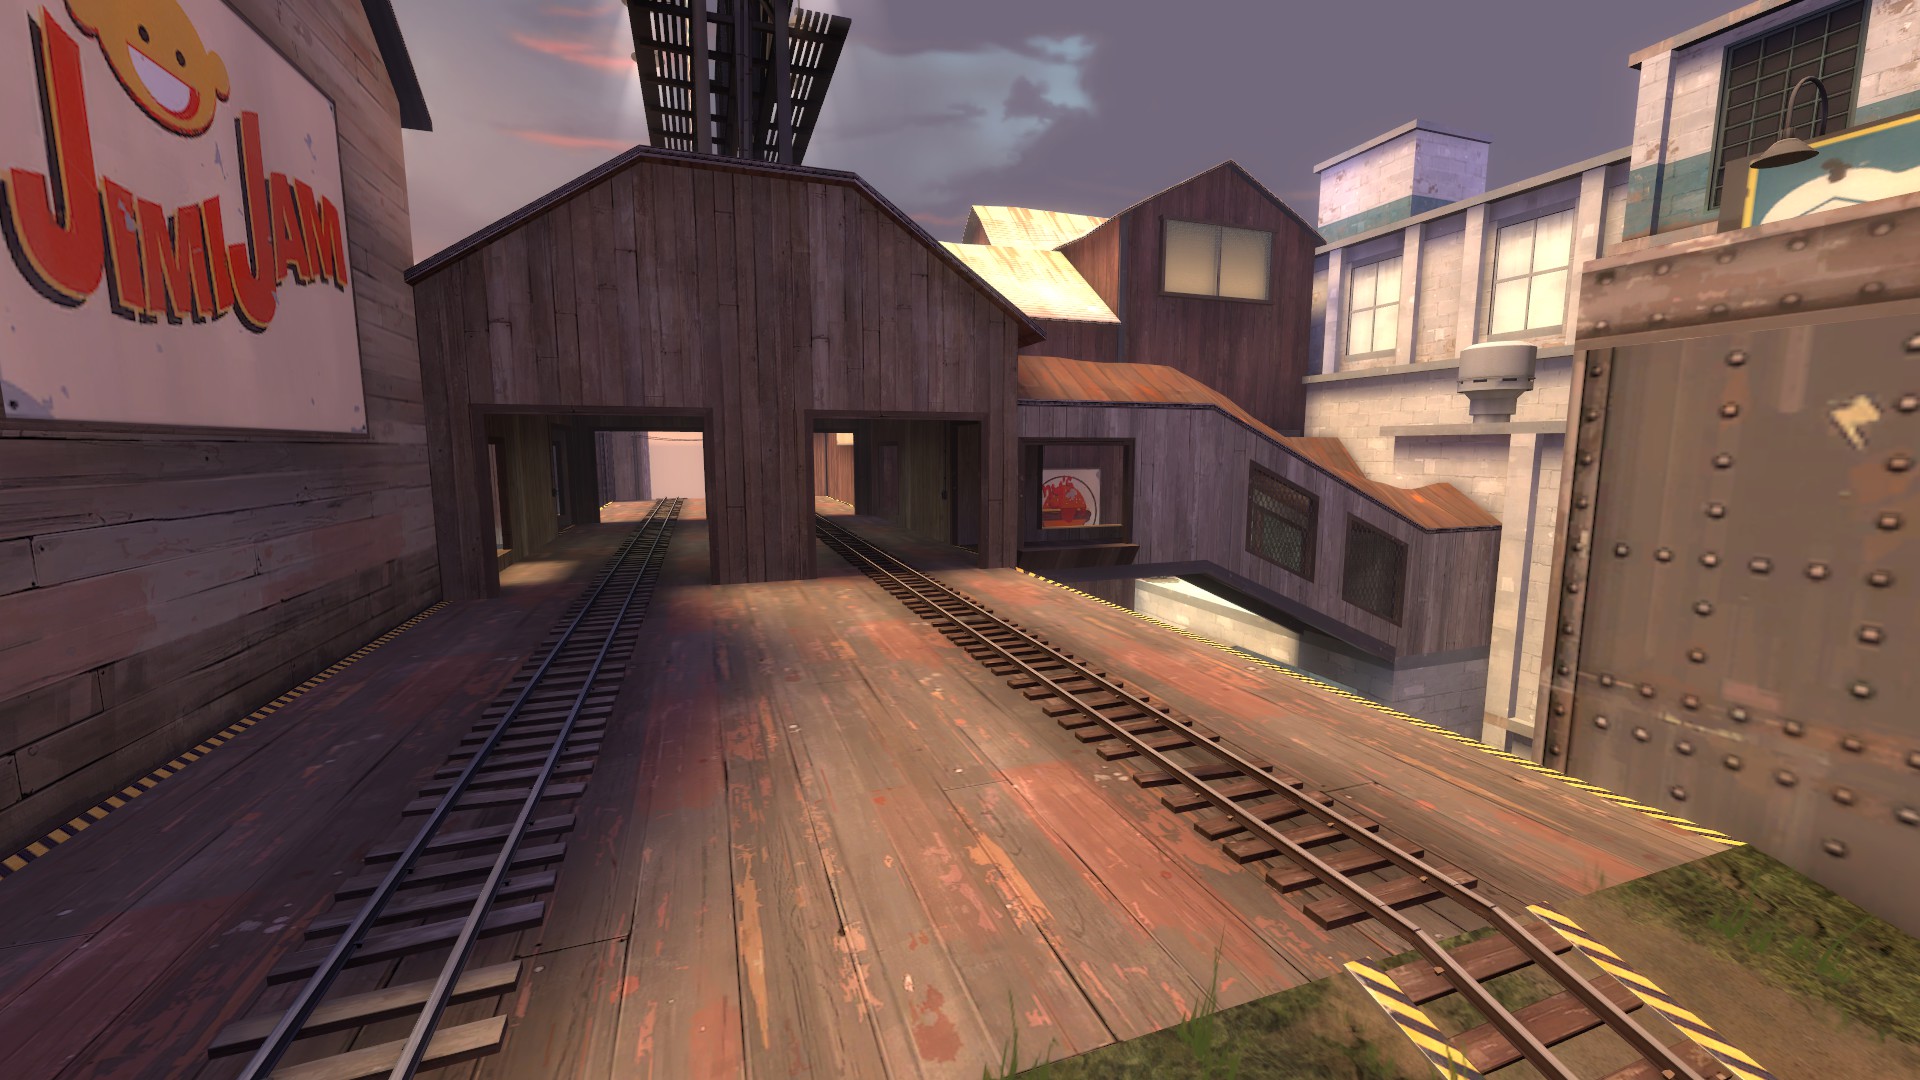
Now that the winning team has managed to get past the pit of doom, things get incredibly easy. The second major segment the cart goes through is none other than, once again, the incredibly powerful spot you can use to lock the losing team in their spawn. Pretty much funneling now entirety of winning team to this spot.
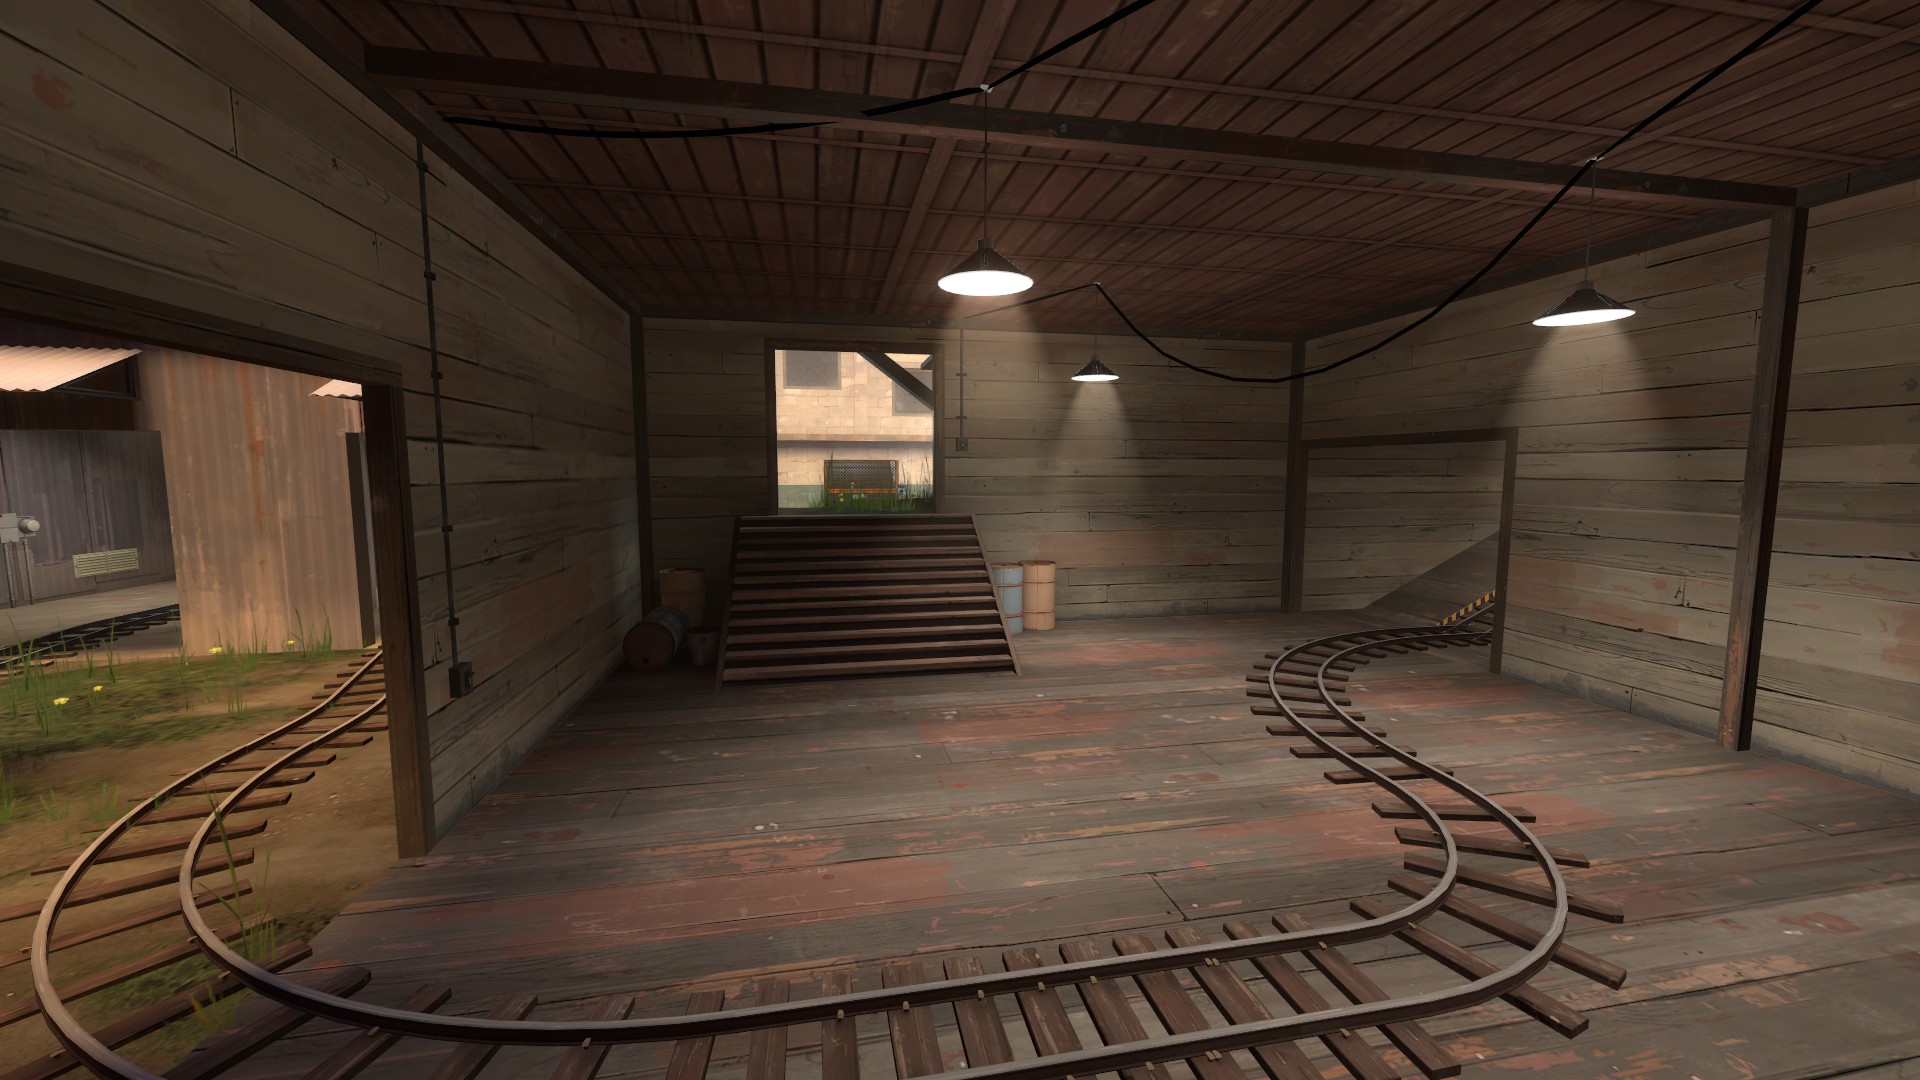
And then we reach the final stages of the track, area tucked away from the team that has to defend and to get here, you once again have to cross the incredibly powerful spot for winning team to keep losing team locked in their spawn. Now with added bonus of winning team having quick shortcut right to the cart from their spawn.
Now don't get me wrong, there are a lot of fun elements on this map. It is not by any means worst map ever made and there is potential, but in it's current state, it feels like only one team at the time gets to have any fun.


")


