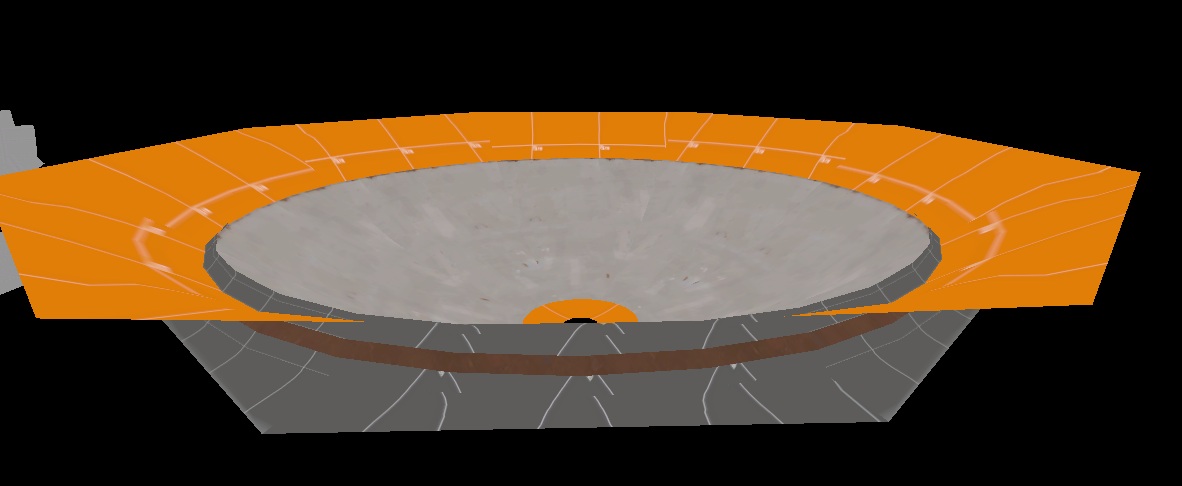
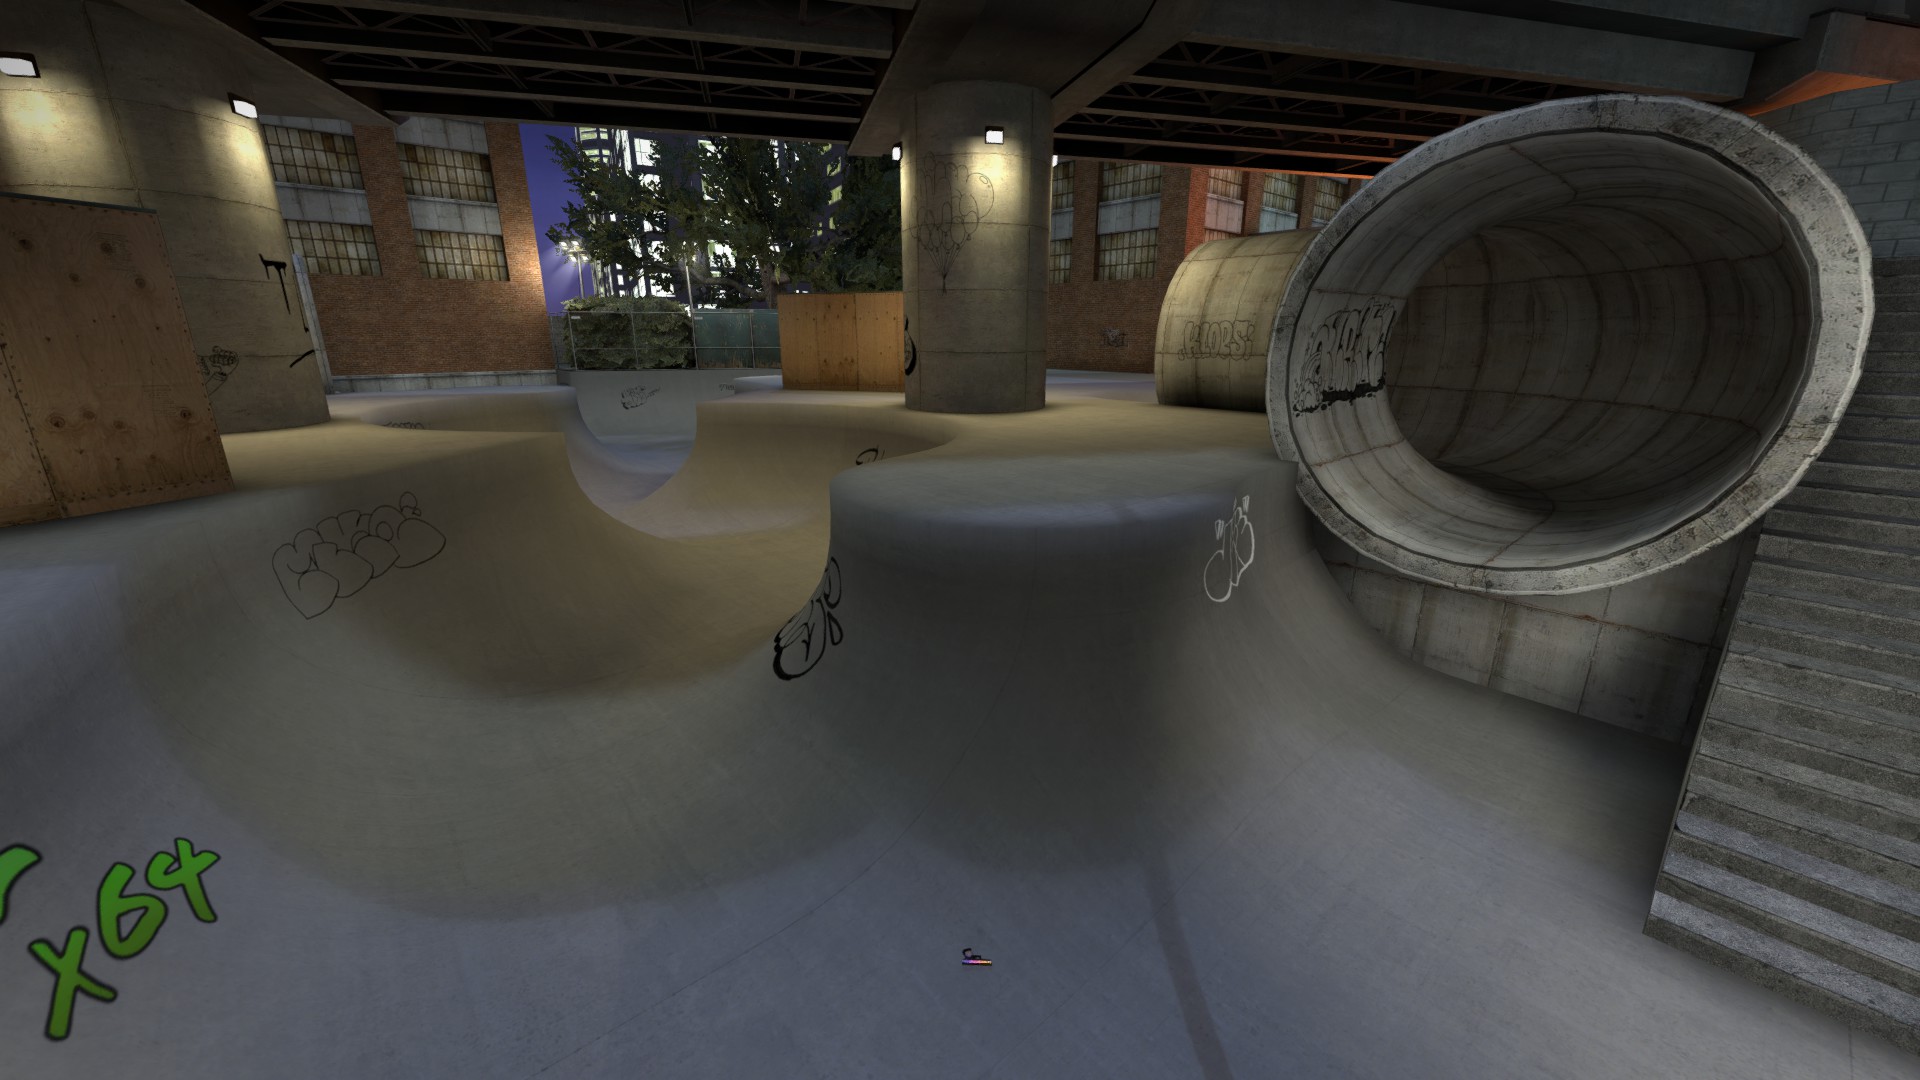
The goal of this tutorial is to teach you what the guide displacement is and how it helps you turn subdivision into a more powerful tool. The application in this case will be the creation of a curved ramp.
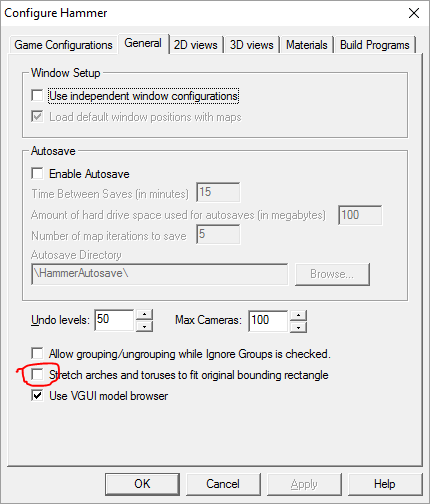
To start, we need to make sure your arch tool is set up correctly. Go to Tools > Options in Hammer. Make sure the 'Stretch arches' flag is unchecked.
Now when building any arch, expand the bounding box to what the size of the arch would be as if you were making a full circle.
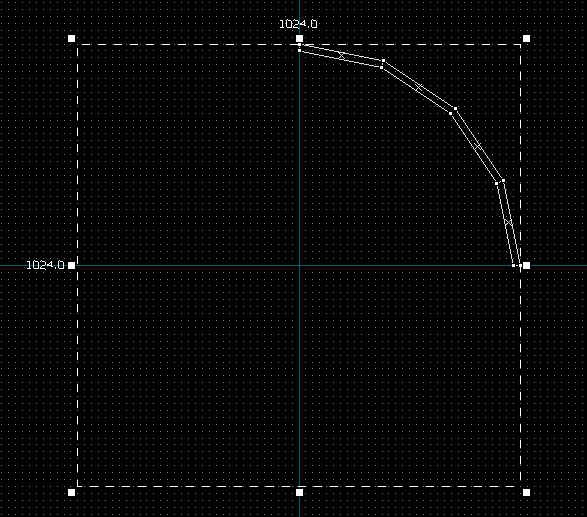
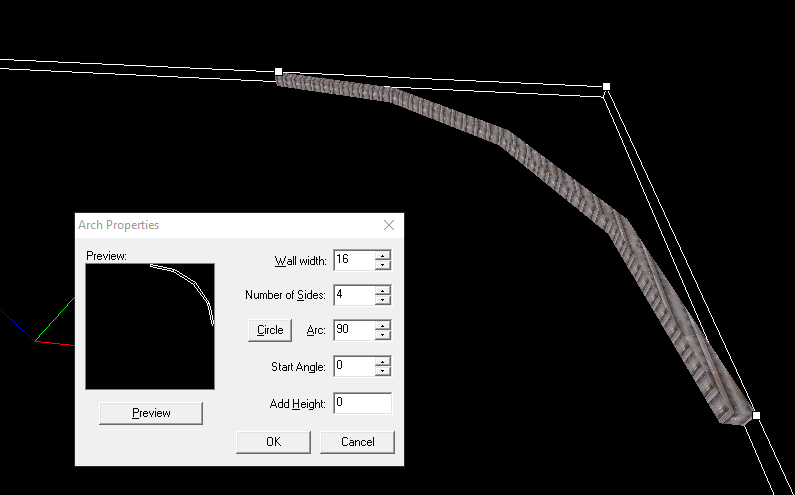
To start off, make your arch. Doesn't matter the height or width, anything works.
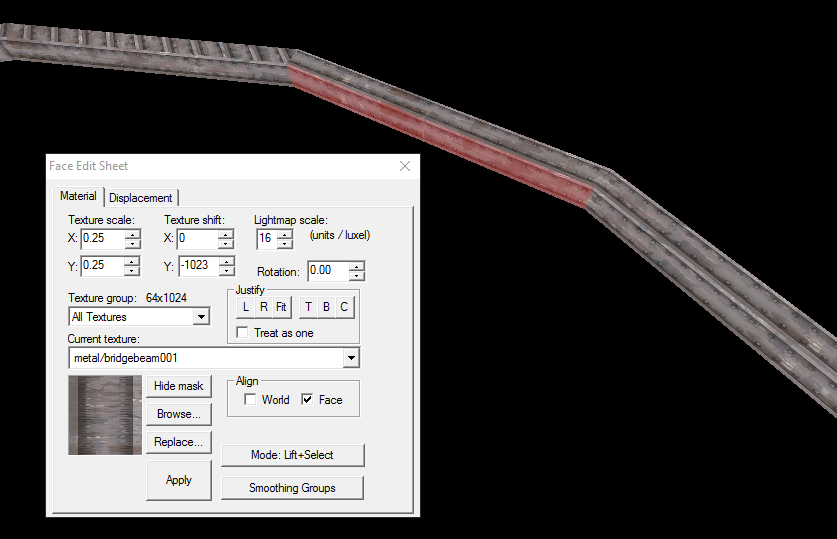
If the texture is one you need to align correctly, select the vertical face, then alt+right click the horizontal face.
Now you need to make two more arches that fit right up snug with the original on either side, each with the same width. Then duplicate the original and create a stack of three somewhere where they do not touch the first three.
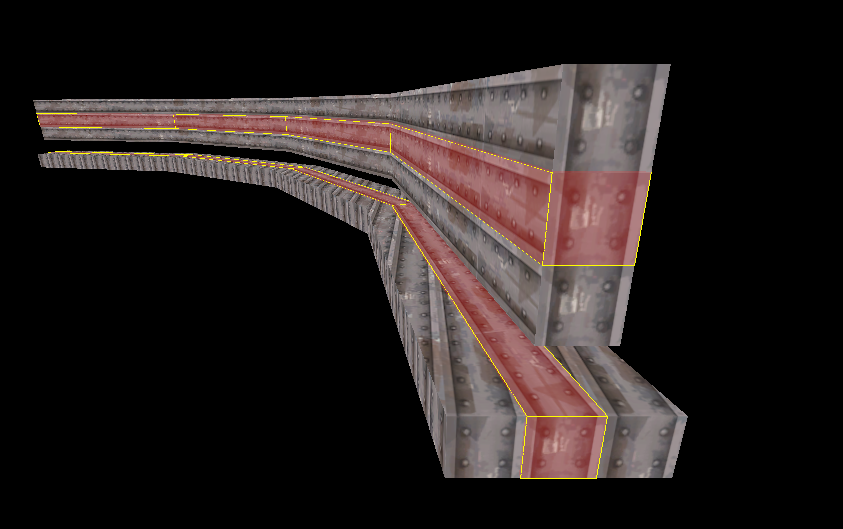
For the three below, create displacements on the horizontal faces. For the stack, make the inward and outward faces displacements. These additional displacements are what you call the guide displacements. These are used to create the smooth curves you want and will not appear in the final map.
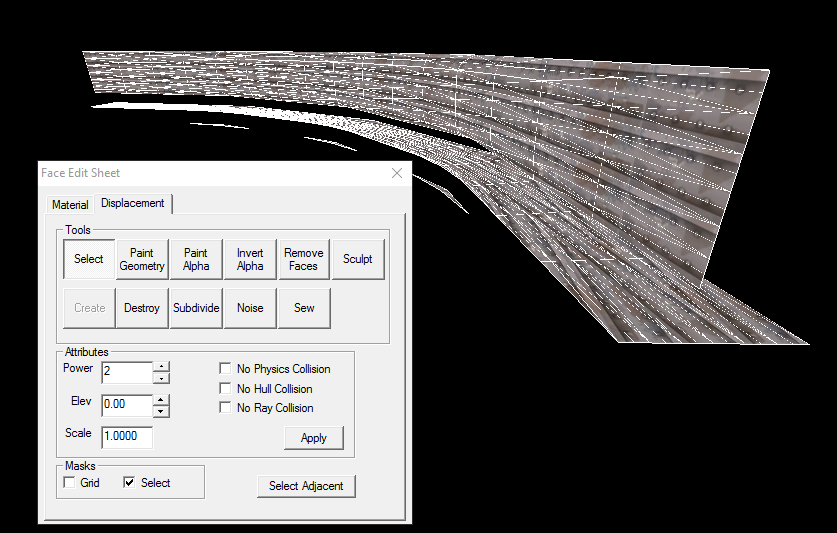
Delete the guide displacements, and bring the two center groups back together. You should now have one curved beam. You'll want to sew them together as there will be small seams.
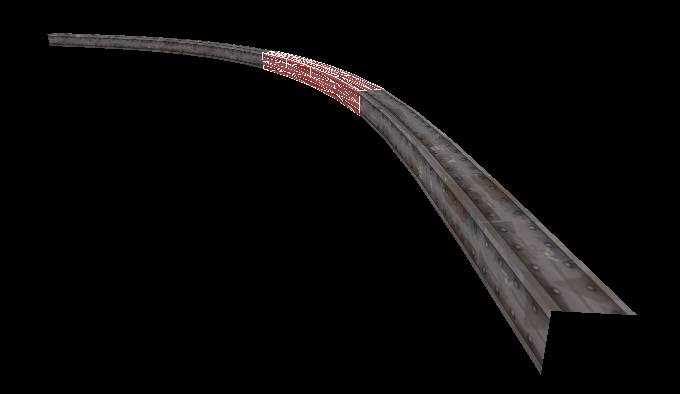
From here all you need to do is use the paint geometry tool. Make sure that you use the hard edge. Figure out how much you need the ramp to raise for each vertex by dividing the height of the ramp you want by the number of vertices. You can't use the 'raise to' because that will undo the subdivision.
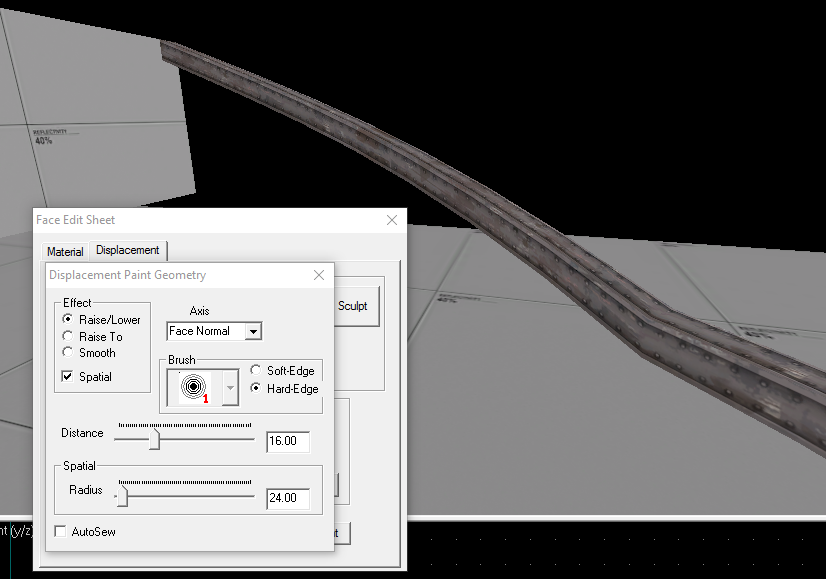
That's pretty much all you need to know. There's a lot more you can accomplish, but just remember that you want to keep the guide displacements to the same width as the main brush, otherwise the displacement won't line up with the level geometry.
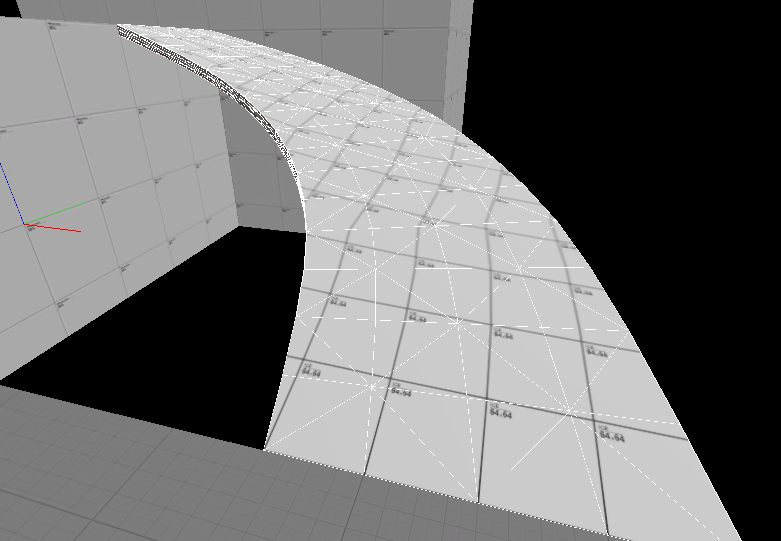
You can play around with other ways to make the curves. This way, for example, results in a more curvier curve that still lines up with level geometry, but it takes more work to get the base brushes set up.

There's a lot more you can make using the guide displacements, like a skate park or a hydro dish. In certain cases, you'll want to take advantage of the $seamless_scale parameter.


To start, we need to make sure your arch tool is set up correctly. Go to Tools > Options in Hammer. Make sure the 'Stretch arches' flag is unchecked.

Now when building any arch, expand the bounding box to what the size of the arch would be as if you were making a full circle.

To start off, make your arch. Doesn't matter the height or width, anything works.

If the texture is one you need to align correctly, select the vertical face, then alt+right click the horizontal face.

Now you need to make two more arches that fit right up snug with the original on either side, each with the same width. Then duplicate the original and create a stack of three somewhere where they do not touch the first three.

For the three below, create displacements on the horizontal faces. For the stack, make the inward and outward faces displacements. These additional displacements are what you call the guide displacements. These are used to create the smooth curves you want and will not appear in the final map.

Delete the guide displacements, and bring the two center groups back together. You should now have one curved beam. You'll want to sew them together as there will be small seams.

From here all you need to do is use the paint geometry tool. Make sure that you use the hard edge. Figure out how much you need the ramp to raise for each vertex by dividing the height of the ramp you want by the number of vertices. You can't use the 'raise to' because that will undo the subdivision.

That's pretty much all you need to know. There's a lot more you can accomplish, but just remember that you want to keep the guide displacements to the same width as the main brush, otherwise the displacement won't line up with the level geometry.

You can play around with other ways to make the curves. This way, for example, results in a more curvier curve that still lines up with level geometry, but it takes more work to get the base brushes set up.

There's a lot more you can make using the guide displacements, like a skate park or a hydro dish. In certain cases, you'll want to take advantage of the $seamless_scale parameter.
