- May 4, 2008
- 787
- 476
Tutorial Index:
[ame="http://forums.tf2maps.net/showthread.php?p=120891#post120891"]#1 - Fireballs[/ame]
[ame="http://forums.tf2maps.net/showpost.php?p=121095&postcount=7"]#2 - Installing your .PCF file[/ame]
______________________________________________________________________________________________

So I thought I'd start this series of particle editor tutorials with something fast, easy and fun. A fire ball.
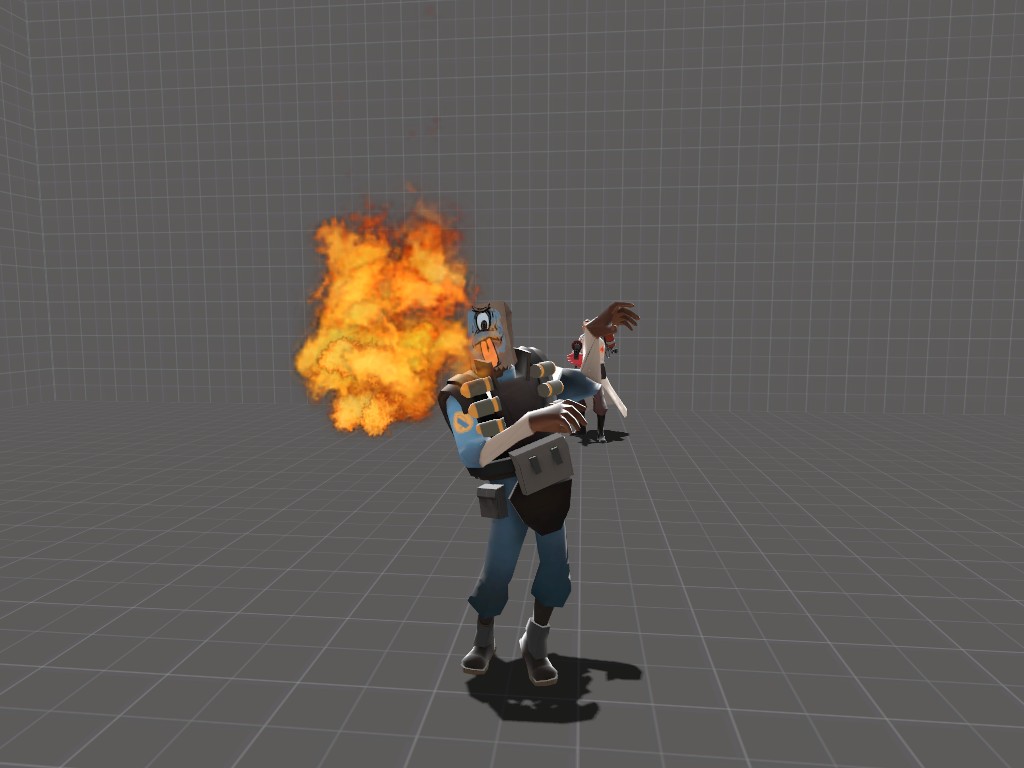
Usually though when you see tutorials for beginners for applications, they go through the interface and what everything does. But Ive decided to skip that boring part and just jump right to the fun, and eventually, you'll learn what everything does. This is what you should have if you've followed this tut correctly.
So lets get started. First thing you might want to know is how to start the particle editor for TF2.
Go to your game properties and add this line to the launch options
Close it down and start the game. Dont forget tho, when the game has started, go to tools and choose the particle editor.
Go ahead and go to File, and press New. This will create a blank .PCF. A PCF file is the file that contains all the particle systems.
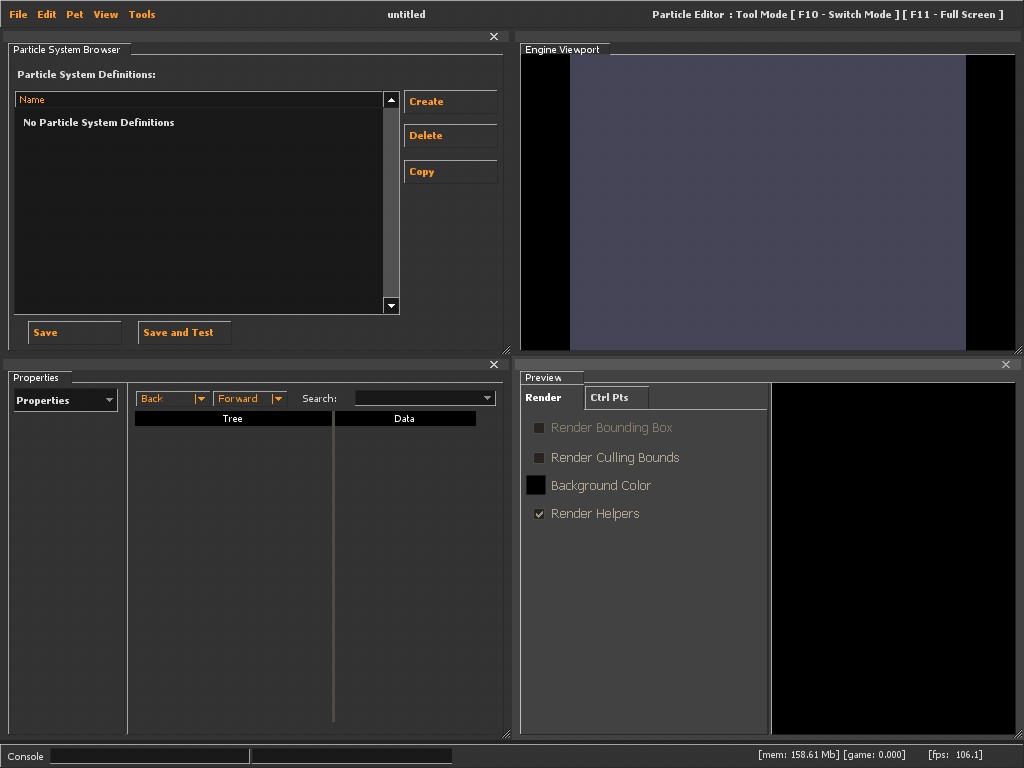
So this is probably what you should see right now. If not, you've already done something bad, so go back and read again.
So, let's start then. Press, Create in the Particle System Browser window. Enter a name of your liking, I decided to use Fireball_main. This name will also be the name you will use in hammer to use the particle.
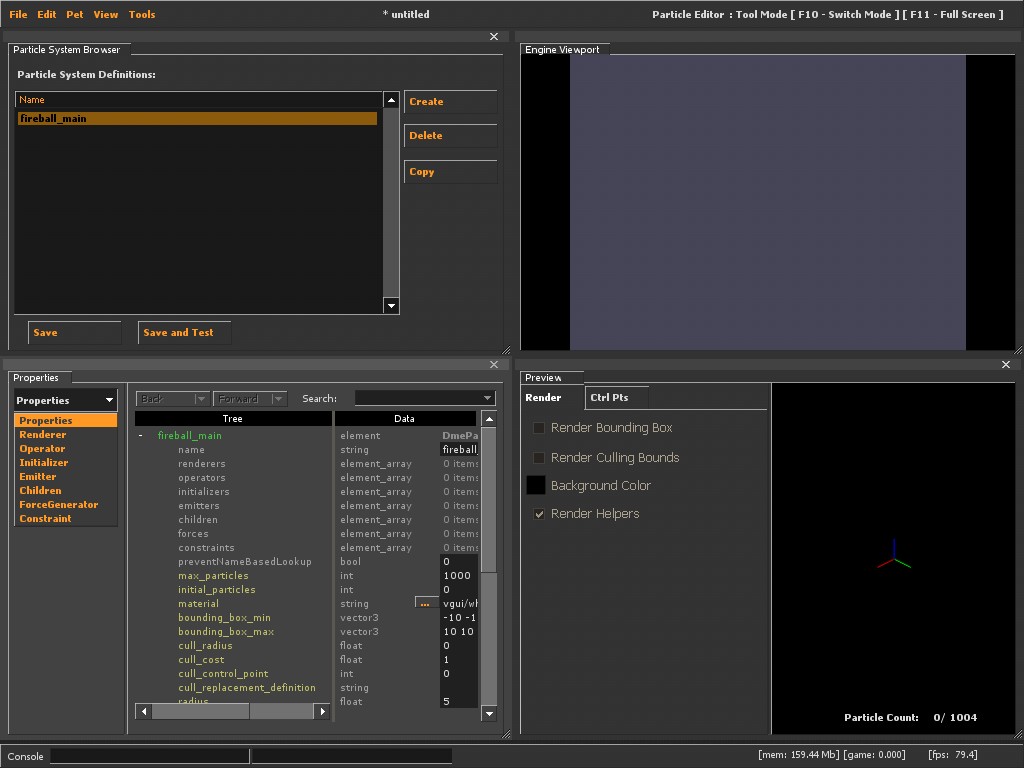
When you've created your particle system, go ahead and press it once to select it. When you've selected it, you can change it's properties, and other cool stuff. You can navigate through the other properties by clicking on the drop down menu.
The very basic properties you need for any particle are the following;
To add a attribute to one of the properties, you right click and press Add. It looks like this.
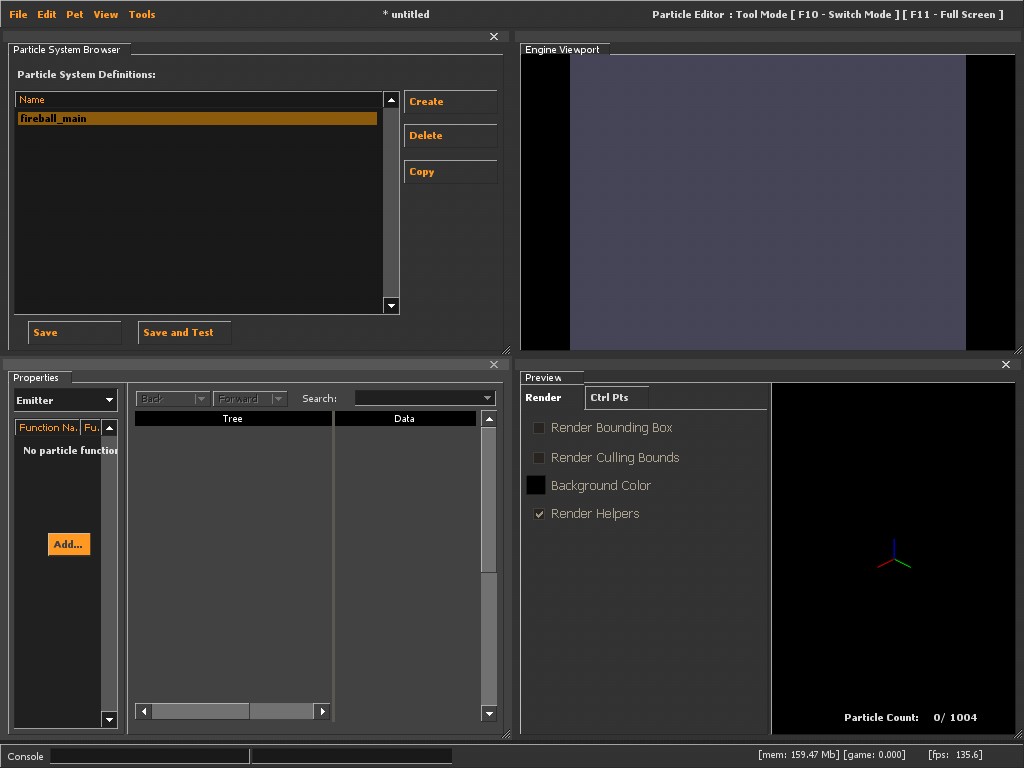
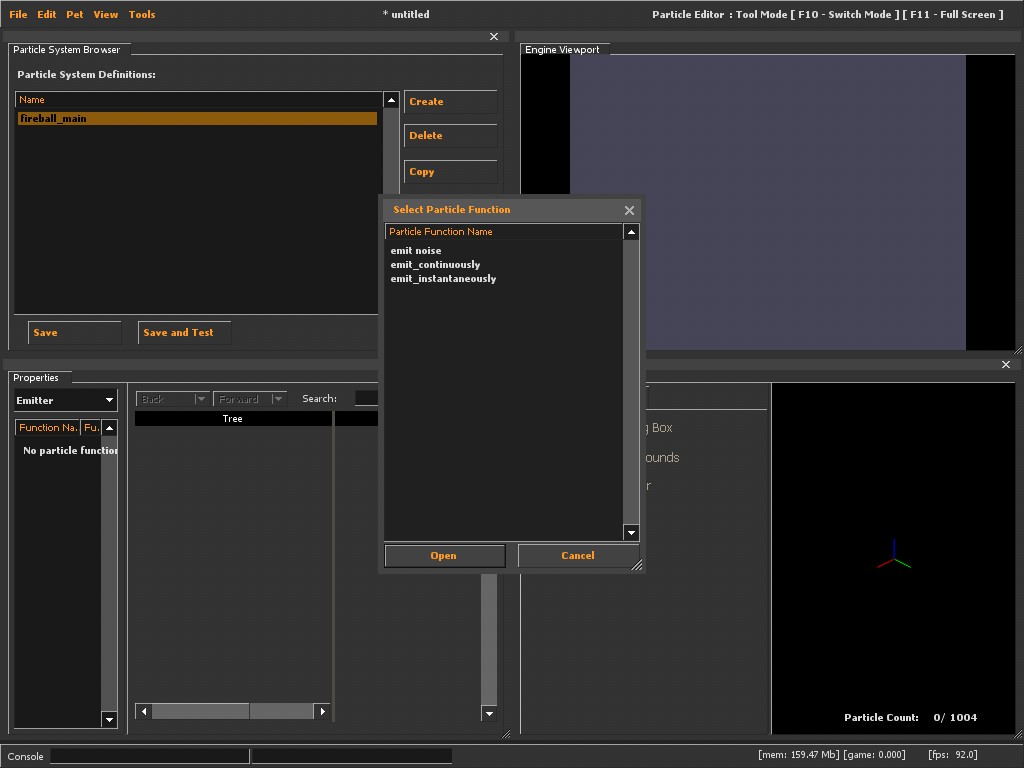
A new window pops up, this is where you select the attribute. On the image, I'm adding a emitter. For this case, a fireball, you'll need to add emit_continuously. This means that particles will continuously be created in this particle system
When you've added the emitter, you might notice how the particle count goes from 0 to 1000 pretty fast, without you seeing anything. This is why we need a renderer, so we can actually see the particle.
Go to the Renderer menu and add the render attribute I mentioned before (render_animated_sprites). It doesn't matter if the material we are gonna use for the particle is animated or not, this is the basic render attribute you want for the particles to show up.
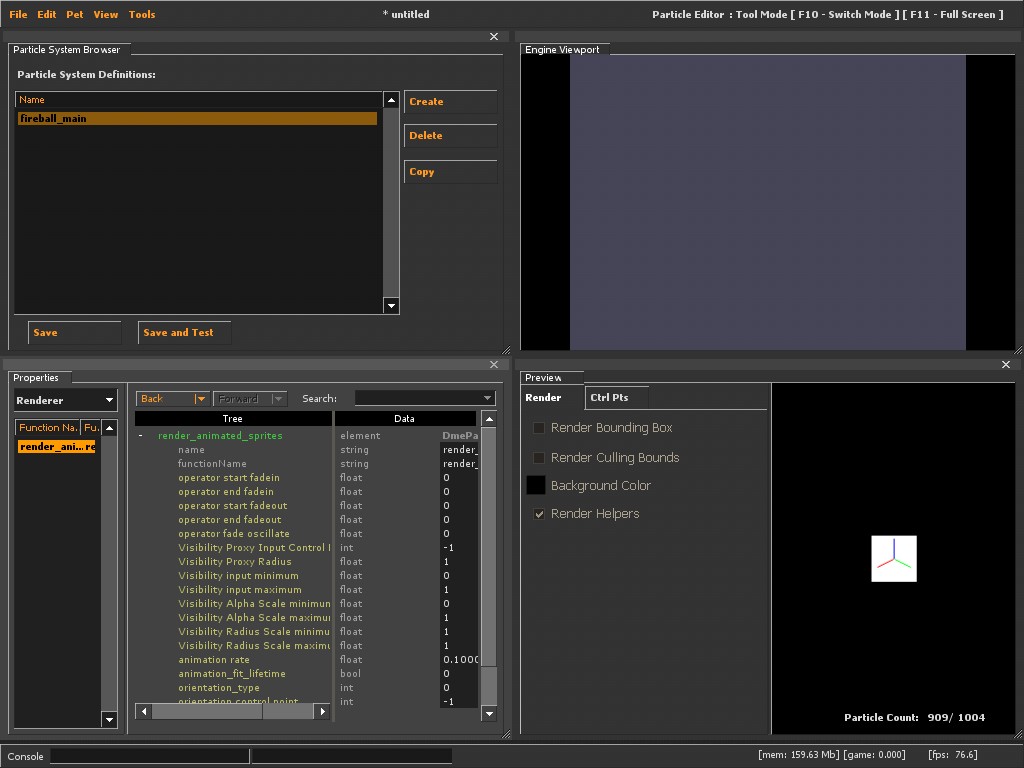
So now that you added the render attribute, you will see a white box in the preview. This is the default material for the particle. You'll also notice that its just standing there, doing nothing, well, thats because we haven't added any other attributes needed in the other menus. Lets do it!
But first, lets change the material to a animated fire material. Go to the properties menu and find a animated fire texture
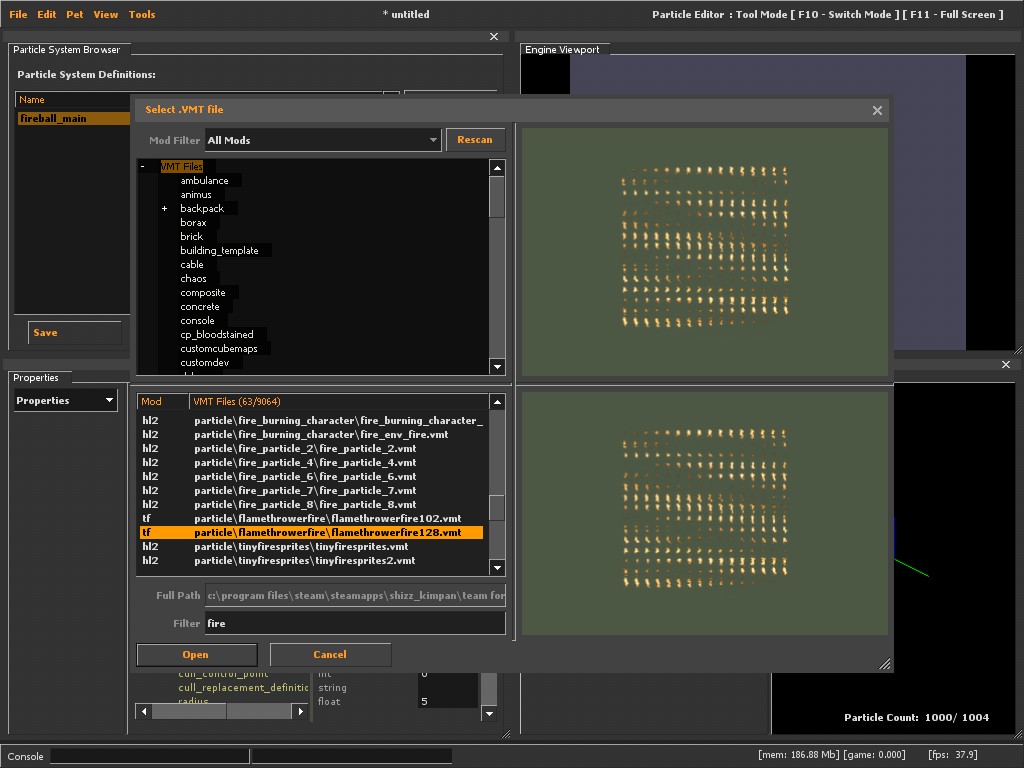
A animated texture always looks like this in the preview
Now let's quickly go back to the emitter and change the Rate value, from 1000 to 20. This value tells the game how many particles per second should be created. This is why you should be really careful so you don't get too many particles to avoid lag.
Now let's go back to the Renderer. Change the value animation_rate to 0.9. This just tells the speed of the animation of the animated material we selected.
Go to the Initializer menu and Add these attributes;
If you where to zoom in, in the preview window right now, you would see a very small fireball. But this is not exactly what we want to achieve. So go ahead and change these values in the attributes.
Lifetime random
Lifetime_min - 1
Lifetime_max - 2
Color random
Color 1 - 255 223 95 255
Color 2 - 255 187 120 255
Position Within Sphere Random
distance_max - 5
Radius random
radius_min - 8
radius_max - 10
Basically, you have your fireball now. But we aren't done quite yet. Go to the Operator menu and add these attributes;
Change these values in them;
Movement Basic
gravity - 0 0 50
Radius Scale
radius_end_scale - 3
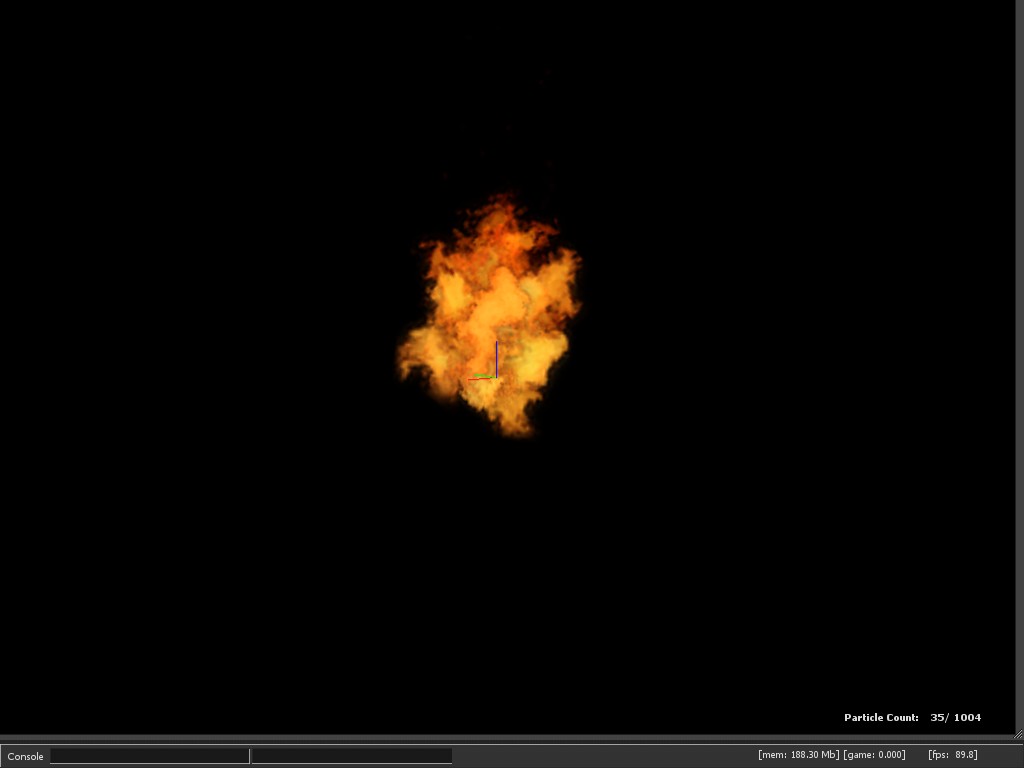
And there you go. You should have something that looks decent enough like a fireball. But if you take the performance problem away you can always change the emitter rate value to, say, 200 and it will look even move like a fireball. But you cant use anything like that ingame without anyone lagging.
Now go try some stuff and play with the properties of the fireball to get a better hang of things!
[ame="http://forums.tf2maps.net/showthread.php?p=120891#post120891"]#1 - Fireballs[/ame]
[ame="http://forums.tf2maps.net/showpost.php?p=121095&postcount=7"]#2 - Installing your .PCF file[/ame]
______________________________________________________________________________________________

So I thought I'd start this series of particle editor tutorials with something fast, easy and fun. A fire ball.
Usually though when you see tutorials for beginners for applications, they go through the interface and what everything does. But Ive decided to skip that boring part and just jump right to the fun, and eventually, you'll learn what everything does. This is what you should have if you've followed this tut correctly.

So lets get started. First thing you might want to know is how to start the particle editor for TF2.
Go to your game properties and add this line to the launch options
Code:
-toolsClose it down and start the game. Dont forget tho, when the game has started, go to tools and choose the particle editor.
Go ahead and go to File, and press New. This will create a blank .PCF. A PCF file is the file that contains all the particle systems.

So this is probably what you should see right now. If not, you've already done something bad, so go back and read again.
So, let's start then. Press, Create in the Particle System Browser window. Enter a name of your liking, I decided to use Fireball_main. This name will also be the name you will use in hammer to use the particle.

When you've created your particle system, go ahead and press it once to select it. When you've selected it, you can change it's properties, and other cool stuff. You can navigate through the other properties by clicking on the drop down menu.
The very basic properties you need for any particle are the following;
- A emitter, can be found in the Emitter menu
- render_animated_sprites, can be found in the Renderer menu, and is needed to render the particle
- Lifetime random, can be found in the Initializer menu
- Alpha Fade and Decay, can be found in the Operator menu
- Movement Basic, can also be found in the Operator menu. And this is needed for any dynamic particle.
To add a attribute to one of the properties, you right click and press Add. It looks like this.

A new window pops up, this is where you select the attribute. On the image, I'm adding a emitter. For this case, a fireball, you'll need to add emit_continuously. This means that particles will continuously be created in this particle system

When you've added the emitter, you might notice how the particle count goes from 0 to 1000 pretty fast, without you seeing anything. This is why we need a renderer, so we can actually see the particle.
Go to the Renderer menu and add the render attribute I mentioned before (render_animated_sprites). It doesn't matter if the material we are gonna use for the particle is animated or not, this is the basic render attribute you want for the particles to show up.

So now that you added the render attribute, you will see a white box in the preview. This is the default material for the particle. You'll also notice that its just standing there, doing nothing, well, thats because we haven't added any other attributes needed in the other menus. Lets do it!
But first, lets change the material to a animated fire material. Go to the properties menu and find a animated fire texture

A animated texture always looks like this in the preview
Now let's quickly go back to the emitter and change the Rate value, from 1000 to 20. This value tells the game how many particles per second should be created. This is why you should be really careful so you don't get too many particles to avoid lag.
Now let's go back to the Renderer. Change the value animation_rate to 0.9. This just tells the speed of the animation of the animated material we selected.
Go to the Initializer menu and Add these attributes;
- Lifetime random, tells the game how long one particle should be alive, before decaying.
- Color Random, the color of a particle.
- Position Within Sphere Random, decides where, within a sphere a particle should be spawned. If you do not have a "Position within.." attribute in your particle, it will spawn at the 0 0 0 cords in the map its used in.
- Radius Random, size of a particle.
- Rotation Random, rotation of a particle.
If you where to zoom in, in the preview window right now, you would see a very small fireball. But this is not exactly what we want to achieve. So go ahead and change these values in the attributes.
Lifetime random
Lifetime_min - 1
Lifetime_max - 2
Color random
Color 1 - 255 223 95 255
Color 2 - 255 187 120 255
Position Within Sphere Random
distance_max - 5
Radius random
radius_min - 8
radius_max - 10
Basically, you have your fireball now. But we aren't done quite yet. Go to the Operator menu and add these attributes;
- Alpha fade and Decay, fades the particle and removes them. Reads from lifetime random.
- Movement Basic, basic movement.
- Radius Scale, scale the size of a particle after it has been spawned.
Change these values in them;
Movement Basic
gravity - 0 0 50
Radius Scale
radius_end_scale - 3
And there you go. You should have something that looks decent enough like a fireball. But if you take the performance problem away you can always change the emitter rate value to, say, 200 and it will look even move like a fireball. But you cant use anything like that ingame without anyone lagging.
Now go try some stuff and play with the properties of the fireball to get a better hang of things!
Last edited:


