Brush is simply the technical term for world geometry. The basic solid building blocks.
Brushes can be converted so that they can become interactive or behave in a certain manner ingame. These are called "solid entities". You might convert a brush into a "func_detail" so that your compile runs quicker and improves ingame rendering performance. You might convert it into a "func_brush" so that you can turn it on or off ingame depending on certain circumstances, such as whether your team owns a certain location within the map. You might convert it into a "func_water_analogue" so that a player can swim within it, or a "trigger" entity, which is an invisible brush that when touched by a player will trigger an event, such as to open a door (trigger_multiple, for example).
Your other tool, the
Point Entity tool, will allow you to place objects in the map that wont be seen ingame. These include features that allow you to control the game mechanics. Such as how many rounds a capture point map has, how many control points are in each stage, how long it takes to capture these control points, who owns them initially and what happens when they are captured (such as whether a team is rewarded with a time bonus and how much time is rewarded).
Your entity tool will also allow you to place detail objects in your map, models. this will be your "
prop_static", "
prop_dynamic" or "
prop_physics". Placing one of these in your map will allow you to select from a number of prefabricated models such as fences, barrels of hay, electrical conduits, wooden beams, rocks, plants and the like.
Your "Brush" tool is the grey box icon on the left toolbar. Your "Point Entity" tool is the light bulb icon on the left toolbar. Your "Texture" tool which allows you to "paint" your world is the blue, red and green coloured box icon on the same toolbar. Clicking "browse" in your texture pallete window will bring up a new window allowing you to select from a huge selection of materials ranging from brick walls, concrete floors, dirt floors, cliff walls and water, to metal beams, steps and your 'tool textures' (such as
tools/toolsnodraw) to apply to the surface of your brushes.
As a beginner it might be useful to learn how to hollow an object. This can be done by creating a reasonably large block (brush) and then right click it. You should get a menu that includes the feature "make hollow" (CTRL+H, or tools>make hollow, from the top toolbar). This will then give you an option on how thick you would like your walls. I believe it provides a defualt variable of 32, possibly 64. Multiples of 2-4 are sensible. 4, 8, 16, 32, 64, 128 etc. 16 and 32 are good wall thicknesses. typing in "-xx" (-32 for example) will place the walls on the outside of the block you created. Doing this Groups all of the walls, floors and ceiling together however, so to modify each seperate block individually you will have to right click and select "ungroup" (or tools>ungroup).
Experiment with this a little. You will be able to create rooms of varying cubic sizes/parameters, all with even walls of a thickness you define.
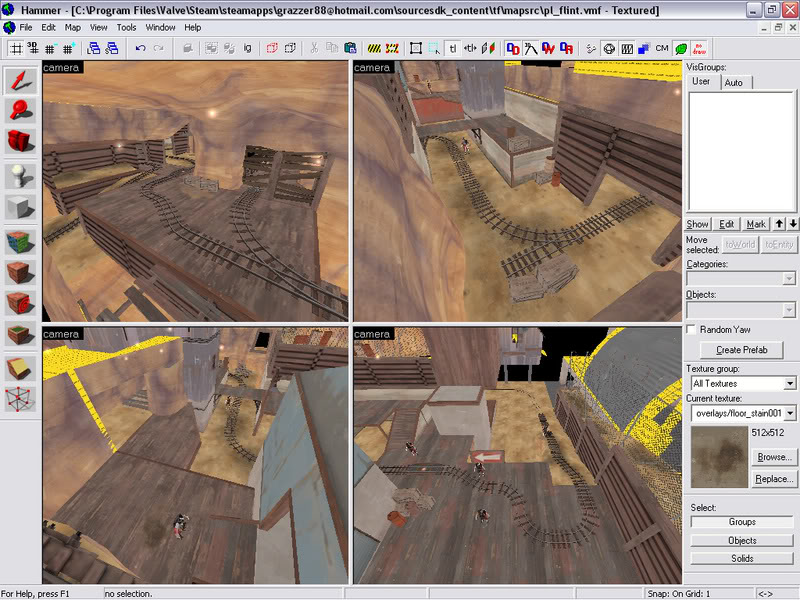
More experienced level designers will create their walls, floors and ceilings manually, allowing for more custom shaped rooms like:
You might want to include an info_player_start or "prop_dynamic" assigned with the model of a TF2 class (I.E.
models/player/hwm/heavy.mdl) for scale purposes.
Joining subsiquant rooms together shouldn't be too hard provided you know how to scale your brush work or "vertex manipulate" (The bottom icon on the left toolbar, with the red dots at the corners of the cube).
Hopefully these will help.
http://www.snarkpit.net/snarkpower/articles/game/cat/pn/tp/136/Basic_Clipping
http://www.snarkpit.net/snarkpower/articles/game/cat/pn/tp/138/Clipping_Vs._Carving
For an airvent you might want to use a wall thickness of 8 or 16.
 Thanks!