- Jul 12, 2016
- 18
- 4
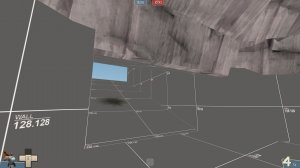
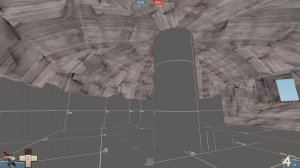
I am attempting to do a small underground area in my map and I can not figure out how to make a domed ceiling. Are there any easy ways to do this for a beginner, if not any suggestions on what else I could do instead?
mind including a screenshot? I've never really had the idea to make a domed ceiling but now that I think about it, it would be rather cool for a map i have in mindThanks for the idea it is working out great so far and is only getting better.
pls stop the plagiarism, you posted it a minute after mine >You could use a displacement, and there's a few other ways. But I can't find a link to the other forum posts, maybe somebody else can.
")


i find it rather simpler to do just thatIs there any reason why you couldn't just have a displacement instead?
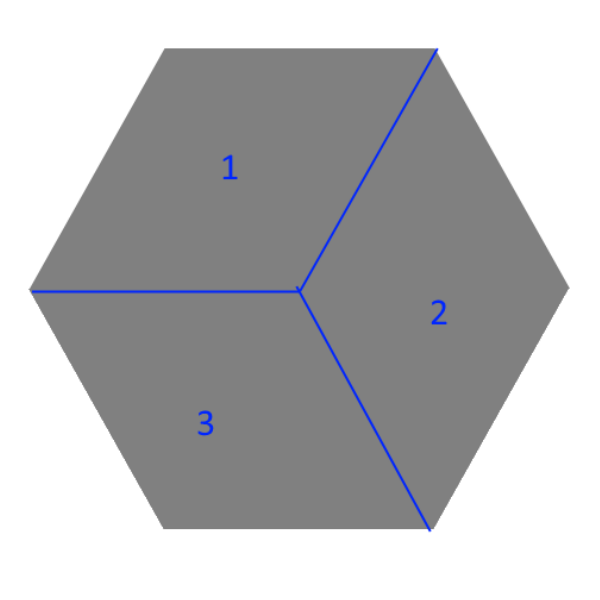
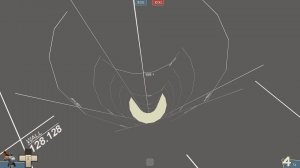
Why not a displacement roof with displacements 1 2 3 like this?
Then select all three displacements and, with a reasonable radius that doesn't extend past the edges of the hexagon, Paint Geometry from the middle. This should create a smooth dome ceiling that fits nicely into a hexagon-shaped hole.